Experiment Six: IC and CZE
advertisement
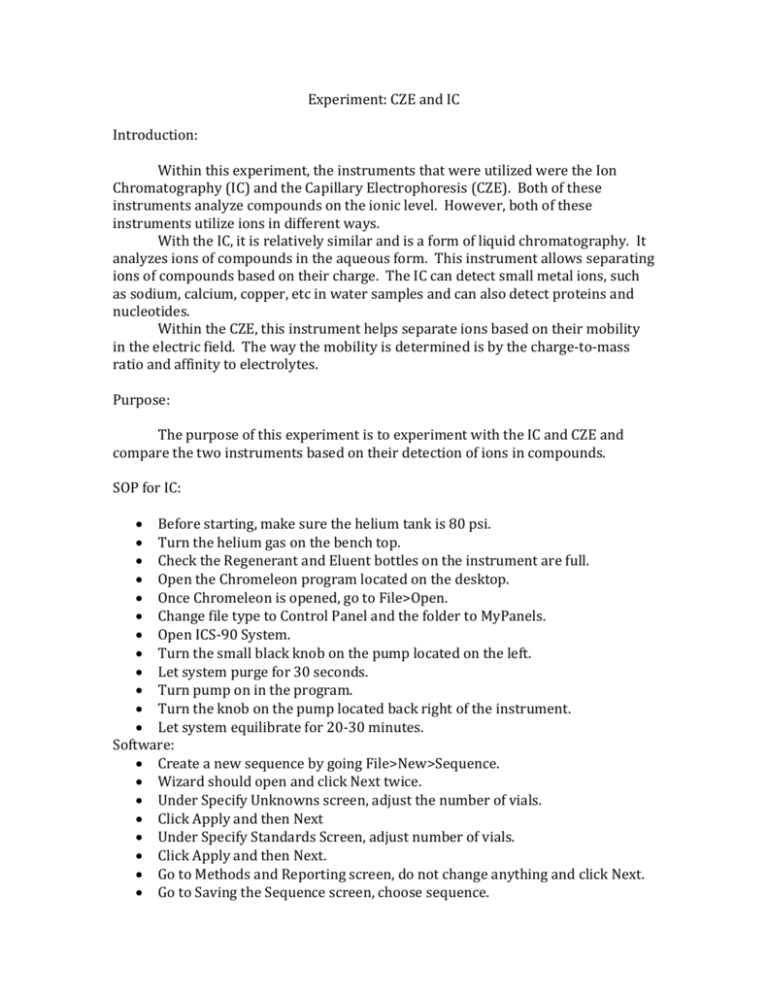
Experiment: CZE and IC Introduction: Within this experiment, the instruments that were utilized were the Ion Chromatography (IC) and the Capillary Electrophoresis (CZE). Both of these instruments analyze compounds on the ionic level. However, both of these instruments utilize ions in different ways. With the IC, it is relatively similar and is a form of liquid chromatography. It analyzes ions of compounds in the aqueous form. This instrument allows separating ions of compounds based on their charge. The IC can detect small metal ions, such as sodium, calcium, copper, etc in water samples and can also detect proteins and nucleotides. Within the CZE, this instrument helps separate ions based on their mobility in the electric field. The way the mobility is determined is by the charge-to-mass ratio and affinity to electrolytes. Purpose: The purpose of this experiment is to experiment with the IC and CZE and compare the two instruments based on their detection of ions in compounds. SOP for IC: Before starting, make sure the helium tank is 80 psi. Turn the helium gas on the bench top. Check the Regenerant and Eluent bottles on the instrument are full. Open the Chromeleon program located on the desktop. Once Chromeleon is opened, go to File>Open. Change file type to Control Panel and the folder to MyPanels. Open ICS-90 System. Turn the small black knob on the pump located on the left. Let system purge for 30 seconds. Turn pump on in the program. Turn the knob on the pump located back right of the instrument. Let system equilibrate for 20-30 minutes. Software: Create a new sequence by going File>New>Sequence. Wizard should open and click Next twice. Under Specify Unknowns screen, adjust the number of vials. Click Apply and then Next Under Specify Standards Screen, adjust number of vials. Click Apply and then Next. Go to Methods and Reporting screen, do not change anything and click Next. Go to Saving the Sequence screen, choose sequence. Click finish and sequence should be in window. Running Sequence: Go to Batch>Edit>Add sequence and choose sequence. Click start. Inject first sample. Slowly inject sample until you see 4-5 drops. Click OK. Scan should be about 15 minutes. Naming Peaks: o Open your sequence File>Open File type should be Sequence Select your sequence o Double click 7-anion standard in the dialogue box that lists the names of your injections o Find the Peak Analysis tab o Double click the first positive peak o A dialogue box will appear Name each peak according to the sheet in the drawer which shows a spectrum of the standard, then press Enter There is no peak for the acetate ion Shutting Down o In the Batch menu, select Stop o Leave Chromeleon running (the system will go into low flow after 6 hours of inactivity) o Fill the eluent to the top o If the waste container is full, move the tube into a new container and do the following: Put a cap on the full waste container Bring the full container to the prep room using the elevator Neutralize the waste in a large beaker on a stir plate with magnetic stir bar using 20 mule team borax (located in storage area, consult lab assistants or Mrs. Mowery if you need help) Use universal indicator to check the pH (the color should change from pink to green) Flush the waste down the drain with plenty of water o Be sure to turn off the helium knob behind the instrument Lab Procedure: Run four different water samples o Do not run salt water or flavored water as this will harm the instrument! Run two samples per day Run two trials of each sample Follow the Standard Operating Procedure o Day 1: Unknown samples should be 2 vials and 2 injections per vial The first injection is the standard, followed by 2 injections of each sample Be sure to use the same standard for both days o Day 2: Same procedure as Day 1 Make a calibration curve of your samples Plot ppm vs. height and area CE Chemicals Required: Capillary Performance Test Mixture B (mixture of p-hydroxybenzoic acid and p-hydroxyphenylacetic acid) Capillary Performance Run Buffer A (pH 8.35) Capillary Electrophoresis System Solution A (0.1 M NaOH) Distilled water 1.0 M HCl Solution All chemicals should be stored in the chemical refrigerator or under the instrument Standard Operating Procedure: Turn on the instrument Let it warm up for 30 minutes Read the Dr. Hu’s SOP while the instrument is warming up Prepare chemicals o Use five 1.5-mL vials o Add 1.4 mL each of Run Buffer A (x2), Solution A, distilled water, and 1.0 M HCl Use P1000 micropipette and dispense two quantities of 700 μL for each solution o Do not overfill the vials o Cap these vials using the red caps from the drawer o Cap 2-3 empty glass vials to be used for waste o Use a plastic vial for your sample Fill with ~1mL of Test Mixture B Cap using blue cap from the drawer Load buffer and sample vials according to Dr. Hu’s SOP o Direct Control>Load Wait until buffer trays are sent to the front, lift the cover, and insert vials as follows: BI:A1 – 0.1 M NaOH BI:B1 – 1 M HCl BI:C1 – distilled water BI: D1 – Buffer A BO:A1 – Waste BO:B1 – Waste BO:C1 – Buffer A SI:A1 – Test Mix B SO:A1 – Waste Record the position of each vial in your lab notebook Build Method o Use Dr. Hu’s SOP for more details on how to build method o Initial Condition: Leave all defaults o PDA Detector Initial Conditions: Use Channel 1 (check both boxes) at 214 nm, uncheck Acquisition Enabled (top left quadrant) o Time Program: Rinse 1.0 min (20 psi, forward pressure) from 1.0 M HCl to Waste Rinse 1.0 min (20 psi, forward pressure) from distilled water to Waste Rinse 2.0 min (20 psi, forward pressure) from 0.1 M NaOH to Waste Rinse 1.0 min (20 psi, forward pressure) from distilled water to Waste Rinse 2.0 min (20 psi, forward pressure) from Buffer A to Waste Inject (0.5 psi pressure, 10 seconds) from sample vial (Test Mixture B) to Waste Separate at 0.0 min (Duration: 7 min, Voltage: 25 KV, Ramp: 0.17 min) from Run Buffer A (BI) to Run Buffer A (BO) Autozero at time 1.50 min Stop data at 7.0 min Rinse 1.0 min at time 8.0 min (20 psi, forward pressure) from distilled water to Waste o Be sure to use the SO waste for the injection and be sure to use both of the BO waste vials throughout the time program Save and Run Method o Use Dr. Hu’s SOP for more details on how to do this Save and print electropherogram with report o PRINTER MAY BE DOWN! SEE EXPERTS, LAB ASSISTANTS, OR DR. FOY If you are the last group, exit the program, remove your vials and turn off the instrument o FOR INSTRUMENT SHUT DOWN: Be sure to leave a buffer vial in the buffer inlet and buffer outlet trays Choose to inject the tray Allow the tray to inject, and turn off the instrument This ensures that the capillary will not dry out Data: Refer to page 88 for CZE result and 90-93 for IC results. Conclusion: Overall, the experiment with the IC and CZE was a success. The CZE was difficult to manage and the chromatogram had two distinctive peaks. Within the IC, we ran two samples of water from water fountains and lab sink water. Within the water samples, there were numerous concentrations of nitrite, phosphate and sulfate.
