IC & CE
advertisement
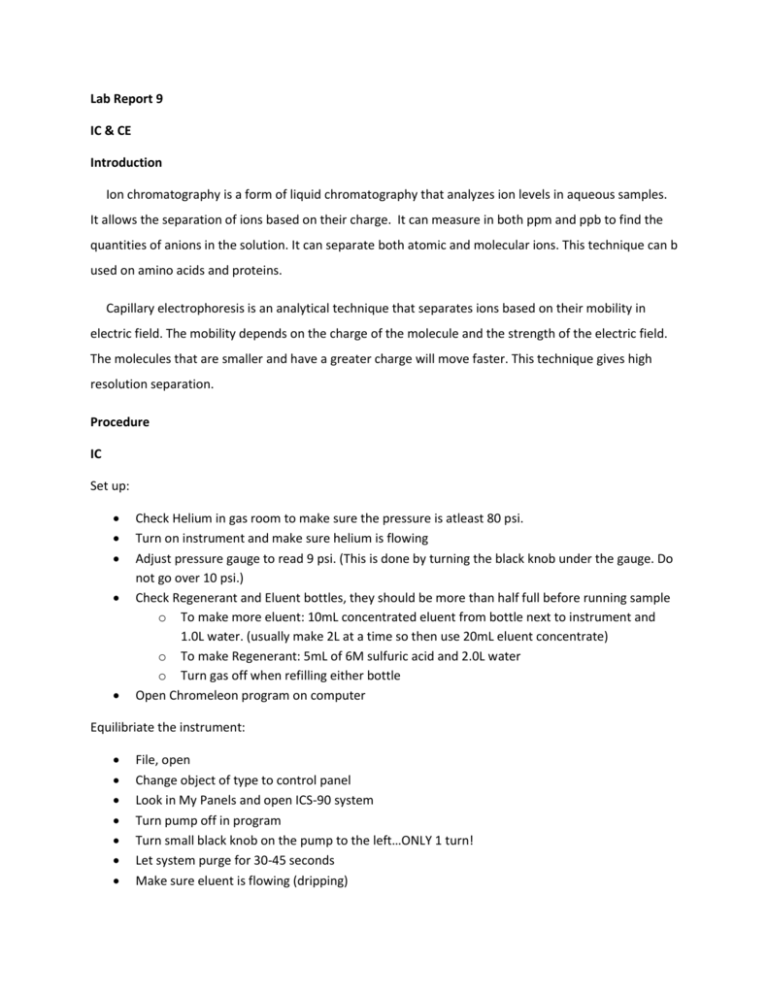
Lab Report 9 IC & CE Introduction Ion chromatography is a form of liquid chromatography that analyzes ion levels in aqueous samples. It allows the separation of ions based on their charge. It can measure in both ppm and ppb to find the quantities of anions in the solution. It can separate both atomic and molecular ions. This technique can b used on amino acids and proteins. Capillary electrophoresis is an analytical technique that separates ions based on their mobility in electric field. The mobility depends on the charge of the molecule and the strength of the electric field. The molecules that are smaller and have a greater charge will move faster. This technique gives high resolution separation. Procedure IC Set up: Check Helium in gas room to make sure the pressure is atleast 80 psi. Turn on instrument and make sure helium is flowing Adjust pressure gauge to read 9 psi. (This is done by turning the black knob under the gauge. Do not go over 10 psi.) Check Regenerant and Eluent bottles, they should be more than half full before running sample o To make more eluent: 10mL concentrated eluent from bottle next to instrument and 1.0L water. (usually make 2L at a time so then use 20mL eluent concentrate) o To make Regenerant: 5mL of 6M sulfuric acid and 2.0L water o Turn gas off when refilling either bottle Open Chromeleon program on computer Equilibriate the instrument: File, open Change object of type to control panel Look in My Panels and open ICS-90 system Turn pump off in program Turn small black knob on the pump to the left…ONLY 1 turn! Let system purge for 30-45 seconds Make sure eluent is flowing (dripping) Turn knob back to the right and let Let system equilibriate for 20-30 minutes Check flow of eluent, use a graduated cylinder to collect 1mL over 1 minute If not enough after 1 minute, check again in 15 minutes Set up software: create a new sequence Open File menu, hit new, then sequence wizard Click the ‘next’ box that comes up Set injection parameters o Number of vials being used o Number os injections per vial o Start position is 2 o Injection volume is 10 𝜇𝐿 o Click apply and then next o Don’t change methods and reporting…click done Running the sequence: Go to batch menu, click edit Find sequence by clicking Add and find your sequence Click start and inject sample when told to do so Inject sample with syringe into inkector port until a small amount comes out into the waste beaker next to the instrument Click OK Each run for each sample will take 16 minutes If no peaks appear, inject sample again and retry If still no results and conductivity is high, replace regenerate We ran an anion standard as well as water samples from around Campbell hall. Shutting Down: Go to Batch menu and hit stop to stop the batch from running Leave the Chromeleon program running Fill eluent to the top for the next user If waste container is full, replace CE Set up: Prepare buffer and samples in 1.5mL glass vials Using a P1000 pipette add about 1.4mL (pipette 700mL two times) of Run Buffer A, Solution A (0.1M NaOH), Distilled Water, and 1.0M HCL Place cap on vials and take note of where they are placed in the loading tray. o In another vial, add about 1.0mL of Text Mixture B and place cap on On the computer: click direct control panel and then load o Wait until the buffer trays are brought forward and then open the transparent cover. o Insert buffer vials to the front left inlet buffer tray (BI) o Place another vial with Run Buffer A in the outlet buffer tray (BO) o Place sample in sample inlet tray (SI) o Place empty waste vial in sample outlet tray (SO) o Record final position of vials in notebook Running the sample: On computer, build method for running the sample based on following conditions DO NOT CHANGE THE INITIAL CONDITION PDA detector initial condition: use channel 214nm Time program: o Rinse 1 min (20 psi, forward pressure) from 1.0M HCl to waste o Rinse 1 min (20 psi, forward pressure) from DI water to waste o Rinse 2 mins (20 psi, forward pressure) from 0.1M NaOH to waste o Rinse 1 min (20 psi, forward pressure) from DI water to waste o Rinse 2 mins (20 psi, forward pressure) from Run Buffer A to waste o Inject (0.5 psi pressure, 10 seconds) from sample vial (text mixture B) to waste o o o o Separate at 0.0 min (Duration: 7 mins, Voltage: 25 KV, Ramp: 0.17 min) from Run Buffer A to Run Buffer A Autozero at time 1.50 mins Stop data at 7.0 mins. Rinse with DI water for 1 min at time 10 mins. ( or any time after sample is done running) After Running the sample Save and run the method (see manual for detailed instructions) Save and print electropherogram if printer works Exit program and turn off instrument Data IC Figure 1: This is a spectrum of our anion standard. There are 7 peaks that represent fluoride, chloride, nitrite, bromide, nitrate, phosphate, and sulfate. Figure 2: This is the spectrum from a sample of bathroom water. You can see the injection peak in this sample. The highest peak was chloride. Figure 3: This figure is a spectrum from a sample from a water fountain. This one also has a clear injection peak. CE Figure 4: this was the spectrum given from the CE and the ions that were separated in Mix B. Conclusions The IC was not a fun instrument the first times we used it. We were not obtaining good peaks and found that we needed to change the eluent because the conductivity was too high. We had to make fresh eluent and we also learned how to properly inject samples. Once we figured everything out, this instrument was easy to use and within 16 minutes we had data from the separation based on ion levels in our water samples. The CE was much more simple to use. We were able to separate ions based on their mobility and we obtained a % area report on Mix B. The runs only took 7 minutes and were separated based on time. Overall these instruments were able to produce good data once we got the hang of them.
