Capillary Electrophoresis (CE)
advertisement
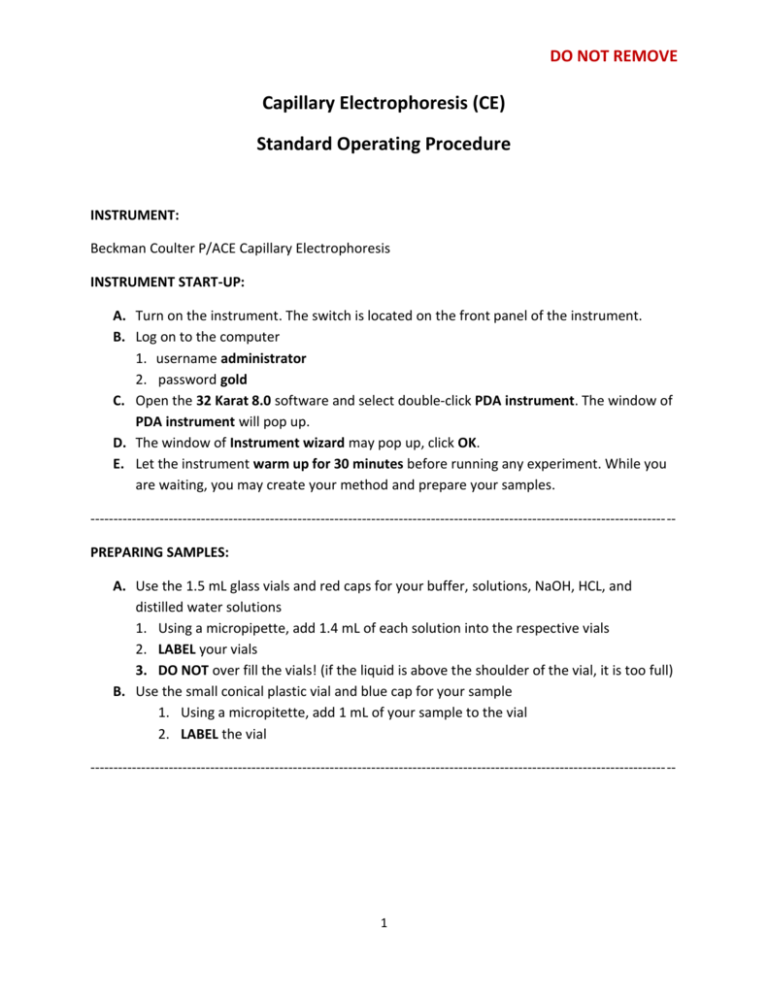
DO NOT REMOVE Capillary Electrophoresis (CE) Standard Operating Procedure INSTRUMENT: Beckman Coulter P/ACE Capillary Electrophoresis INSTRUMENT START-UP: A. Turn on the instrument. The switch is located on the front panel of the instrument. B. Log on to the computer 1. username administrator 2. password gold C. Open the 32 Karat 8.0 software and select double-click PDA instrument. The window of PDA instrument will pop up. D. The window of Instrument wizard may pop up, click OK. E. Let the instrument warm up for 30 minutes before running any experiment. While you are waiting, you may create your method and prepare your samples. ------------------------------------------------------------------------------------------------------------------------------PREPARING SAMPLES: A. Use the 1.5 mL glass vials and red caps for your buffer, solutions, NaOH, HCL, and distilled water solutions 1. Using a micropipette, add 1.4 mL of each solution into the respective vials 2. LABEL your vials 3. DO NOT over fill the vials! (if the liquid is above the shoulder of the vial, it is too full) B. Use the small conical plastic vial and blue cap for your sample 1. Using a micropitette, add 1 mL of your sample to the vial 2. LABEL the vial ------------------------------------------------------------------------------------------------------------------------------- 1 DO NOT REMOVE CREATING A METHOD: A. From the Control menu, select Direct Control, the select View B. In Direct Control window, click Load to bring the buffer tray and sample to the front. Look through the clear cover on top of the instrument, you will see the buffer trays and sample trays are lowered and brought to the front. 2 DO NOT REMOVE C. Lift the clear cover on the top front of the instrument, insert buffer vials and sample vials. D. Record the position of each vial on your notebook. This will be important when the method is created. Buffer Inlet Tray (BI): Front Left A1 B1 C1 D1 0.1 N 1.0 M DI Water Buffer A NaOH HCl Buffer Outlet Tray (BO): Front Right A1 B1 C1 Waste Waste Buffer A (empty) (empty) Sample Inlet Tray (SI): Back Left A1 B1 C1 D1 Sample Outlet Tray (SO): Back Right A1 B1 C1 Waste --(empty) Mix B -- -- -- 1. BI: The front tray on the left is the “Buffer Inlet tray” where rinsing solution and buffer vials are placed. A1, B1, C1, D1 represent the position of each solution. 2. BO: The front tray on the right is called “Buffer Outlet tray” where the waste is going to be collected. The electrodes and capillary tips on both sides must be immersed in the liquid. The waster container in the outlet tray must contain some buffer to begin with. 3. SI: The back tray on the left is the “Sample Inlet tray” where the sample vials are placed. 4. SO: The back tray on the right is the “Sample Outlet tray” where the sample waste vials are placed. E. Close the top cover of the instrument. F. In the PDA instrument window, select File Method new. Then select Method Instrument set up. 3 DO NOT REMOVE G. From the Initial Conditions menu, make sure the mobility channel is unchecked. You may change the sample storage temperature if necessary. DO NOT change anything else on this screen. H. From the PDA detector initial conditions menu, check that the following parameters are selected: Acquisition Enabled: Unchecked Channel 1 (214 nm): Checked Note: The detector wavelength may be changed based upon the experiment. 4 DO NOT REMOVE I. From the Time Program menu, click on Event and use the options to start building your method. Note: There are three main parts of the method: 1) Rinse 2) Inject 3) Separate. You always want to rinse and condition the capillary in the beginning. Typically, the capillary is rinsed first with 1.0 N NaOH and then the buffer used for separation. 1. Select Rinse and make sure the following parameters are selected, then click OK: Pressure Type: Pressure Pressure: 20.0 psi Inlet: BI:A1 Duration: 1.00 min Outlet: BO:A1 Pressure Direction: Forward Note: The duration of the rinse may be changed. Change the tray positions to tell the computer which solutions to use. Refer to the sample positions in your notebook. 5 DO NOT REMOVE 2. Select Inject and make sure the following parameters are selected, then click OK: Injection Type: Pressure Pressure: 0.5 psi Pressure Direction: Forward Duration: 10 sec Inlet: SI:A1 Outlet: BO:A1 Note: The duration of the injection may be changed. If you put the sample in the sample tray, position A1, you should change the inlet Tray position to S1:A1. Leave the outlet tray position intact. 3. Select Separate and make sure the following parameters are selected, then click OK: Separation Type: Voltage Voltage: 25 KV Note: The duration of the separation may change based on your method. For voltage to be applied, both inlet and outlet electrodes must be immersed in a buffer solution. Change Tray positions accordingly. A time of 0.00 min must be entered on the time table for separation to occur. 4. Select Auto zero after the separation even in the time table. 5. Select Stop Data to end the data collection. The time will be based upon your method. 6. Rinse the capillary after each run J. To save the method, select File Method Save As from the menu bar. Give the method a name with a tile and a date for future reference. Click Save. The default path at installation is: C:\32Karat\Projects\Default\Methods. The method is now ready to run. ------------------------------------------------------------------------------------------------------------------------------- 6 DO NOT REMOVE Sample Time Program for Test Mixture B: Buffer Inlet Tray (BI): Front Left A1 B1 C1 D1 0.1 N 1.0 M DI Water Buffer A NaOH HCl Buffer Outlet Tray (BO): Front Right A1 B1 C1 Waste Waste Buffer A (empty) (empty) Sample Inlet Tray (SI): Back Left A1 B1 C1 D1 Sample Outlet Tray (SO): Back Right A1 B1 C1 Waste --(empty) Mix B Time (min) 1 2 3 4 5 6 7 8 9 0.00 1.50 7.00 -- -- Event Value Rinse Rinse Rinse Rinse Rinse Injection 20 psi 20 psi 20 psi 20 psi 20 psi 0.5 psi separation 25 KV Auto zero Stop data -- Duration (min) 1.00 1.00 2.00 1.00 2.00 10 sec Inlet vial B1:D1 B1:B1 BI:A1 BI:B1 BI:C1 S1:A1 Outlet vial BO: A1 BO:A1 BO:A1 BO:A1 BO:A1 BO:A1 Summary Comments Forward Forward Forward Forward Forward Forward 7.00 B1:C1 BO:C1 0.17 min ramp 1.0 M HCl DI Water 0.1 N NaOH DI Water Run Buffer A Testing mixture B Run Buffer A ------------------------------------------------------------------------------------------------------------------------------RUNNING AN EXPERIMENT: A. To run the method, Select Control | Single Run from the menu bar to open the Single Run dialog. B. In sample ID, input sample name click the arrow and select date and Time. C. In method: Load the method you just built and saved. D. In data file, copy and paste sample ID. Leave the remaining items unchanged. E. Click Start. ------------------------------------------------------------------------------------------------------------------------------- 7 DO NOT REMOVE DATA ANALYSIS: A. If you need to find previous data, right click the Data/graph window, click Add multiple traces and load a previous data file. B. To resize, right click on graph, properties, user defined to change Y maximum value. C. To figure out area, select Report, view, Area%. D. To print, select file, printer set up, print ------------------------------------------------------------------------------------------------------------------------------INSTRUMENT SHUT-DOWN: A. To unload your sample and other solutions, select Direct Control→ Load. Lift the cover and remove the vials. Place the buffer solution vials BI: A1 and BO:A1 and close the lid. The capillary must be immersed in the buffer A solution, otherwise it will dry out and clog. B. Select File, Exit to exit 32 Karat 8.0 program. Close PDA instrument window. Turn off the instrument, and log off the computer. C. Put your name, date, number of sample, and condition of instrument on the log book. ------------------------------------------------------------------------------------------------------------------------------- WASTE CONSIDERATIONS FOR INSTRUMENTAL CHEMISTRY COURSE: A. B. C. D. E. Adjust the pH of the standards to a pH between 5-8 using 0.1 M NaOH or 0.1 M HCl Use the pH paper provided to test the pH of the solutions Once the pH is adjusted, standards and samples may be disposed of in the sink Samples may be disposed in waste container B in the waste hood Container is denoted by Red Label tape 8

