Set Sections: Managing Course Accessibility
advertisement
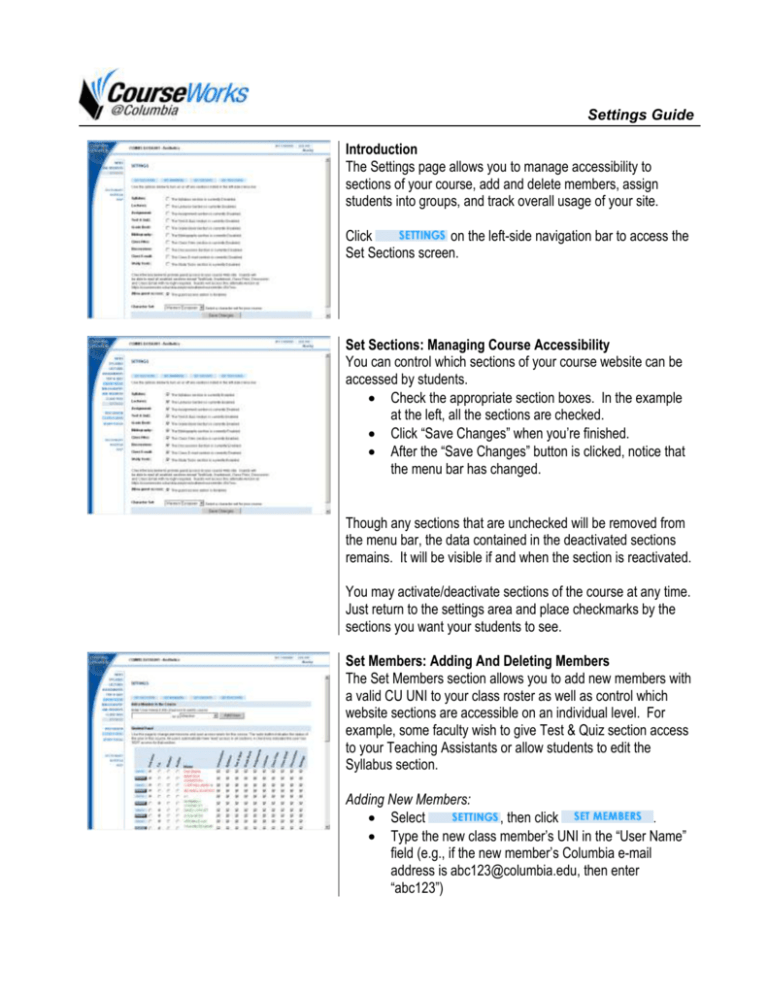
Settings Guide Introduction The Settings page allows you to manage accessibility to sections of your course, add and delete members, assign students into groups, and track overall usage of your site. Click on the left-side navigation bar to access the Set Sections screen. Set Sections: Managing Course Accessibility You can control which sections of your course website can be accessed by students. Check the appropriate section boxes. In the example at the left, all the sections are checked. Click “Save Changes” when you’re finished. After the “Save Changes” button is clicked, notice that the menu bar has changed. Though any sections that are unchecked will be removed from the menu bar, the data contained in the deactivated sections remains. It will be visible if and when the section is reactivated. You may activate/deactivate sections of the course at any time. Just return to the settings area and place checkmarks by the sections you want your students to see. Set Members: Adding And Deleting Members The Set Members section allows you to add new members with a valid CU UNI to your class roster as well as control which website sections are accessible on an individual level. For example, some faculty wish to give Test & Quiz section access to your Teaching Assistants or allow students to edit the Syllabus section. Adding New Members: Select , then click . Type the new class member’s UNI in the “User Name” field (e.g., if the new member’s Columbia e-mail address is abc123@columbia.edu, then enter “abc123”) Select the new member’s status (Instructor, Teaching Assistant, Student, Shadow/Auditor) from the dropdown bar. Click the “Add User” button and confirm the addition on the next screen. Deleting Members In the Set Members panel, click the button next to the name of the member you wish to remove. Set Members: Restricting Individual Access You can control edit permissions for your course on an individual basis. In the Set Members panel, you will see a listing of course members in the Student Panel section. Each row lists which sections of the site the individual member can edit. Check/uncheck as necessary. Click Update Permissions when you’re finished with your changes. Remember, checking these boxes does not determine read access, rather it allows the user to edit the course’s content. Set Groups: Manual Group Member Selection Click at the top of the Settings section. Click the “Create New Group” link. Type a group name in the text box. Check the names of the class members you wish to include in this group. Select Faculty Permission at the bottom of the screen. Click Create Group when you’re finished. You will be returned to the same screen when the page submits. (You may continue to create groups). Click to see the groups in your class. You can edit groups by clicking the “Edit Existing Groups” link in the Set Groups panel of the Settings section. When you create a group, a folder for that group will appear in the Class Files section and a category will be created in the Discussion section. Only members of that group and faculty will have access to these materials. Set Groups: Random Group Member Selection In the Set Groups panel, click the “Create Random Groups” link. Type a group name in the text box (e.g. if you want to create groups that will collaborate on a paper, type “Paper Group”). Select the number of groups you wish to create. CourseWorks will split the members as evenly as possible. Select Faculty Permission. Click “Create Group” when you’re finished. You will see the groups and their members (e.g. “Paper Group 1, Paper Group 2,…). You can edit your new groups by clicking the “Edit Existing Groups” link in the Set Groups panel. Click to see a listing of the groups in your class. Set Tracking CourseWorks can monitor usage of your course website. Click at the top of the Settings section Click the “Enable Student Tracking” link. You will see general information on usage of your course website. To view usage statistics by course section, select the appropriate section (Intro, Syllabus, Lectures, etc.) from the drop-down menu and click the View Details button located to the right of it To view usage statistics by member, select the appropriate name from the drop-down bar and click the View Details button located to the right of it. You will see the appropriate breakdown of information.
