All About Me` ePortfolios. Collection of artifacts
advertisement
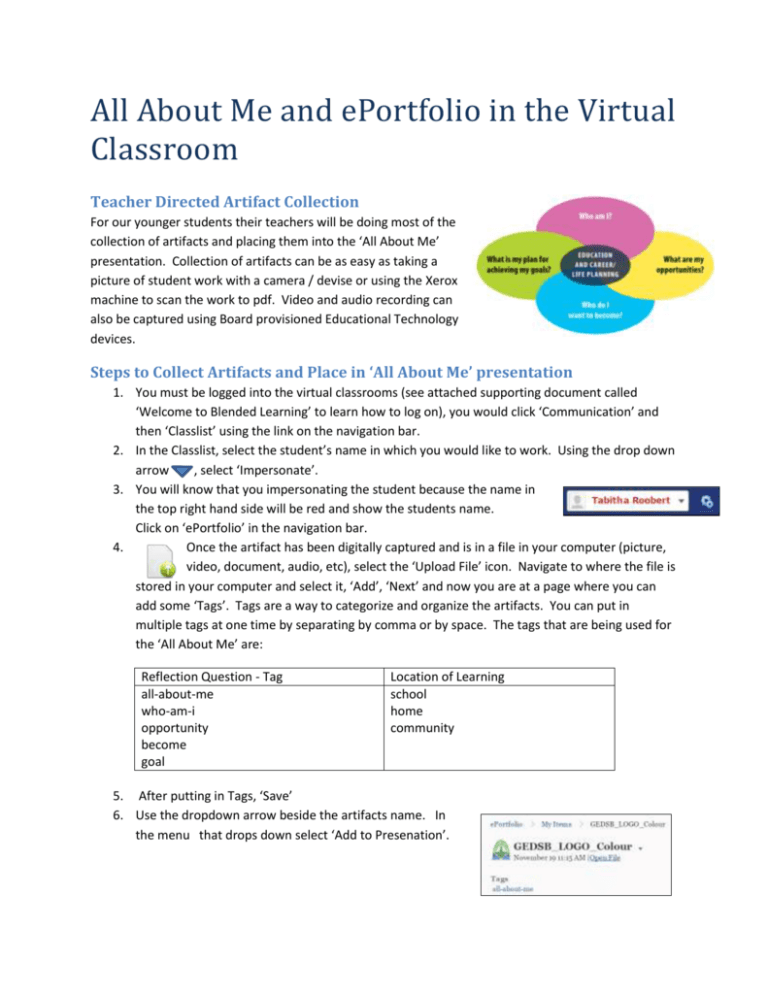
All About Me and ePortfolio in the Virtual Classroom Teacher Directed Artifact Collection For our younger students their teachers will be doing most of the collection of artifacts and placing them into the ‘All About Me’ presentation. Collection of artifacts can be as easy as taking a picture of student work with a camera / devise or using the Xerox machine to scan the work to pdf. Video and audio recording can also be captured using Board provisioned Educational Technology devices. Steps to Collect Artifacts and Place in ‘All About Me’ presentation 1. You must be logged into the virtual classrooms (see attached supporting document called ‘Welcome to Blended Learning’ to learn how to log on), you would click ‘Communication’ and then ‘Classlist’ using the link on the navigation bar. 2. In the Classlist, select the student’s name in which you would like to work. Using the drop down arrow , select ‘Impersonate’. 3. You will know that you impersonating the student because the name in the top right hand side will be red and show the students name. Click on ‘ePortfolio’ in the navigation bar. 4. Once the artifact has been digitally captured and is in a file in your computer (picture, video, document, audio, etc), select the ‘Upload File’ icon. Navigate to where the file is stored in your computer and select it, ‘Add’, ‘Next’ and now you are at a page where you can add some ‘Tags’. Tags are a way to categorize and organize the artifacts. You can put in multiple tags at one time by separating by comma or by space. The tags that are being used for the ‘All About Me’ are: Reflection Question - Tag all-about-me who-am-i opportunity become goal Location of Learning school home community 5. After putting in Tags, ‘Save’ 6. Use the dropdown arrow beside the artifacts name. In the menu that drops down select ‘Add to Presenation’. 7. In the ‘Add to Presentation’ box, drop down the menu and select the ‘All About Me’ presentation. Click ‘Next’. 8. Now select the ‘page’ which is the grade of the student. Click ‘Next’. 9. Now you can ‘Save and Close’ the artifact. This artifact has now been added to the student’s ‘All About Me’ presentation. Student Directed Artifact Collection For older students or students who wish to collect their own work they can be shown how to upload and collect their own artifacts to put in their “All About Me’ ePortfolios. Collection of artifacts can be as easy as saving their work on the computer, taking a picture of their work with a camera / devise. Video and audio recording can also be captured using Board provisioned Educational Technology devices. A student / parent instruction page is in draft currently. This page will include more screen captures and will allow a parent to help guide their student at home where their learning continues. In general a student would follow the steps above starting at step 4 and continuing until step 8. Pedagogical Documentation using ePortfolio in the Virtual Classroom Supported by the Capacity Building Series: Pedagogical Documentation (Secretariat Special Edition #30) You can find this monograph at: http://www.edu.gov.on.ca/eng/literacynumeracy/inspire/research/CBS_Pedagogical.pdf The ePortfolio Tool ePortfolio which is a part of the Ministry provided virtual classroom (supplied by Desire2Learn) is a powerful, student-centered application for pedagogical documentation of student learning. Within ePortfolio, students (or their teachers) may include documents (projects, assignments), graphics (pictures of student work, created digital pieces), audio files (personal reflections, student-teacher conversations, reading passages), presentations (multimedia – videos, glogsters, etc) and more — enabling them to reflect on the choices and accomplishments that have shaped their own unique pathway. Students can then easily share their achievements, knowledge and reflections in a collection of artifacts with their teacher, parents or friends. The student’s ePorfolio can also follow them through their learning journey from kindergarten to grade 12 as it is tied to the students OEN and their desire2learn account. ePortfolio in Your Classroom For teachers, there are also ways to capture learning at the point of instruction (pictures, video, audio) with mobile apps (or directly through tablet use) that allow the teacher to post directly to a student’s portfolio. Using your tablet you have a wide range of tools at your disposal to help capture and document your students’ learning. Capturing Student Voice A great way to document a moment of learning or a student’s reflection on a piece of learning is through Sound Recorder. It is native to the Windows tablet. Sound Recorder will not be on your Start tiles page but you can find it by going to ‘All Apps’. It can be pinned to Start by holding it and pulling down on it. This opens options for you to be able to ‘Pin to Start.’ When you start this app you will see a little sound bar. It will allow you to record, pause and stop recording. Once you stop recording it will allow you to name and save the file. It saves in .wmv file extension which is perfect to put up into the ePortfolio tool. Capturing Pictures and Video A great way to document a student while they are learning or student reflection on their learning journey is through photos and video. It creates a snapshot of the task, learning and can be used to show a student’s progress. The Camera app is where you can take photos and create videos. It can be found on the Start tiles page. These items will save into your ‘Camera Roll’. Camera Roll can be found on the Start tiles page or if you are on the computer side in your ‘Photos’ folder. When you start the Camera app you have the option to begin taking photos or you can switch it over ‘Video Mode’ by touching the video camera icon in the bottom right hand side of the screen. The photos save in a .jpg extension and the videos save as .mp4 extensions. Both are readily accepted in the ePortfolio tool in the virtual classroom. Creating general ePortfolio Collections for Your Students Essentially there are four steps to follow to set up a collection for each student to pedagogically document their learning. Once you have logged into the virtual classrooms (see attached supporting document called ‘Welcome to Blended Learning’ to learn how to log on), you would click into ePortfolio using the link on the navigation bar. 1. Create a collection for each student in your course. To do this you will need to select ‘My Items’ and then select ‘New Collection’. The naming convention should be something that you keep standard for all students over the years. It is suggested that you use the following: firstname-lastinitial-year Ex: JenniferF14 2. 3. 4. 5. There is a place to add a description of this collection. It might be something like ‘This collection will be used to share the work of JenniferF14 over the 2014-15 school year.’ Add the ‘Tag’ to the collection. Tags are words you associate with an object to make items easier to find. You can search for items with specific tags, and other users can use your tags to search for items. You would add the student’s tag firstname-lastinitial-year, ex. JenniferF14 ‘Save and Close’. Share the collection with the student. To do this you need to click on the down arrow beside the collections name. Search for the student and click on the student’s name (it will turn green) and then select ‘Add’ (found at the bottom of the screen). You can also change the permissions before you add them. The default permission is probably enough for your students. At the end of the year ‘Push’ the collection to the student. To do this you need to click on the down arrow beside the collections name. Select ‘Push’ and search the student’s name. Pushing the collection will give all collect pieces to the student (make a copy into their account). Now as you are documenting and uploading artifacts of learning, you only need to ‘Tag’ the items with firstname-last initial-year of the student and it will automatically go to the student’s collection. You may also add other tags such as the type of learning documented, the learning goal or success criteria met in the artifact.
