Making a graph on GSP
advertisement
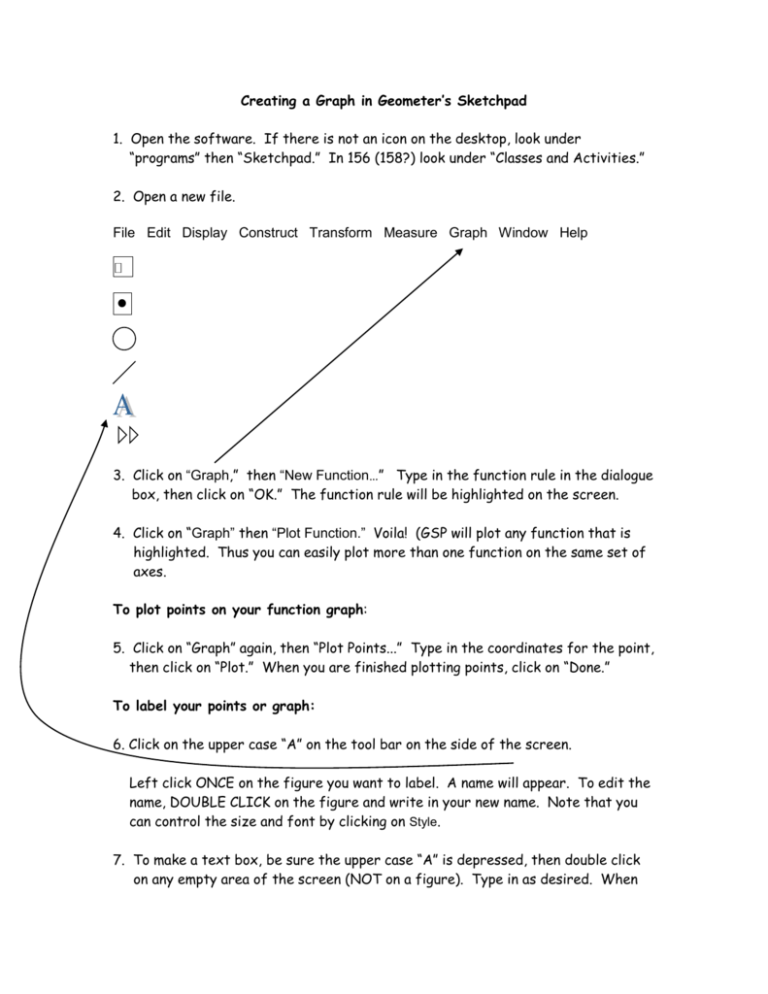
Creating a Graph in Geometer’s Sketchpad 1. Open the software. If there is not an icon on the desktop, look under “programs” then “Sketchpad.” In 156 (158?) look under “Classes and Activities.” 2. Open a new file. File Edit Display Construct Transform Measure Graph Window Help 3. Click on “Graph,” then “New Function…” Type in the function rule in the dialogue box, then click on “OK.” The function rule will be highlighted on the screen. 4. Click on “Graph” then “Plot Function.” Voila! (GSP will plot any function that is highlighted. Thus you can easily plot more than one function on the same set of axes. To plot points on your function graph: 5. Click on “Graph” again, then “Plot Points...” Type in the coordinates for the point, then click on “Plot.” When you are finished plotting points, click on “Done.” To label your points or graph: 6. Click on the upper case “A” on the tool bar on the side of the screen. Left click ONCE on the figure you want to label. A name will appear. To edit the name, DOUBLE CLICK on the figure and write in your new name. Note that you can control the size and font by clicking on Style. 7. To make a text box, be sure the upper case “A” is depressed, then double click on any empty area of the screen (NOT on a figure). Type in as desired. When using a text box, a tool bar automatically pops up on the BOTTOM of the screen, allowing you to choose font and also to select various mathematical templates from a palette. 8. Click back on the on the left. Note that you can adjust the scaling of your graph by grabbing the unit point with your cursor and dragging it. To adjust the line width or color: 9. Click on “Display” then on “Line width” or “Color” and make the desired changes. To insert a graph into your document: 10. Be sure the arrow tool is selected. Left click once in the upper left and drag the mouse to highlight what you want to copy. Click Edit (from the top tool bar), then “Copy.” Paste as usual in your Word document. To adjust the size and placement of the graph once it is in your document: 11. Be sure the graph is highlighted. Click on “Format,“ then “Picture…” then “Layout,” then “Behind Text.” (This is what I do. You might want to experiment with other choices to see what works for you. ) This setting allows you to move the sketch around and place it wherever you want it. It also allows you to type anything you want over or near the graph.


