Remotely Administering FileMaker Pro Server Databases
advertisement
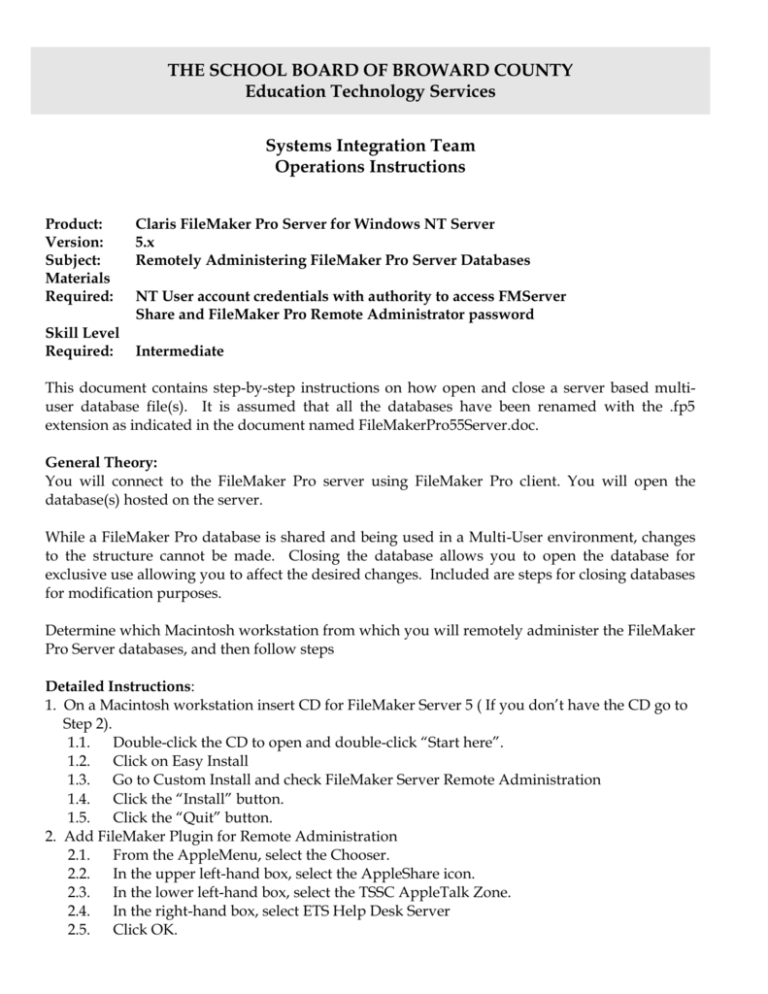
THE SCHOOL BOARD OF BROWARD COUNTY Education Technology Services Systems Integration Team Operations Instructions Product: Version: Subject: Materials Required: Skill Level Required: Claris FileMaker Pro Server for Windows NT Server 5.x Remotely Administering FileMaker Pro Server Databases NT User account credentials with authority to access FMServer Share and FileMaker Pro Remote Administrator password Intermediate This document contains step-by-step instructions on how open and close a server based multiuser database file(s). It is assumed that all the databases have been renamed with the .fp5 extension as indicated in the document named FileMakerPro55Server.doc. General Theory: You will connect to the FileMaker Pro server using FileMaker Pro client. You will open the database(s) hosted on the server. While a FileMaker Pro database is shared and being used in a Multi-User environment, changes to the structure cannot be made. Closing the database allows you to open the database for exclusive use allowing you to affect the desired changes. Included are steps for closing databases for modification purposes. Determine which Macintosh workstation from which you will remotely administer the FileMaker Pro Server databases, and then follow steps Detailed Instructions: 1. On a Macintosh workstation insert CD for FileMaker Server 5 ( If you don’t have the CD go to Step 2). 1.1. Double-click the CD to open and double-click “Start here”. 1.2. Click on Easy Install 1.3. Go to Custom Install and check FileMaker Server Remote Administration 1.4. Click the “Install” button. 1.5. Click the “Quit” button. 2. Add FileMaker Plugin for Remote Administration 2.1. From the AppleMenu, select the Chooser. 2.2. In the upper left-hand box, select the AppleShare icon. 2.3. In the lower left-hand box, select the TSSC AppleTalk Zone. 2.4. In the right-hand box, select ETS Help Desk Server 2.5. Click OK. 2.6. 2.7. 2.8. 2.9. 2.10. 3. 4. 5. 6. 1 In the “connect to FileServer” dialog box, click the “Guest” radio button. Click Connect. Select the Mac System Recovery file server. Click OK Scroll to find the following folder: “FileMaker Pro Software & Updates” and expand the level. 2.10.1. Find the “FileMaker Pro 5.0 Remote Admin” folder and expand the level. 2.10.2. Find the Server Administration icon on System Recovery. 2.10.3. Find the FileMaker Extension folder on the LOCAL workstation.1 This is the folder where the FileMaker Pro 5.0 Client software was installed on the LOCAL machine. 2.10.4. Drag the Server Administration icon from System Recovery into this folder (this will enable you to Remotely Administer the Server’s Databases). 2.10.5 Close the Mac System Recovery window and drag to trash to remove from the desktop. Open FileMaker and click cancel to close box. 3.1. Choose Preferences under the Edit pulldown menu. 3.1.1. Drag over to Application to open box 3.1.2. Change Network Protocol to TCP/IP if set on AppleTalk. 3.1.3. Changes will not take effect until FileMaker is re-opened. Adding databases to the server to be hosted. 4.1. Establish a connection to the FMServer share or volume on the server using either the Network Neighborhood on a Windows computer or the Chooser on a Macintosh computer 4.2. Logon to your Server XXXCB1.2 4.3. Enter your username and password. 4.4. Mount the FM5 database Volume housed on the server. 4.5. Drag the database(s) to the FM4 database folder.3 4.6. Repeat steps 5.6 through 5.11 to continue hosting the databases of server. Open the database(s) to other users. 5.1. Launch the FileMaker 5.5 client application. 5.2. Choose “Open an existing file…” radio button and click OK. 5.3. Click the “Hosts” button. 5.4. Select the actual FileMaker Pro server name in the top window of the dialog box. If the host does not appear in the top window, click “Specify Host…” and enter the server used in step 5.2 as the desired host. You may wish to permanently add it to the list by selecting the checkmark box. 5.5. Click the “Open” button 5.6. Enter the Remote Administration window click the “Open File” button. 5.7. From the “Open Database” dialog box choose the file you wish to make available to the network and click OK. 5.8. Repeat step 5.7 to open other currently closed databases. 5.9. Close the Remote Administration window when finished. Closing the database for modification purposes. The Extension folder referred to should not be confused with the Extension folder found in the System Folder. XXX = ship-to-code. 3 Make sure no databases are being hosted and accessed by multiple users. 2 6.1. 6.2. 6.3. 6.4. 6.5. While in Remote Administration4, click the arrow by “Database”. You should see all the databases hosted on your server. Navigate to the database you wish to close and click to select. To send a message to connected users 6.3.1. Click the “Guests” tab to view any users currently connected to the database. 6.3.2. Click the “Send Message to All” button. 6.3.3. Enter the message to be sent. 6.3.4. Click “OK”. Click the “Close File” button. Make necessary modifications and follow steps 5.2 through 5.7 to reopen the database(s). Other related documents: Fmproservernt50.doc (How to install filmmaker Pro Server on your NT Server) Fmproservernt30.doc FMProRemoteAdmin30.doc Go to this web site for information on hosting and closing your database http://web/etsweb/ - How to Remotely Administer FileMaker 5.0 Server - Date Entered: 3/13/2001. This PowerPoint will explain step by step how to access and administer FileMaker 5.0 Server software. It also contains some troubleshooting tips. Version 2.00 – 05/16/02 FMProRemoteAdmin50.doc Document Status: Draft In Testing In Distribution 4 If not already in Remote Administration, follow steps 5.1 through 5.6 to access the hosted files.
