Instructions for installing Alertus
advertisement
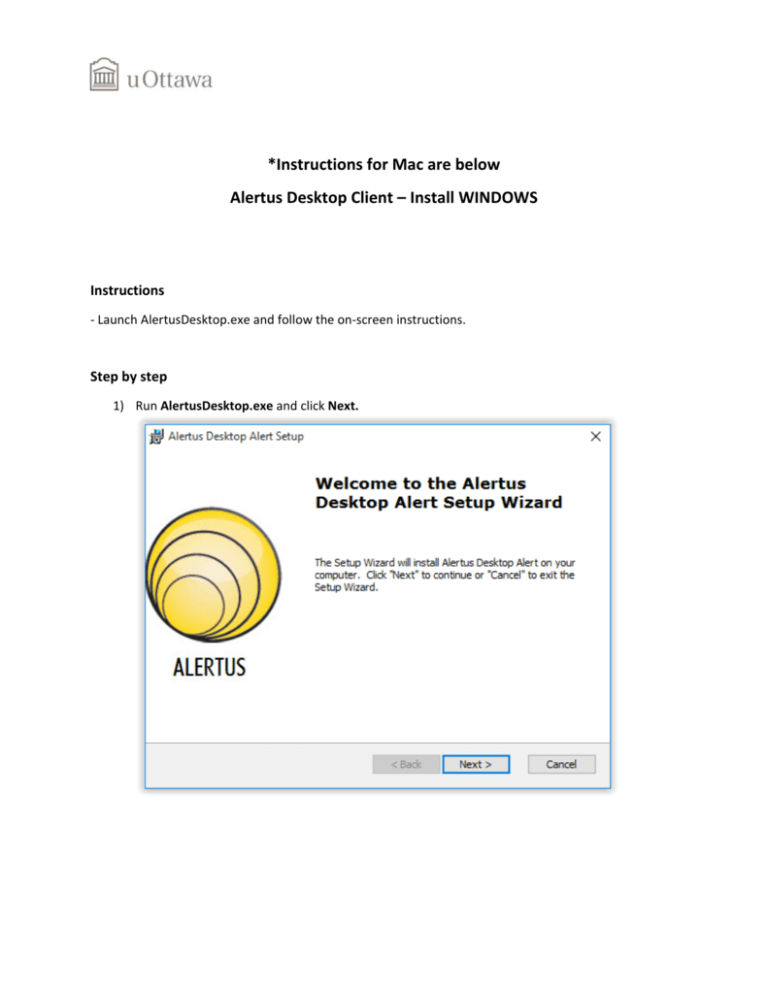
*Instructions for Mac are below Alertus Desktop Client – Install WINDOWS Instructions ‐ Launch AlertusDesktop.exe and follow the on‐screen instructions. Step by step 1) Run AlertusDesktop.exe and click Next. 2) Accept the license agreement and click Next. 3) Leave default folder as is and click Next. 4) Click Install to begin the installation. 5) Click Yes to allow the installation to proceed. 6) The following screen will appear once the Desktop client has been successfully installed. Leave the box checked and click Finish. 7) Windows may require additional files in order to complete the installation. If this screen appears, click on Download and install this feature. 8) The following screen will appear once the .NET Framework installation is complete. Click Close. 9) You will need to start the Alertus Desktop application from the Start menu following the installation of the .NET Framework. 10) Once Alertus Desktop is installed, you should see the following icon in the system tray. * A red icon indicates a communication problem with the server. Possible solutions: ‐ ‐ ‐ Verify your Internet connectivity; Alertus requires an active Internet connection to perform correctly. Check your computer’s date and time. If they are not correct Alertus may not be able to communicate properly with the University. If issues persist, contact the Service Desk at ext. 6555. Alertus Desktop Client – Install Mac Instructions ‐ Launch AlertusDesktop.dmg and follow the on‐screen instructions. Step by step 1) Run AlertusDesktop.dmg and then run alertus‐desktop‐osx‐2.9.30.1572.pkg. 2) Click on Continue. 3) Click on Continue. 4) Accept the license by clicking Agree. 5) Click Install to continue. 6) Enter your password to start the installation. 7) The following screen will appear once the installation is successfully completed. Click Close to finish.
