EXPERIMENT 6 HARDNESS TEST A. The purpose of this test is to
advertisement
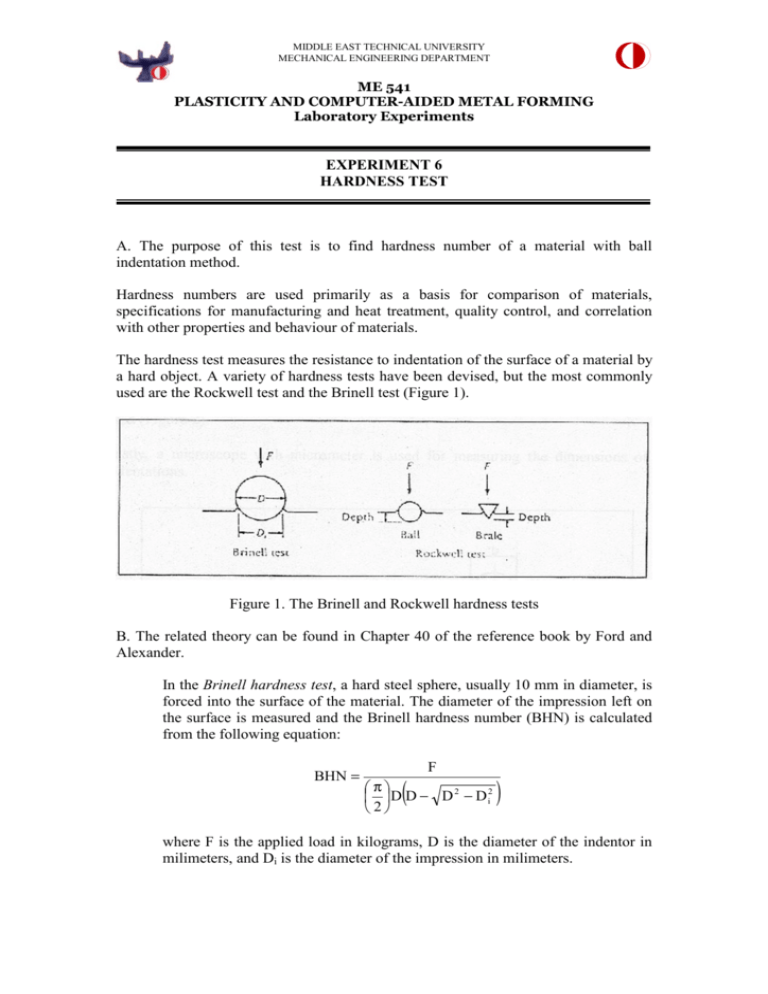
MIDDLE EAST TECHNICAL UNIVERSITY MECHANICAL ENGINEERING DEPARTMENT ME 541 PLASTICITY AND COMPUTER-AIDED METAL FORMING Laboratory Experiments EXPERIMENT 6 HARDNESS TEST A. The purpose of this test is to find hardness number of a material with ball indentation method. Hardness numbers are used primarily as a basis for comparison of materials, specifications for manufacturing and heat treatment, quality control, and correlation with other properties and behaviour of materials. The hardness test measures the resistance to indentation of the surface of a material by a hard object. A variety of hardness tests have been devised, but the most commonly used are the Rockwell test and the Brinell test (Figure 1). Figure 1. The Brinell and Rockwell hardness tests B. The related theory can be found in Chapter 40 of the reference book by Ford and Alexander. In the Brinell hardness test, a hard steel sphere, usually 10 mm in diameter, is forced into the surface of the material. The diameter of the impression left on the surface is measured and the Brinell hardness number (BHN) is calculated from the following equation: BHN = ( F π 2 2 D D − D − D i 2 ) where F is the applied load in kilograms, D is the diameter of the indentor in milimeters, and Di is the diameter of the impression in milimeters. MIDDLE EAST TECHNICAL UNIVERSITY MECHANICAL ENGINEERING DEPARTMENT ME 541 PLASTICITY AND COMPUTER-AIDED METAL FORMING Laboratory Experiments The Rockwell hardness test uses either a small diameter steel ball for soft materials or a diamond cone, or Brale, for harder materials. The depth of penetration of the indentor is automatically measured by the testing machine and converted to a Rockwell hardness number. The Vickers and Knoop tests are microhardness tests; they form such small indentations that a microscope is required to obtain the measurement. Brinell hardness is closely related to the ultimate tensile strength of steel by the relationship Ultimate Tensile Strength (psi) = 500BHN A Brinell hardness number can be obtained in just a few minutes with virtually no preparation of the specimen and without destroying the component, yet provides a close approximation for the tensile strength. C. The following should be accomplished to complete the report: a) The hardness number should be read on the tables supplied during the test and then calculated theoretically. b) Calculate the ultimate tensile strength by using the formula. D. Related Turkish Standard is TS 139 - 'Brinell Testing of Metallic Materials', TS 207 - 'Vickers Hardness Test for Metallic Materials', TS 140 - 'Rockwell Hardness Test for Metallic Materials'.


