Update Instructions
advertisement
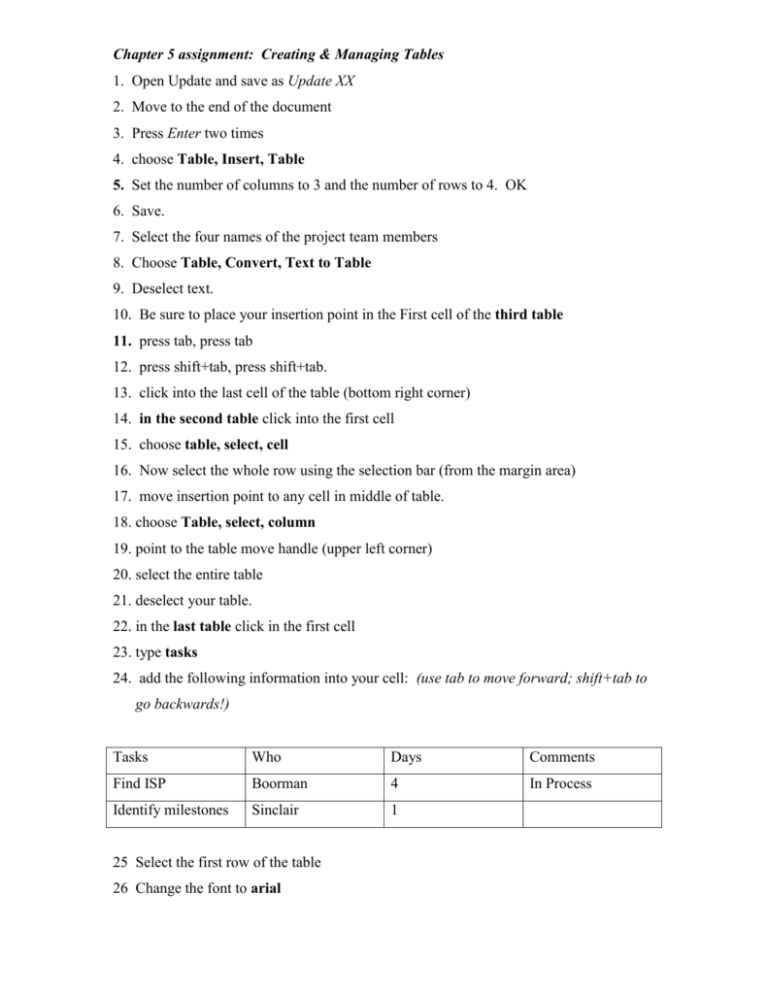
Chapter 5 assignment: Creating & Managing Tables 1. Open Update and save as Update XX 2. Move to the end of the document 3. Press Enter two times 4. choose Table, Insert, Table 5. Set the number of columns to 3 and the number of rows to 4. OK 6. Save. 7. Select the four names of the project team members 8. Choose Table, Convert, Text to Table 9. Deselect text. 10. Be sure to place your insertion point in the First cell of the third table 11. press tab, press tab 12. press shift+tab, press shift+tab. 13. click into the last cell of the table (bottom right corner) 14. in the second table click into the first cell 15. choose table, select, cell 16. Now select the whole row using the selection bar (from the margin area) 17. move insertion point to any cell in middle of table. 18. choose Table, select, column 19. point to the table move handle (upper left corner) 20. select the entire table 21. deselect your table. 22. in the last table click in the first cell 23. type tasks 24. add the following information into your cell: (use tab to move forward; shift+tab to go backwards!) Tasks Who Days Comments Find ISP Boorman 4 In Process Identify milestones Sinclair 1 25 Select the first row of the table 26 Change the font to arial Chapter 5 assignment: Creating & Managing Tables 27 Select the 2nd column 28 Center the text 29 Save! 30 In last table, place cursor in last cell 31 Press TAB 32 Enter the following information: Develop training Thomas 25 Starts Next week 15 High Priority 33. Select 2nd row. 34. choose Table, Insert, Row above 35. Enter the following information: Build preliminary Sechan Web site 36. Select the last three rows. 37. Insert 3 rows ABOVE the selection. 38. Delete the last 3 rows you just inserted 39. Select the Comments column 40. Rt. Click and delete the column 41. Select the last table 42. press your delete button 43. click undo 44. Place insertion point in the second table 45. Delete the table 46. Save! 47. Select the first Tasks column 48. Change the column width to 2. (hint: go to table properties) 49. Select your table 50. Autofit your contents in the table 51. Select your table Chapter 5 assignment: Creating & Managing Tables 52. Center the table in your document (horizontally). Be sure NOT to center the contents of your table. 53. Save, Submit via SynchEyes
