Spray Paint Stencil Tutorial: DIY Art Guide
advertisement
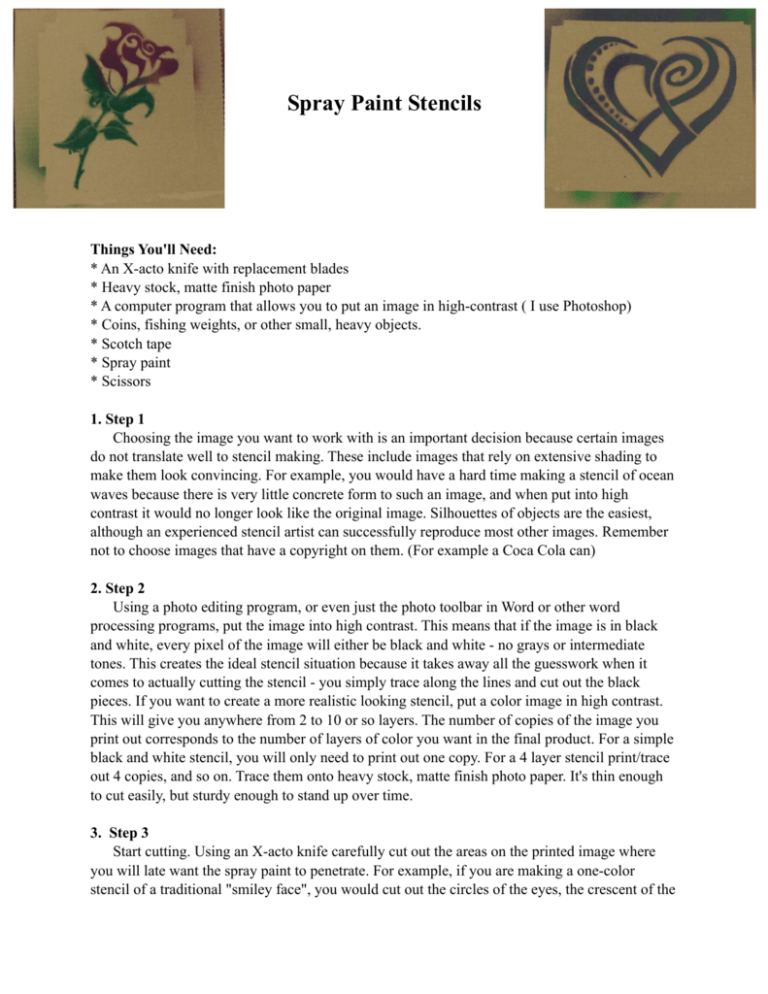
Spray Paint Stencils Things You'll Need: * An X-acto knife with replacement blades * Heavy stock, matte finish photo paper * A computer program that allows you to put an image in high-contrast ( I use Photoshop) * Coins, fishing weights, or other small, heavy objects. * Scotch tape * Spray paint * Scissors 1. Step 1 Choosing the image you want to work with is an important decision because certain images do not translate well to stencil making. These include images that rely on extensive shading to make them look convincing. For example, you would have a hard time making a stencil of ocean waves because there is very little concrete form to such an image, and when put into high contrast it would no longer look like the original image. Silhouettes of objects are the easiest, although an experienced stencil artist can successfully reproduce most other images. Remember not to choose images that have a copyright on them. (For example a Coca Cola can) 2. Step 2 Using a photo editing program, or even just the photo toolbar in Word or other word processing programs, put the image into high contrast. This means that if the image is in black and white, every pixel of the image will either be black and white - no grays or intermediate tones. This creates the ideal stencil situation because it takes away all the guesswork when it comes to actually cutting the stencil - you simply trace along the lines and cut out the black pieces. If you want to create a more realistic looking stencil, put a color image in high contrast. This will give you anywhere from 2 to 10 or so layers. The number of copies of the image you print out corresponds to the number of layers of color you want in the final product. For a simple black and white stencil, you will only need to print out one copy. For a 4 layer stencil print/trace out 4 copies, and so on. Trace them onto heavy stock, matte finish photo paper. It's thin enough to cut easily, but sturdy enough to stand up over time. 3. Step 3 Start cutting. Using an X-acto knife carefully cut out the areas on the printed image where you will late want the spray paint to penetrate. For example, if you are making a one-color stencil of a traditional "smiley face", you would cut out the circles of the eyes, the crescent of the mouth, and the circle, which define the head. When cutting out outlines, such as the circle around the head, you will have to make one cut on the outside of the line, and one cut on the inside, so that a thin strip of paper representing the line is removed. MAKE SURE to leave little connectors between the inside of the face and the outside of the face so that the face will remain attached to the piece of paper. This will not be a problem when you are cutting out simple silhouettes, but, especially when you cut more complex or multi-layer images, you will encounter "islands" of color which, if not attached to the rest of the stencil with little bridges of paper, will be completely cut off and fall out of the paper. If you accidentally cut an island out of the paper, you can reattach it with tiny strips of tape. If you are making a multi-layer stencil, you should only cut one color out of each piece of paper. For example, if you are making a stencil of a red rose with a green stem in a blue vase, then on one piece of paper you would only cut out the red, which will serve as the rose flower. On another piece of paper you would only cut out the green of the stem, and so one. You will align these multiple layers later, producing one cohesive image. 4. Step 4 Once you have cut all of your stencils, it's time to paint. For a one-layer stencil, simply lay the stencil directly onto the desired surface, placing coins or other small weights on the edges of the parts you cut out, to prevent the stencil from lifting up while you spray it. If this happens, the edges of the image can get misted by paint, making the image look "dirty". Once you've set up your weights, lay down paper around the stencil so you don't get any paint where you don't want it, and spray the stencil with paint from directly above and about a foot away. Do this slowly and carefully, making sure not to use too much paint. Excessive paint use can cause the paint to run or bleed, and will blur the lines you carefully cut. Remember, if you accidentally use too little paint, you can always add more once it dries. If you are using a multi-layer stencil, set up your first layer in the same way, but make sure to draw registration marks at the corners of the piece of paper. Using a pen you can simply trace lines around the four corners of the paper. These will act as guides that tell you exactly where to lay the subsequent layers of the stencil, so that they all superimpose on top of each other and eventually create one cohesive image. When using multiple layers, make sure that the paint used for one layer is dry before setting up the stencil of the next layer on top of it.
