CHALK PASTEL TECHNIQUES
advertisement
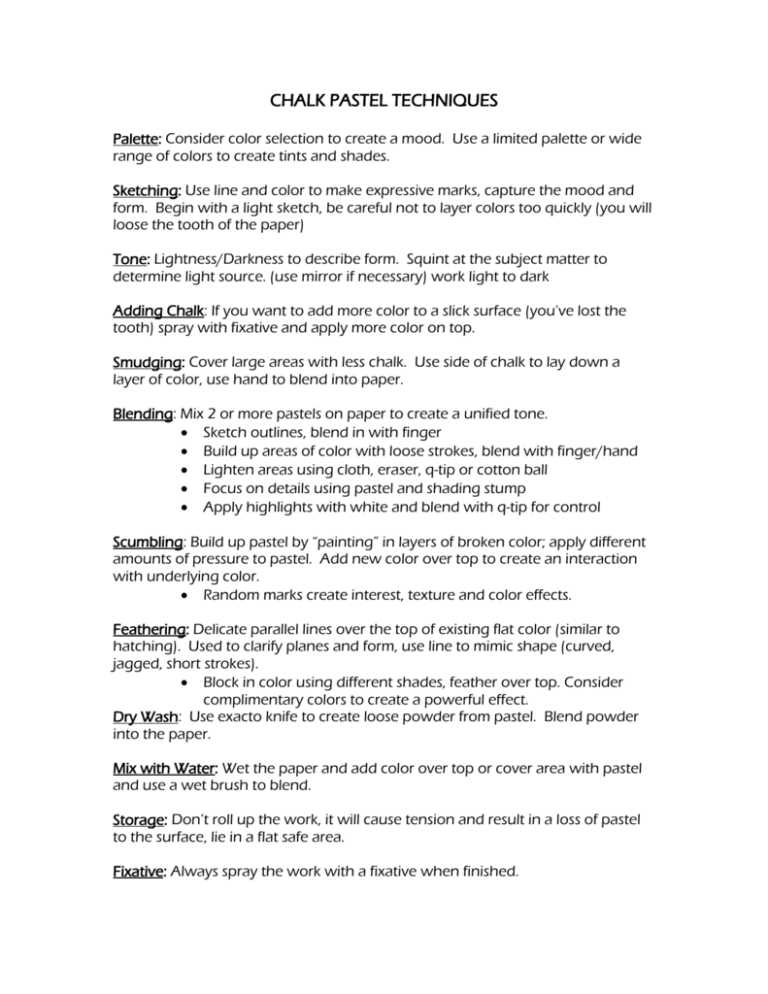
CHALK PASTEL TECHNIQUES Palette: Consider color selection to create a mood. Use a limited palette or wide range of colors to create tints and shades. Sketching: Use line and color to make expressive marks, capture the mood and form. Begin with a light sketch, be careful not to layer colors too quickly (you will loose the tooth of the paper) Tone: Lightness/Darkness to describe form. Squint at the subject matter to determine light source. (use mirror if necessary) work light to dark Adding Chalk: If you want to add more color to a slick surface (you’ve lost the tooth) spray with fixative and apply more color on top. Smudging: Cover large areas with less chalk. Use side of chalk to lay down a layer of color, use hand to blend into paper. Blending: Mix 2 or more pastels on paper to create a unified tone. Sketch outlines, blend in with finger Build up areas of color with loose strokes, blend with finger/hand Lighten areas using cloth, eraser, q-tip or cotton ball Focus on details using pastel and shading stump Apply highlights with white and blend with q-tip for control Scumbling: Build up pastel by “painting” in layers of broken color; apply different amounts of pressure to pastel. Add new color over top to create an interaction with underlying color. Random marks create interest, texture and color effects. Feathering: Delicate parallel lines over the top of existing flat color (similar to hatching). Used to clarify planes and form, use line to mimic shape (curved, jagged, short strokes). Block in color using different shades, feather over top. Consider complimentary colors to create a powerful effect. Dry Wash: Use exacto knife to create loose powder from pastel. Blend powder into the paper. Mix with Water: Wet the paper and add color over top or cover area with pastel and use a wet brush to blend. Storage: Don’t roll up the work, it will cause tension and result in a loss of pastel to the surface, lie in a flat safe area. Fixative: Always spray the work with a fixative when finished.
