Usability Test
advertisement
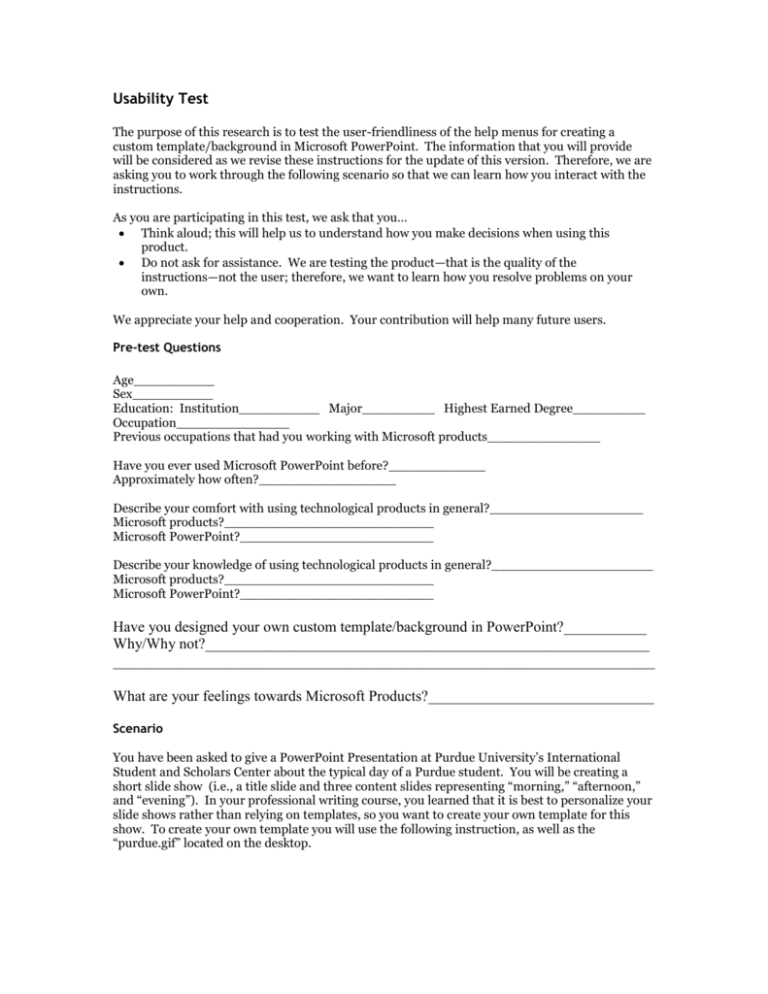
Usability Test The purpose of this research is to test the user-friendliness of the help menus for creating a custom template/background in Microsoft PowerPoint. The information that you will provide will be considered as we revise these instructions for the update of this version. Therefore, we are asking you to work through the following scenario so that we can learn how you interact with the instructions. As you are participating in this test, we ask that you… Think aloud; this will help us to understand how you make decisions when using this product. Do not ask for assistance. We are testing the product—that is the quality of the instructions—not the user; therefore, we want to learn how you resolve problems on your own. We appreciate your help and cooperation. Your contribution will help many future users. Pre-test Questions Age__________ Sex__________ Education: Institution__________ Major_________ Highest Earned Degree_________ Occupation______________ Previous occupations that had you working with Microsoft products______________ Have you ever used Microsoft PowerPoint before?____________ Approximately how often?_________________ Describe your comfort with using technological products in general?___________________ Microsoft products?__________________________ Microsoft PowerPoint?________________________ Describe your knowledge of using technological products in general?____________________ Microsoft products?__________________________ Microsoft PowerPoint?________________________ Have you designed your own custom template/background in PowerPoint?___________ Why/Why not?___________________________________________________________ ________________________________________________________________________ What are your feelings towards Microsoft Products?______________________________ Scenario You have been asked to give a PowerPoint Presentation at Purdue University’s International Student and Scholars Center about the typical day of a Purdue student. You will be creating a short slide show (i.e., a title slide and three content slides representing “morning,” “afternoon,” and “evening”). In your professional writing course, you learned that it is best to personalize your slide shows rather than relying on templates, so you want to create your own template for this show. To create your own template you will use the following instruction, as well as the “purdue.gif” located on the desktop. Instructions Modify the slide master or title master 1. Select one of the slides associated with the master you want to change. 2. Do one or both of the following: On the View menu, point to Master, and then click Slide Master. On the View menu, point to Master, and then click Title Master. 3. Make the changes you want. For example, change the font type, change the color or size of the text, change the bullet character, or add a picture or text box. Be sure you don't delete or add characters in the placeholder text. 4. On the Master toolbar, click Close. Make an object appear on every slide in the presentation 1. Select one of the slides associated with the slide master you want to add an object to. 2. On the View menu, point to Master, and then click Slide Master. 3. Add the object to the slide master. 4. To return to your slide, click Close on the Master toolbar. Notes • If your presentation also has a title master and you want the object to appear on all title slides, you must also add the object to the title master. • If the objects don't appear on a specific slide, click Background on the Format menu, and make sure the Omit background graphics from master check box is cleared. Insert an imported picture 1. Display the slide you want to add a picture to. To add the picture to every slide in your presentation, add it to the slide master. To add the picture to your title slides, add it to the title master. 2. In normal view, point to Picture on the Insert menu, and then click From File. 3. Locate the folder that contains the picture you want to insert. 4. Click the picture. 5. Do one of the following: To embed the picture into your slide, click Insert. To link the picture in your presentation to the picture file on your hard drive, click the Link to File check box. Note The linked object in the destination file can be updated when the source file is updated. However, a linked object does not become part of the destination file. Tip You can also add pictures to your notes pages. To do this, click Notes Page on the View menu and then add the picture you want. Post-Test Questions What part of the instructions were the most clear? Why? What part of the instructions were the most confusing? Why? What type of guidance were you expecting from these instructions that were not there? Describe the usefulness of the “Notes” and the “Tips.” In the future would you customize the template/background or use a pre-made template? Why?
