Beckman DU-800 Spectrophotometer
advertisement
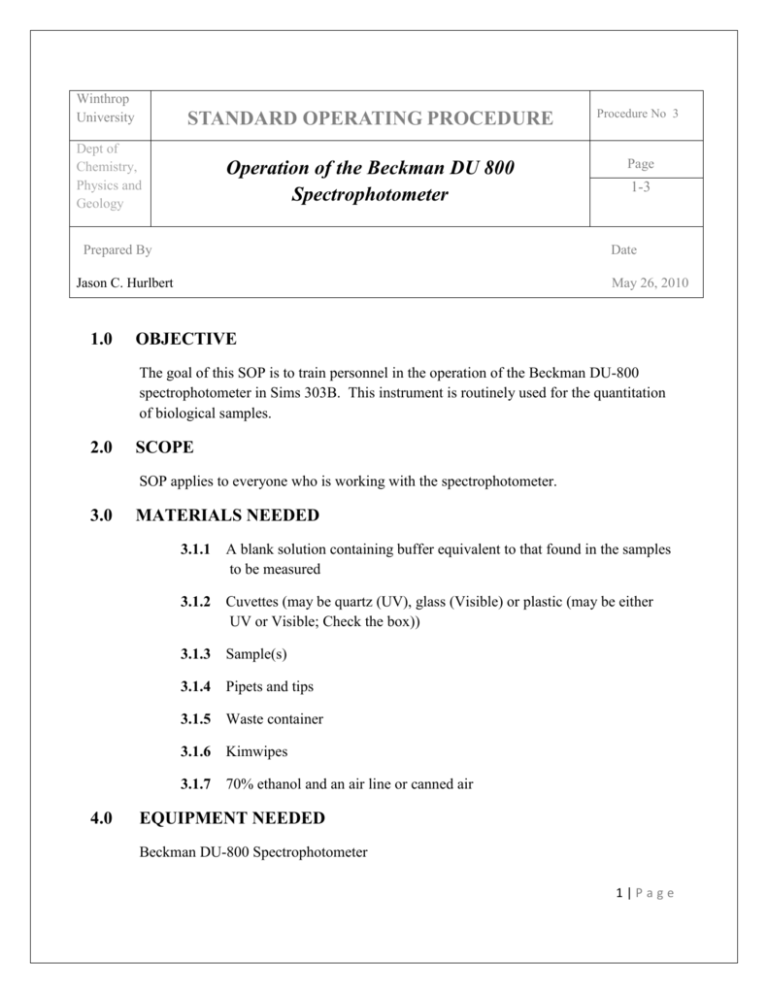
Winthrop University STANDARD OPERATING PROCEDURE Procedure No 3 Dept of Chemistry, Physics and Geology Operation of the Beckman DU 800 Spectrophotometer Page Prepared By Date Jason C. Hurlbert 1.0 1-3 May 26, 2010 OBJECTIVE The goal of this SOP is to train personnel in the operation of the Beckman DU-800 spectrophotometer in Sims 303B. This instrument is routinely used for the quantitation of biological samples. 2.0 SCOPE SOP applies to everyone who is working with the spectrophotometer. 3.0 4.0 MATERIALS NEEDED 3.1.1 A blank solution containing buffer equivalent to that found in the samples to be measured 3.1.2 Cuvettes (may be quartz (UV), glass (Visible) or plastic (may be either UV or Visible; Check the box)) 3.1.3 Sample(s) 3.1.4 Pipets and tips 3.1.5 Waste container 3.1.6 Kimwipes 3.1.7 70% ethanol and an air line or canned air EQUIPMENT NEEDED Beckman DU-800 Spectrophotometer 1|Page 5.0 PROCEDURE 5.1 Prior to using the instrument, you must determine the measurement wavelength to be used and the volume of sample you will prepare. This information will determine the type and volume of cuvette you will use during measurement. 5.2 Prepare your samples, making certain to prepare a blank solution containing no sample. This will be used to set the zero measurement for the instrument. 5.3 Log into the PC connected to the spectrophotometer as you would any other computer found on campus. 5.4 Find the icon that resembles the instrument with the label “Beckman DU-800” under it and double click it to launch the software. 5.5 Once the software has started up, you will see the following screen: A C B Figure 1: Main screen for the DU-800 Control Software. The type of experiment will be controlled by the drop down box found in A. The Lamps will be powered on or off by clicking on the appropriate wavelength range in B. Sample holder and wavelengths are selected in C. 2|Page 5.6 Once the software finishes loading, go ahead to Box B in Figure 1 and turn on the lamp that will emit in the wavelength range needed. If wavelengths in both the UV and Visible ranges are needed, click both. Wait for at least 15 minutes before initiating measurements to let the lamp emissions stabilize. 5.7 While the lamps are warming up, choose the type of experiment you wish to run (Fixed Wavelength, Kinetics versus Time, Nucleic Acid Quantitation, etc.) by choosing the appropriate type in the drop down box found in Box A of Figure 1. The options found in Figure 2 will appear. Figure 2: Types of experiments that can be run on the Beckman DU800. The arrow is pointing to the dropbox that allows the user to choose the experiment to be run. 3|Page 5.8 Once the type of experiment is set, you will likely need to alter the default parameters for the experiment to suit your needs. Click on the ‘Edit Method’ button found in Box C of Figure 1 and the following screen will appear: Figure 3: Dialog box that appears for the Fixed Wavelength experiment type once the 'Edit Method' button found in Figure 1 is pressed. 5.9 Using the Edit Method dialog box, change the necessary parameters to fit your experimental need. The most important of these will be Wavelength and Sampler. The measurement wavelength can be 4|Page found under the Application tab of the Edit Method dialog box as seen in Figure 3. The Sampler is the sample holder. Typical options for this may be found in Figure 4. Figure 4: Accessories dialog box. 5.10 The Sampler type must be selected before initiating experiments. It may be altered under the ‘Sampler’ tab of the Edit Method dialog box or by clicking the ‘Accessories’ button found just above the ‘Edit Method’ button found in Figure 1. Once you have selected the type of sample holder, you may hear the stage reposition itself in the sample chamber. 5.11 When finished setting the experimental parameters, open the sample chamber door and make certain that the correct sample holder is in place. If necessary, remove the incorrect holder by turning the two 5|Page silver screws on the top and bottom of the holder and replace the holder with the correct one. Affix the correct holder to the instrument by hand tightening the two silver screws, making certain that the ‘FRONT’ label is closest to the front of the unit. Failure to orient the sample holder correctly will result in no light reaching the sample or detector. 5.12 Press the ‘Home’ button beside the sample holder layout found in the lower left (Figure 1, Box B) of the main DU800 screen. 5.13 Regardless of the wavelength range used or type of experiment to be performed, using the Beckman DU800 has 2 basic steps. Refer to Figure 5. A C B Figure 5: DU800 main screen with areas of interest during sample measurement highlighted. Box A contains the Blank and Sample Read Buttons. Box B contains the sample list where the name of the samples may be changed BEFORE measurement. Box C highlights the ‘File’ menu . 6|Page 5.13.1 Place a sample in the sample holder and close the chamber door. The first sample to be measured should always be a blank. Press the ‘BLK’ button shaped like a Stop Sign to blank the instrument with the current sample. The instrument will blank itself, meaning that the current sample has an absorbance of zero. Blanking is complete when the ‘Blank’ and ‘Read’ buttons are no longer grayed out. 5.13.2 Prior to measuring the absorbance of the sample, you may change the name in the Sample ID field found in Figure 5, Box B. You may not change the name of the sample after you have measured it! 5.13.3 Once blanked, leave the sample in the chamber and press the ‘Read’ button beside the ‘Blank’ button. This will give you the absorbance of the blank solution. If the reading of the blank versus itself is not close to zero, then your sample may not have been mixed correctly or the instrument was not yet warmed up (unstable energy from lamps). 5.13.3.1 If you are using disposeable plastic cuvettes, you may simply replace the blank in the sample chamber with a sample, change the name in the Sample ID field and press the Read button. Repeat until all samples have been completed. 5.13.3.2 If you are using a quartz cuvette, you will need to carefully remove your sample, rinse with deionized water, remove the rinse water, and carefully blot the cuvette dry. You may use an air line or canned air to CAREFULLY blow out the inside of the cuvette. Be certain you have a good grip on the cuvette as the air may blow it out of your hands. Once cleaned, add a sample to the cuvette, change the name in the Sample ID field and press the Read button. Repeat until all samples have been completed. 7|Page 5.13.4 To print your data, go into the ‘File’ menu (Figure 5, Box C) and select ‘Print’. 5.13.5 Once your data have been printed, make certain you have removed your samples from the instrument, clean the work area around the instrument with 70% ethanol and wipe dry. If you used a quartz cuvette(s), you must remove your sample from the cuvette, rinse the cuvette with deionized water, and then rinse with 70% ethanol. Do not add ethanol directly to protein containing samples as the proteins may precipitate onto the measurement windows and form a film. Carefully blow the cuvette dry and place in the protective holder. 5.13.6 Press the ‘File’ option and save your data to a flashdrive or select ‘Clear’ to remove all of your data from memory. 5.13.7 Shut off the lamp(s) by pressing the lamp icons found in Figure 1, Box B. Make certain that the lamps turn off before exiting the software. 5.13.8 6.0 Exit the software and log off of the computer. SAFETY Wear gloves throughout the procedure. Do not leave the instrument or sample unattended. Dispose of samples appropriately after measurement. Should spills occur with biological samples, sterilize the affected area and wipe dry. Dispose of cleanup materials in an autoclave bag. Name Jason C. Hurlbert Date Signature 8|Page
