CATIA Design Tables Tutorial: Alternate Method
advertisement
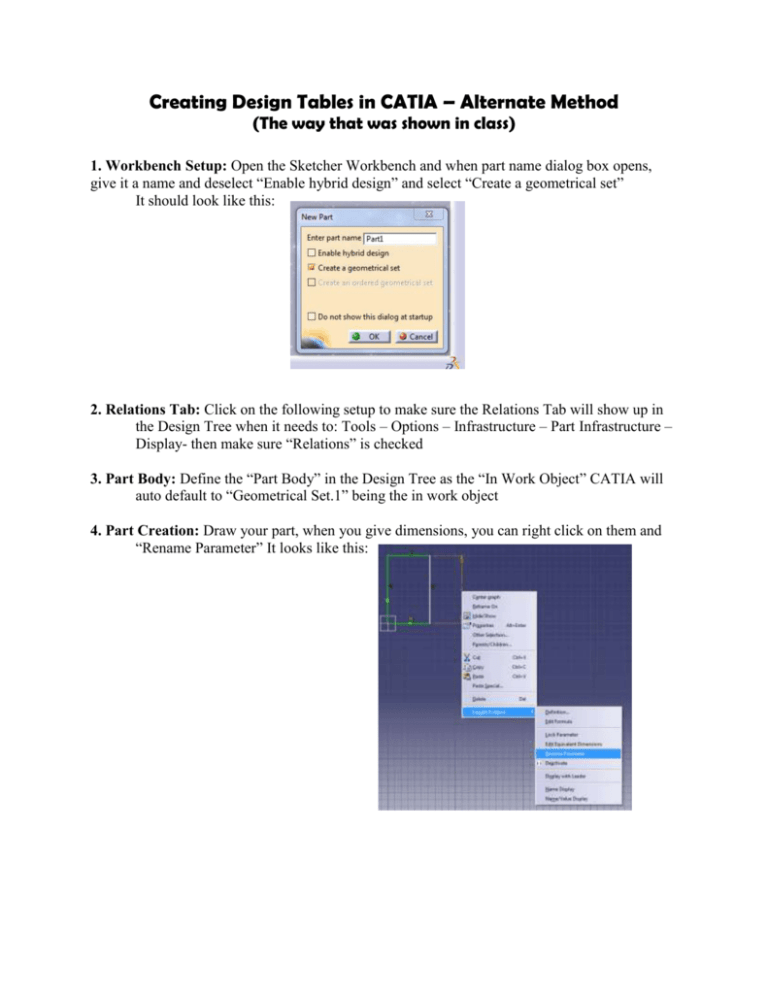
Creating Design Tables in CATIA – Alternate Method (The way that was shown in class) 1. Workbench Setup: Open the Sketcher Workbench and when part name dialog box opens, give it a name and deselect “Enable hybrid design” and select “Create a geometrical set” It should look like this: 2. Relations Tab: Click on the following setup to make sure the Relations Tab will show up in the Design Tree when it needs to: Tools – Options – Infrastructure – Part Infrastructure – Display- then make sure “Relations” is checked 3. Part Body: Define the “Part Body” in the Design Tree as the “In Work Object” CATIA will auto default to “Geometrical Set.1” being the in work object 4. Part Creation: Draw your part, when you give dimensions, you can right click on them and “Rename Parameter” It looks like this: 5. Creating the Design Table Click the Design Table Icon on the bottom of the Design Space Make sure you select “Create a Design Table from current parameter values” and also that the Orientation is “Vertical” Click OK A new dialog box will open, scroll down and find the parameters you have named in Part 4 and insert them into the design table. Click OK A new dialog box will open with the values that you created in the part drawing Click “Edit Table” in the bottom left hand corner of the dialog box An Excel file will open. Auto-Expand the parameters so they are in a single column Add a column so that the first column, column A, is “PartNumber” Insert the values that you want in the Design Table Save the Worksheet and Close it A “Knowledge Report” dialog box will appear in CATIA, telling you that you have updated the Design Table Click OK and then Click OK again to close the Design Table dialog box 6. Relations Tab: The “Relations” Tab should now have appeared in the Design Tree. This is where you will go to change between the dimensions you have created. 7. Save and Close: Save and close the Part, we are going to make a catalog. 8. Catalog Editor: Click the following: Start – Infrastructure – Catalog Editor Make sure “Chapter.1” is highlighted on the left hand side o Add a Part Family, either through “Insert” or the icon on the right hand side o Give it a name o Click Select Document and then select you saved CATIA Part that you closed in Step 10 o Save the Catalog o Go to the Assembly Design Workbench o Catalog Editor tab on the bottom of the Design Space o From here you can create your assemblies by combining different table features.


