Title Name Department and Institution
advertisement
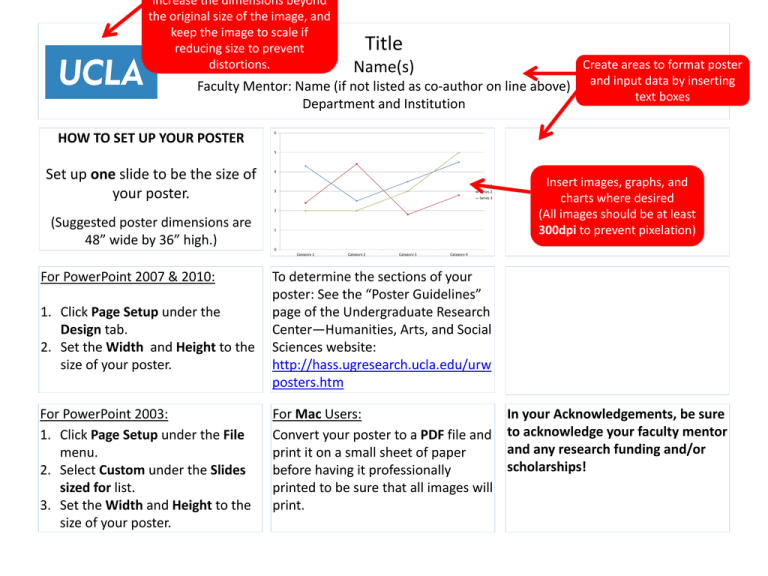
increase the dimensions beyond the original size of the image, and keep the image to scale if reducing size to prevent distortions. Title Create areas to format poster Name(s) and input data by inserting Faculty Mentor: Name (if not listed as co-author on line above) text boxes Department and Institution HOW TO SET UP YOUR POSTER 6 5 Set up one slide to be the size of your poster. 4 Series 1 3 Series 2 Series 3 2 (Suggested poster dimensions are 48” wide by 36” high.) 1 0 Category 1 For PowerPoint 2007 & 2010: 1. Click Page Setup under the Design tab. 2. Set the Width and Height to the size of your poster. For PowerPoint 2003: 1. Click Page Setup under the File menu. 2. Select Custom under the Slides sized for list. 3. Set the Width and Height to the size of your poster. Insert images, graphs, and charts where desired (All images should be at least 300dpi to prevent pixelation) Category 2 Category 3 Category 4 To determine the sections of your poster: See the “Poster Guidelines” page of the Undergraduate Research Center—Humanities, Arts, and Social Sciences website: http://hass.ugresearch.ucla.edu/urw posters.htm For Mac Users: Convert your poster to a PDF file and print it on a small sheet of paper before having it professionally printed to be sure that all images will print. In your Acknowledgements, be sure to acknowledge your faculty mentor and any research funding and/or scholarships!


