SharePoint Page Editing Procedure
advertisement
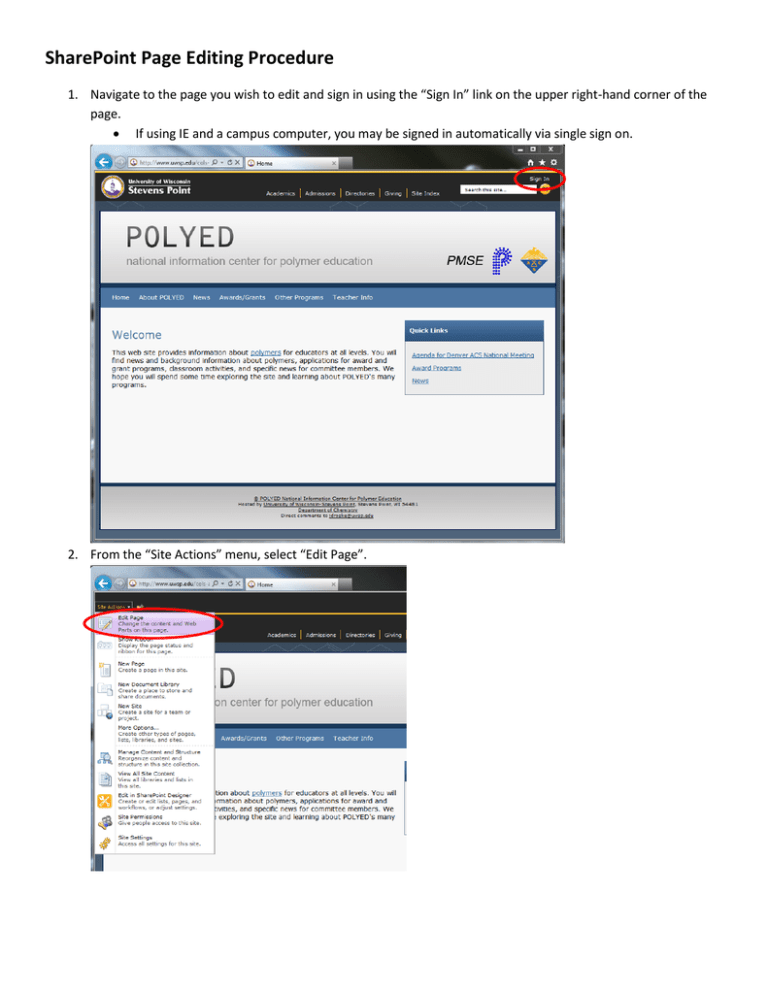
SharePoint Page Editing Procedure 1. Navigate to the page you wish to edit and sign in using the “Sign In” link on the upper right-hand corner of the page. If using IE and a campus computer, you may be signed in automatically via single sign on. 2. From the “Site Actions” menu, select “Edit Page”. 3. From the SharePoint ribbon at the top of the page, click the “Check Out” button. When a page is checked out, you have your own working copy that no one else sees and it places a hold on the original page to prevent anyone else from modifying it. While checked out, saving the file will not check it back in as you are only saving to your working copy. When the page is checked back in, the working copy overwrites the original page, the hold on the document is released, and the changes are then visible to other users. Changes to Web Part settings ignore the checked out status and are published instantly to the original document. 4. Make desired changes to page. 5. From the SharePoint ribbon at the top of the page, click the “Check In” button to publish and the webpage and make it visible to other users. SharePoint will then run a spell check on the document and allow you to document the changes made to the page (not required). You may also select “Discard Check Out” from the drop down menu below the “Check In” button to discard the changes and release the checkout.

