Electronic UPS Return Label
advertisement
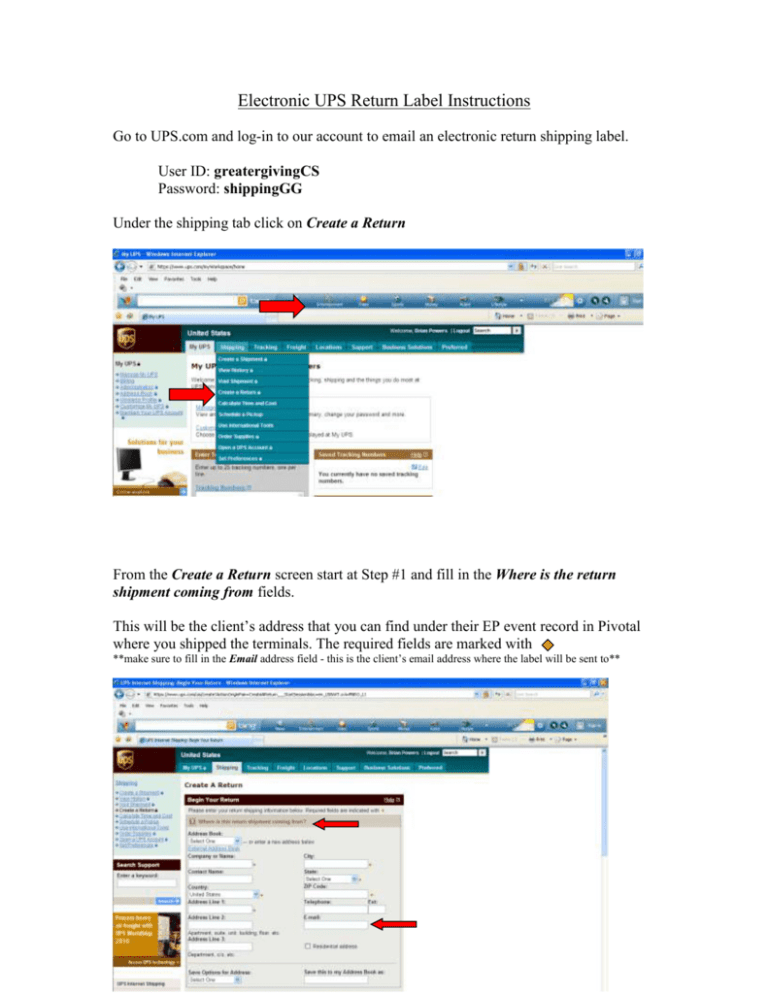
Electronic UPS Return Label Instructions Go to UPS.com and log-in to our account to email an electronic return shipping label. User ID: greatergivingCS Password: shippingGG Under the shipping tab click on Create a Return From the Create a Return screen start at Step #1 and fill in the Where is the return shipment coming from fields. This will be the client’s address that you can find under their EP event record in Pivotal where you shipped the terminals. The required fields are marked with **make sure to fill in the Email address field - this is the client’s email address where the label will be sent to** Next step is to confirm the Where is this return shipment going to address. The info should already be filled in with Greater Giving’s address but make sure to confirm that everything is correct. After confirming Step #2 move onto the What are you returning field. Here you will select My Packaging under the Packaging Type. Enter in the correct corresponding weight – 6 lbs. per terminal, 1 lb. per Card Reader Enter in the correct package dimensions – white terminal boxes 21 x 7 x 20 white card reader boxes 13 x 10 x 4 Finally, enter the merchandise description for the package being returned – auction equipment The required fields are marked with Move on to the How would you like to return field. Under the Return Service drop down menu select Electronic Return Label to email the UPS label to the client. Then select the Service you would like to have the package shipped. Step #5 you’ll need to fill in the client # under Reference #1 field. Leave the other reference field blank. Finally, confirm that our account number is listed under the Bill Shipping Charges to – acct# RV8045. After you have confirmed our account number click on Next to move onto the next screen. Confirm that the client’s email address is correct in the Send Electronic Return Label (ERL) to. Leave the ERL Memo Field blank. Click Next to move onto the next step. For the last step, make sure to confirm that all the information is correct. If anything needs to be changed you can click Edit in any of the fields and make the correction. If everything is correct, click on Create Return to email the label. The final screen will give you the tracking # along with the confirmation that the label has been emailed successfully.
