Wind
advertisement
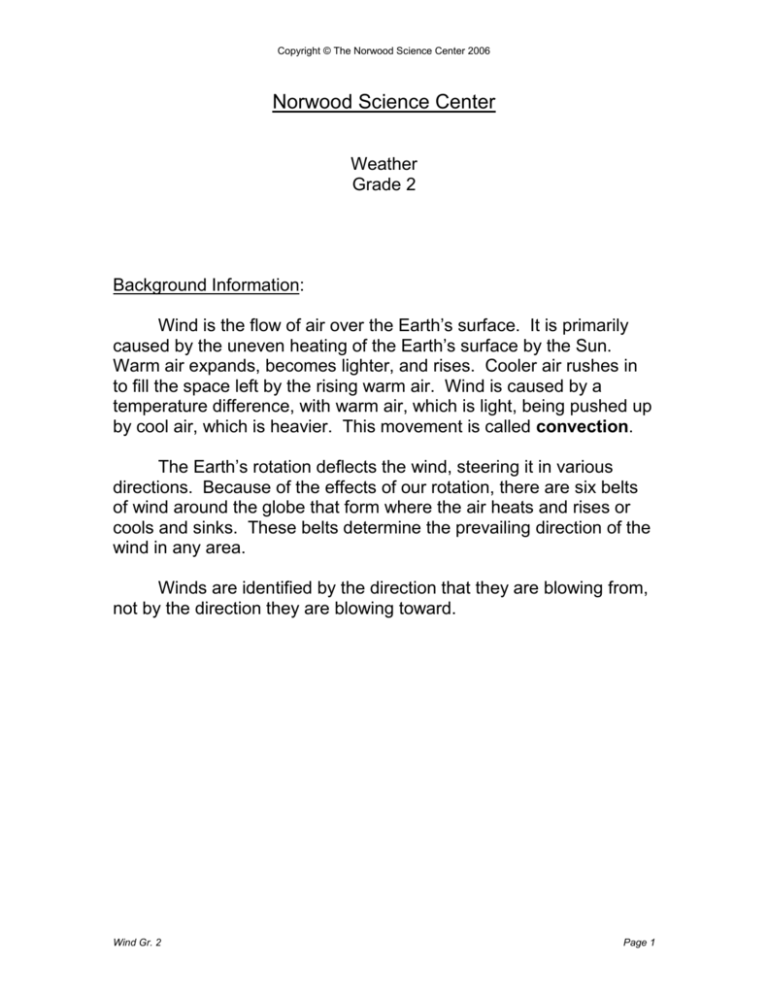
Copyright © The Norwood Science Center 2006 Norwood Science Center Weather Grade 2 Background Information: Wind is the flow of air over the Earth’s surface. It is primarily caused by the uneven heating of the Earth’s surface by the Sun. Warm air expands, becomes lighter, and rises. Cooler air rushes in to fill the space left by the rising warm air. Wind is caused by a temperature difference, with warm air, which is light, being pushed up by cool air, which is heavier. This movement is called convection. The Earth’s rotation deflects the wind, steering it in various directions. Because of the effects of our rotation, there are six belts of wind around the globe that form where the air heats and rises or cools and sinks. These belts determine the prevailing direction of the wind in any area. Winds are identified by the direction that they are blowing from, not by the direction they are blowing toward. Wind Gr. 2 Page 1 Copyright © The Norwood Science Center 2006 TITLE: WIND PURPOSE: Determine that wind is moving air Describe winds based on their source direction Construct a device to determine wind direction Construct a device to measure wind speed MATERIALS: (per class) Overheads or maps of the United States Classroom anemometer (per student) Compass Rose Wind Tracker worksheet Pencil Red string Adhesive tape Clothespin PROCEDURE: Compass Rose Wind Tracker 01. Bring the attention of the class to the map of the United States. 02. Ask for student input as to the four Cardinal directions on the map. 03. Ask the students to predict what the temperature/precipitation would be if the wind entered the United States from the North. A general consensus might be that it most likely would be cold(er). 04. Have the students predict the weather for each of the three remaining Cardinal compass points. 05. Distribute Compass Rose Wind Tracker worksheets and have the students record their name and date. Wind Gr. 2 Page 2 Copyright © The Norwood Science Center 2006 06. Students are to write in “North” on the line at the top of the page and the word “cold” on the line below that. 07. Students are to turn the paper upside down. They are to write “South” on what is now the line at the top of the page and the word “hot” on the line below that. 08. The students are to rotate the paper so the direction they think is East will now be at the top. The teacher goes around the room and checks the work. 09. Students are to record “East” on the top line and “wet” on the line below that. 10. Students are to bring the remaining Cardinal compass point to the top. They are to write in the word “West” on the top line and “dry” on the line below that. 11. Review with the students how to align the Compass Rose with Magnetic North. Using the front of the room as Magnetic North, all the tile lines running from the front of the room to the back of the room are meridians of longitude. There may be no need to mention this to the students at this point but it could be a helpful reminder that their Compass Rose should be aligned with these lines. 12. Distribute a 6-inch length of string, a pencil, and a small piece of tape to each student. Have them tape the string across the top of their eraser. 13. Distribute clothespins to each student. Holding their pencils in a vertical position with the eraser at the top, students should have the “business end” of their pencil held by the “business end” of the clothespins. When placed on the desk, the clothespin should now hold the pencil in an upright position. 14. Remind students to use their Compass Rose Wind Tracker in an open area. Wind Gr. 2 Page 3 Copyright © The Norwood Science Center 2006 15. In order to determine the cardinal directions without a magnetic compass, students can use the following procedure. Face the direction they observe the Sun setting. This direction is West. Students should place their Compass Rose Wind Tracker on the ground with the clothespin/pencil centered on the Compass Rose and align their Compass Rose with West. 16. Students are to note in which Cardinal direction the string is pointing. 17. Students should then ask themselves, “From what direction is the wind coming?” From this data, students can generate the short-term weather forecast. 18. Another method to determine the wind direction is to take the students to the flagpole, and use the flag to determine wind direction. Wind Gr. 2 Page 4 Copyright © The Norwood Science Center 2006 Anemometer Demonstration 01. The anemometer measures the strength of the wind on the Beaufort scale or the speed of the wind in meters per second. The greater the speed of the cups, the higher the reading. 02. The unique design features of the anemometer give direct wind speed readings without the need to count revolutions. It can be hand held or permanently fixed. As the wind blows harder, the arms move further out, lifting the reading bar. 03. Slide the arms out and “pop” into place for high wind speeds. CONCLUSION: 01. Summarize with the class that the direction from which the wind is coming can be used to make general predictions of the weather. The Beaufort Scale Force Number Wind Name 0 1 2 3 4 5 6 7 8 9 10 11 12 Calm Light air Light breeze Gentle breeze Moderate breeze Fresh breeze Strong breeze Moderate gale Fresh gale Strong gale Whole gale Storm Hurricane Wind Gr. 2 Wind Speed Miles/hour 0 1-3 4-7 8-12 13-18 19-24 25-31 32.38 39-46 47.54 55-63 64-72 73+ Wind Speed Meters/second 0 0.3-1.5 1.6-3.1 3.2-5.4 5.5-7.9 8.0-10.8 10.9-13.7 13.8-17.0 17.1-20.5 20.6-24.5 24.6-28.4 28.5-32.6 32.7+ Page 5 Copyright © The Norwood Science Center 2006 Wind Gr. 2 Page 6
