Auto Scroll feature
advertisement
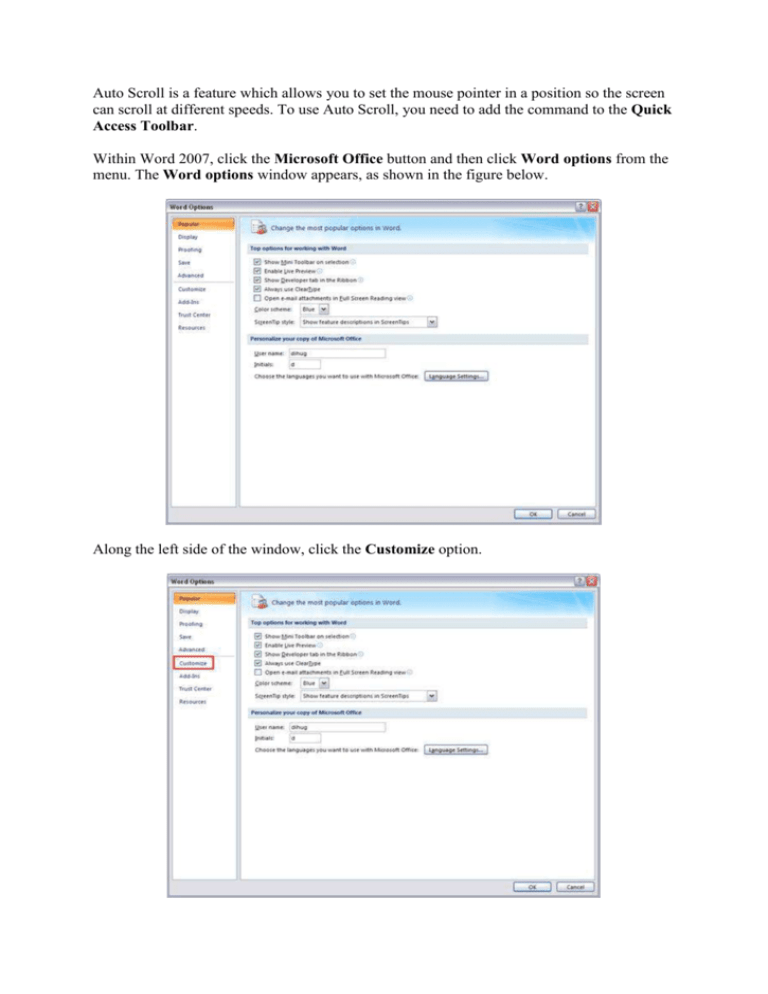
Auto Scroll is a feature which allows you to set the mouse pointer in a position so the screen can scroll at different speeds. To use Auto Scroll, you need to add the command to the Quick Access Toolbar. Within Word 2007, click the Microsoft Office button and then click Word options from the menu. The Word options window appears, as shown in the figure below. Along the left side of the window, click the Customize option. This is where you can customize the commands that appear on the Quick Access toolbar. Click the drop down arrow under Choose Commands From and select All Commands. The list of all commands that you can add to the Quick Access Toolbar appears. From the list, locate and select the Auto Scroll command. You’ll notice the Add button to the right of the list of commands. Once you select the Auto Scroll command, click the Add button. Word moves the command to the right side of the dialog box. Click OK to close the Word options window. Now you’re ready to use the Auto Scroll command, which should now appear on the Quick Access Toolbar. To use your new command, simply click on the command on the Quick Access Toolbar. Once you do, you’ll notice that your mouse pointer changes. To start scrolling, move the mouse pointer up or down, depending on the direction you want to scroll. The distance you move the mouse pointer up or down controls the speed at which scrolling occurs. To exit the scrolling mode, you can either press the Esc key or click the mouse button.
