17 – Using Input Controls to Filter Report Data in Web Intelligence
advertisement
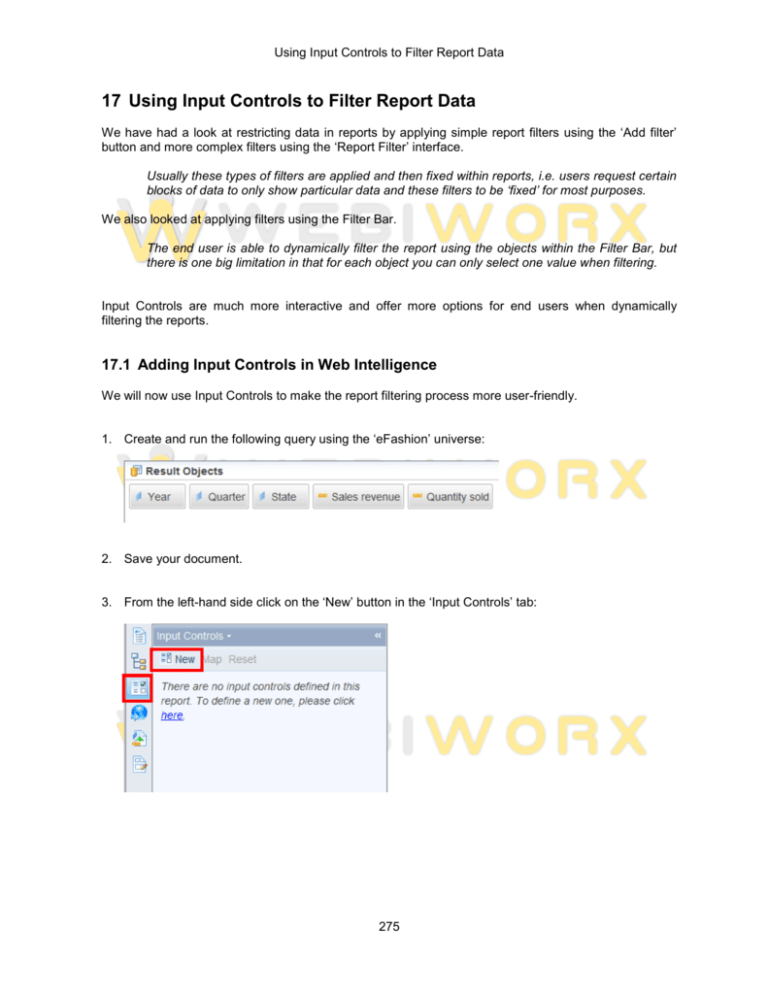
Using Input Controls to Filter Report Data 17 Using Input Controls to Filter Report Data We have had a look at restricting data in reports by applying simple report filters using the ‘Add filter’ button and more complex filters using the ‘Report Filter’ interface. Usually these types of filters are applied and then fixed within reports, i.e. users request certain blocks of data to only show particular data and these filters to be ‘fixed’ for most purposes. We also looked at applying filters using the Filter Bar. The end user is able to dynamically filter the report using the objects within the Filter Bar, but there is one big limitation in that for each object you can only select one value when filtering. Input Controls are much more interactive and offer more options for end users when dynamically filtering the reports. 17.1 Adding Input Controls in Web Intelligence We will now use Input Controls to make the report filtering process more user-friendly. 1. Create and run the following query using the ‘eFashion’ universe: 2. Save your document. 3. From the left-hand side click on the ‘New’ button in the ‘Input Controls’ tab: 275 Using Input Controls to Filter Report Data 4. We can change the report object on which the Input Control is to be defined against. Ensure [State] is selected and click ‘Next’: 5. The ‘Define Input Control’ interface will open and a list of Input Controls will be presented depending on the type of object selected (e.g. Dimension or Measure) and whether the object holds numerical values or string characters. ‘Single value’ controls allow users to select only one value for the object being filtered. Input Controls have properties that can be configured. ‘Multiple values’ controls allow users to select more than one value for the object being filtered. These properties vary depending on the actual control. 276 Using Input Controls to Filter Report Data 6. For the time being select ‘Radio buttons’ and then click on ‘Next’. Leave the default configuration property values. We will have a look at the various Input Controls and their properties later on in the session. 7. The control has to be assigned to a report element in order to filter the data within the selected element. Select ‘Vertical Table: Block1’ and then click on ‘Finish’. Selecting an individual block (as shown here) will apply the Input Control to the table only. If we selected ‘Page Body’ then all elements within the report would be affected by value(s) selected in the Input Control. This is similar to Block level filters and Report level filters as described in the previous session on ‘Filtering Data in Reports’. 8. The Input Control is now available for use in the Input Controls tab. Simply select a different value in the Input Control and the data in Block1 will be filtered. 9. Save the document. 277 Using Input Controls to Filter Report Data The input control we have used is identical to using a filter in the Filter Bar, i.e. only allows a single value to be selected, but Input Controls ‘appear’ more interactive compared to filters in the Filter Bar. Let us now look at an Input Control that allows you to select multiple values. 1. Click on ‘New’ on the ‘Input Controls’ tab. 2. Select [Quarter] and click ‘Next’. 3. Select ‘Check boxes’ and click ‘Next’ 278 Using Input Controls to Filter Report Data 4. Select ‘Vertical Table: Block1’ and then click on ‘Finish’. 5. Save the document. 6. The two Input Controls can be used together to filter the data in the table they are both attached to. 279
