Cubism Handout
advertisement
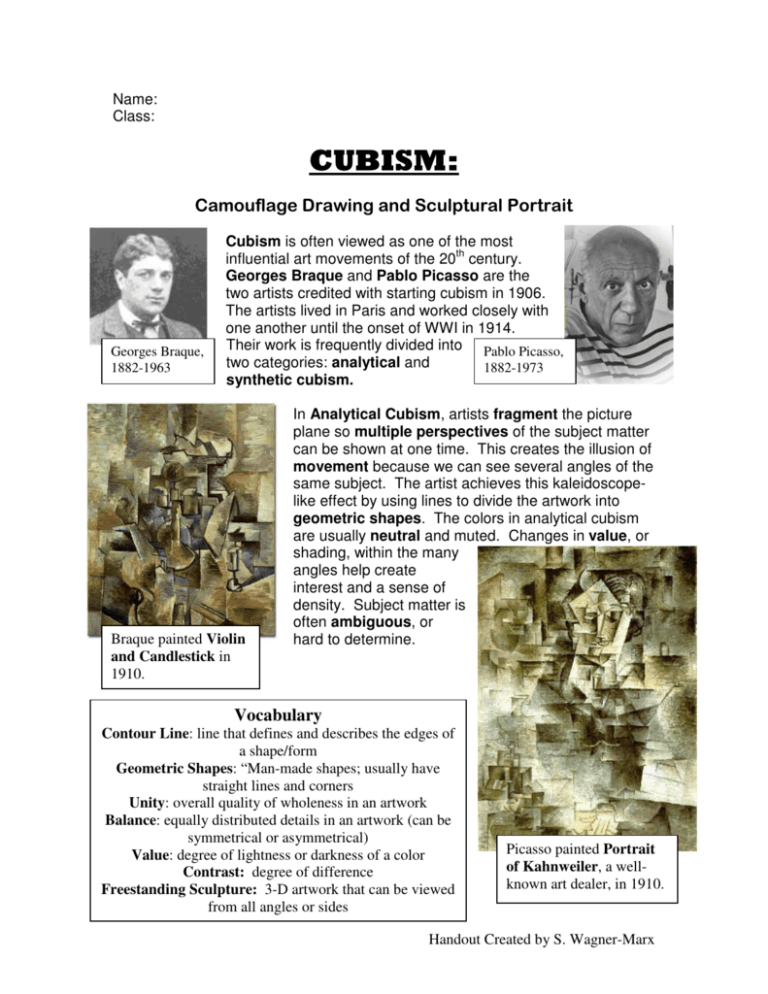
Name: Class: CUBISM: Camouflage Drawing and Sculptural Portrait Georges Braque, 1882-1963 Cubism is often viewed as one of the most influential art movements of the 20th century. Georges Braque and Pablo Picasso are the two artists credited with starting cubism in 1906. The artists lived in Paris and worked closely with one another until the onset of WWI in 1914. Their work is frequently divided into Pablo Picasso, two categories: analytical and 1882-1973 synthetic cubism. Braque painted Violin and Candlestick in 1910. In Analytical Cubism, artists fragment the picture plane so multiple perspectives of the subject matter can be shown at one time. This creates the illusion of movement because we can see several angles of the same subject. The artist achieves this kaleidoscopelike effect by using lines to divide the artwork into geometric shapes. The colors in analytical cubism are usually neutral and muted. Changes in value, or shading, within the many angles help create interest and a sense of density. Subject matter is often ambiguous, or hard to determine. Vocabulary Contour Line: line that defines and describes the edges of a shape/form Geometric Shapes: “Man-made shapes; usually have straight lines and corners Unity: overall quality of wholeness in an artwork Balance: equally distributed details in an artwork (can be symmetrical or asymmetrical) Value: degree of lightness or darkness of a color Contrast: degree of difference Freestanding Sculpture: 3-D artwork that can be viewed from all angles or sides Picasso painted Portrait of Kahnweiler, a wellknown art dealer, in 1910. Handout Created by S. Wagner-Marx Synthetic Cubism was the second phase of the cubist movement. In synthetic cubism, artists began to collage found elements into their work. Color starts to return to the work of Braque and Picasso. The picture plane continues to be fractured, but not necessarily as much as in analytic cubism. When Braque enlisted in the armed forces during WWI, Picasso continued to develop cubism on his own. Even though the cubist movement came to an end in the 1920’s, elements of cubism can be found in many of the portraits Picasso painted later in his career. Still Life with Violin and Flute, Picasso, 1912 Picasso created the Portrait of Marie-Therese in 1937 Weeping Woman, by Picasso, was painted in 1937 Project #1: Cubist Camouflage Drawing The first cubist inspired project is a drawing that reflects the characteristics of analytical cubism. 1. You will begin by creating a contour line drawing of an object. It will be important to fill the page and keep your drawing simple. 2. Next, use a ruler to break up the space with crisscrossed lines and geometric shapes. Be sure to use lines that pass through your contour drawing and go from edge to edge. Handout Created by S. Wagner-Marx 3. Select a color scheme for your artwork. You may choose your color scheme from the box to the right. Limit yourself to 4 colors. Color Schemes Analogous: 3-4 colors that are neighbors on the wheel Triad: 3 colors that are equally spaced on the wheel Warm: reds, oranges, and yellows Cool: blue, green, and violet colors Complimentary: colors opposite one another on the wheel Neutral: mixing complementary colors lowers their intensity (grays and browns) 4. Using oil pastels, start to color your drawing. Within each geometric shape use blending to create a range of values. Think about how you will create contrast in the areas adjacent to each shape. (Should blending be worked in opposite directions? Will you choose different colors?) Project #2: Sculptural Portrait The second cubist inspired project is a sculpture that resembles portraits created by Picasso in the years that followed his work with Georges Braque. You will manipulate a 3-D surface to create a portrait that reveals several views, or perspectives, of the face. The finished result will be distorted and interesting! 1. Secure a wire hanger into a wood base. Carefully bend the wire into an interesting shape. Your sculpture will be freestanding so be sure to examine it from all sides! 2. Next, carefully stretch a knee-hi stocking over the wire, all of the way down to the base. You want to avoid getting “runs” in the stocking, so watch for fingernails and jewelry that might snag your artwork!! When you have finished, check your sculpture again and make any desired form changes. 3. Apply several layers of diluted glue onto your sculpture. This will help strengthen the artwork as well as provide a base for the paint. Be sure to cover the entire sculpture, including the base! This sculpture, designed by Picasso, is in Chicago. 4. While you are waiting for the glue to dry, make several contour drawings of your sculpture. Begin to plan where you will place the facial features. Think about how your artwork will resemble Picasso’s portraits! 5. Using your preliminary sketches as a guide, paint your 3-D portrait! Handout Created by S. Wagner-Marx
