iClicker Quick Guide UBC iClicker Software
advertisement
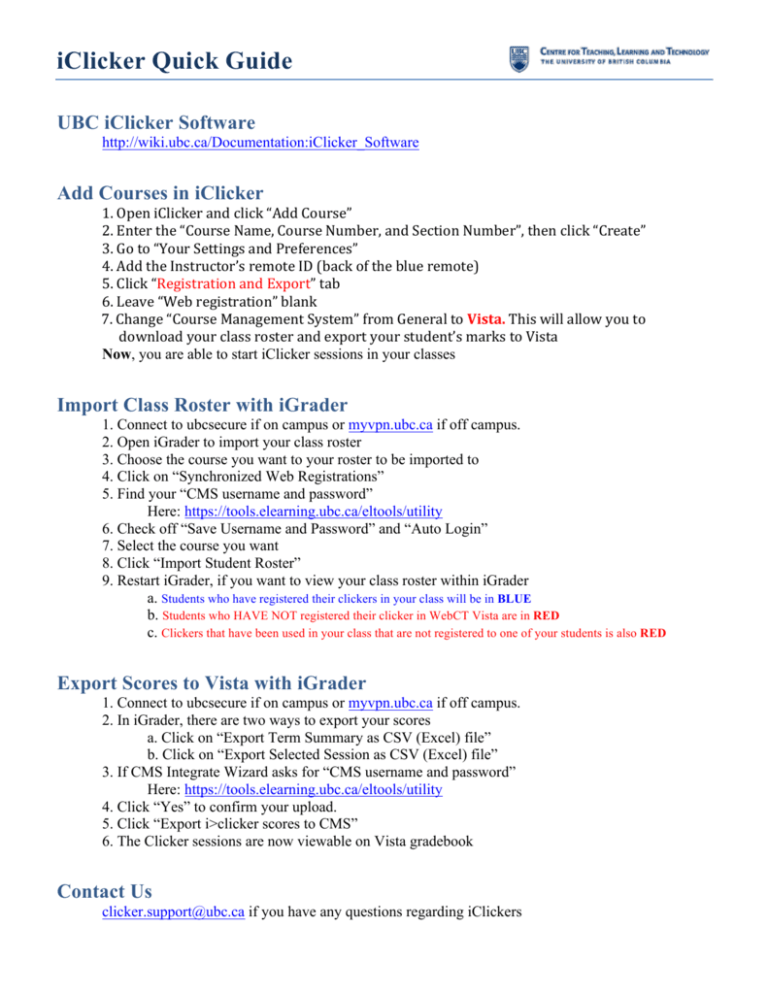
iClicker Quick Guide UBC iClicker Software http://wiki.ubc.ca/Documentation:iClicker_Software Add Courses in iClicker 1. Open iClicker and click “Add Course” 2. Enter the “Course Name, Course Number, and Section Number”, then click “Create” 3. Go to “Your Settings and Preferences” 4. Add the Instructor’s remote ID (back of the blue remote) 5. Click “Registration and Export” tab 6. Leave “Web registration” blank 7. Change “Course Management System” from General to Vista. This will allow you to download your class roster and export your student’s marks to Vista Now, you are able to start iClicker sessions in your classes Import Class Roster with iGrader 1. Connect to ubcsecure if on campus or myvpn.ubc.ca if off campus. 2. Open iGrader to import your class roster 3. Choose the course you want to your roster to be imported to 4. Click on “Synchronized Web Registrations” 5. Find your “CMS username and password” Here: https://tools.elearning.ubc.ca/eltools/utility 6. Check off “Save Username and Password” and “Auto Login” 7. Select the course you want 8. Click “Import Student Roster” 9. Restart iGrader, if you want to view your class roster within iGrader a. Students who have registered their clickers in your class will be in BLUE b. Students who HAVE NOT registered their clicker in WebCT Vista are in RED c. Clickers that have been used in your class that are not registered to one of your students is also RED Export Scores to Vista with iGrader 1. Connect to ubcsecure if on campus or myvpn.ubc.ca if off campus. 2. In iGrader, there are two ways to export your scores a. Click on “Export Term Summary as CSV (Excel) file” b. Click on “Export Selected Session as CSV (Excel) file” 3. If CMS Integrate Wizard asks for “CMS username and password” Here: https://tools.elearning.ubc.ca/eltools/utility 4. Click “Yes” to confirm your upload. 5. Click “Export i>clicker scores to CMS” 6. The Clicker sessions are now viewable on Vista gradebook Contact Us clicker.support@ubc.ca if you have any questions regarding iClickers


![July 31 Connect eupdate DRAFT [1]](http://s3.studylib.net/store/data/008100166_1-21bd0e395dcbfd67aaad5f18dd4ec08e-300x300.png)
