A Teacher`s “How-To” Guide for the Tree Identification Geocache…
advertisement
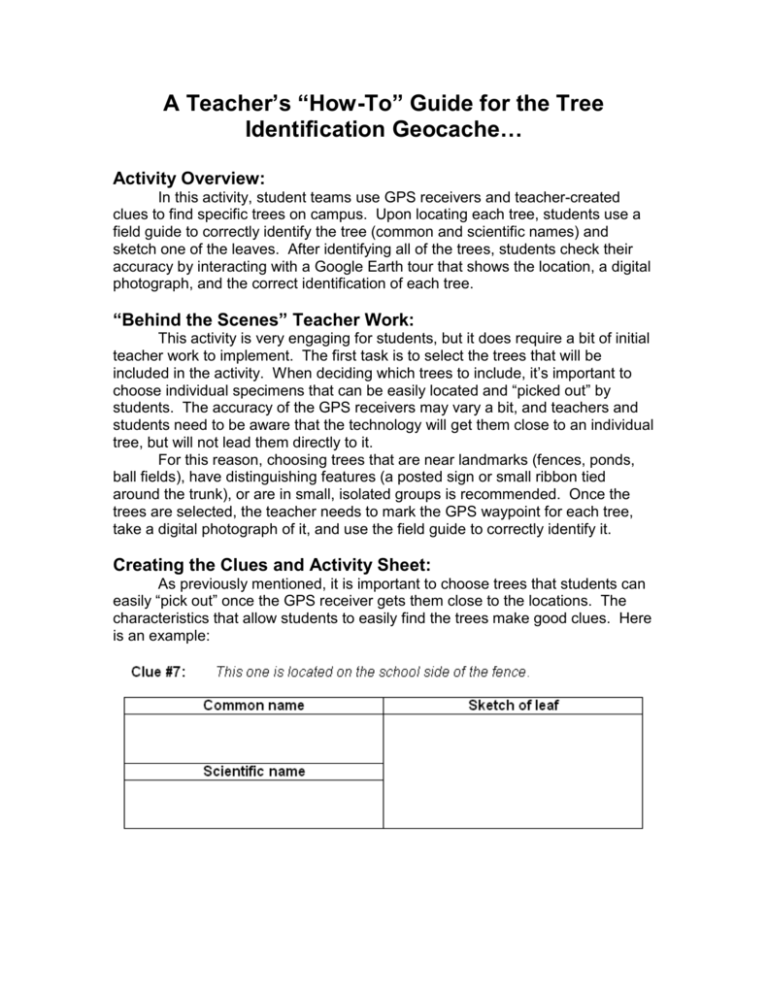
A Teacher’s “How-To” Guide for the Tree Identification Geocache… Activity Overview: In this activity, student teams use GPS receivers and teacher-created clues to find specific trees on campus. Upon locating each tree, students use a field guide to correctly identify the tree (common and scientific names) and sketch one of the leaves. After identifying all of the trees, students check their accuracy by interacting with a Google Earth tour that shows the location, a digital photograph, and the correct identification of each tree. “Behind the Scenes” Teacher Work: This activity is very engaging for students, but it does require a bit of initial teacher work to implement. The first task is to select the trees that will be included in the activity. When deciding which trees to include, it’s important to choose individual specimens that can be easily located and “picked out” by students. The accuracy of the GPS receivers may vary a bit, and teachers and students need to be aware that the technology will get them close to an individual tree, but will not lead them directly to it. For this reason, choosing trees that are near landmarks (fences, ponds, ball fields), have distinguishing features (a posted sign or small ribbon tied around the trunk), or are in small, isolated groups is recommended. Once the trees are selected, the teacher needs to mark the GPS waypoint for each tree, take a digital photograph of it, and use the field guide to correctly identify it. Creating the Clues and Activity Sheet: As previously mentioned, it is important to choose trees that students can easily “pick out” once the GPS receiver gets them close to the locations. The characteristics that allow students to easily find the trees make good clues. Here is an example: Getting the Tree Waypoints into GPS Receivers: Many schools have a classroom set of GPS receivers that teachers can sign out and used with students. Manually inputting each of the tree waypoints into twelve or more GPS receivers is not a good use of teacher time! Free software is available that will allow your GPS receiver to communicate with your computer, which in turn, can communicate with other GPS receivers. I use a piece of software called DNR Garmin, which works with our receivers, as well as Google Earth: http://www.dnr.state.mn.us/mis/gis/tools/arcview/extensions/DNRGarmin/DNRGa rmin.html Using DNR Garmin, one can upload the tree waypoints to the computer, and then download them to each of the student GPS receivers without having to enter them manually. Screenshot from DNR Garmin Creating the Google Earth “Answer Key”: The first task in creating the Google Earth tour is to upload the digital photographs of the trees to a photo hosting website (i.e. Photobucket.com or Flickr.com). This allows you to include the photos in your tour. Be sure to record the URL for each of the tree images for later use. DNR Garmin can also save waypoints to Google Earth. Create a folder in Google Earth that contains the waypoints of the trees. Right-click on each waypoint and select ‘Properties’ from the popup menu. Under the ‘Description’ tab, you can title the waypoint, type the clue and proper identification, and include the digital photograph of the tree. Formatting and uploading the photo requires the use of some simple html code: Screenshot of waypoint ‘Properties’ window and html code Screenshots of window resulting from html code **See the additional Google Earth .kmz file. Conducting the Geocache: Break students into groups of two or three for this activity. This allows everyone to take turns using the GPS receiver and all members of the group remain engaged with the task. I also create instructions sheets for using the GPS receivers and the field guides. (See additional files.) These sheets are placed in plastic sheet protectors and can be referred to while students are geocaching. It will probably require multiple class periods for students to complete the identifications, depending on how many are created. When beginning, I assign each group a different starting clue so that the class isn’t “herding” during the activity. Checking for Accuracy and Reflection: After students have completed the geocache, I have them open up the Google Earth “answer key” file that I created to check their work. As students check each tree, I have them mark their papers with the following annotations: Star=correct identification DNI= “Did not identify” Checkmark= incorrect identification** **When students have an incorrect identification, I ask them to refer to the digital photograph and the tree field guide to reflect upon why they incorrectly identified the tree. Perhaps they located the wrong tree, or maybe confused two closely related species. Reflecting upon their mistakes is just as, (if not more) important as correctly identifying trees. In Closing: I have found this to be a high-interest activity that students enjoy. It combines the use of technology (GPS receivers, Google Earth) with traditional science skills (using the field guide). Each teacher will need to customize this activity to his or her location and students. If you have any questions or difficulties, please don’t hesitate to contact me: Scott_Krebbeks@hflcsd.org; or 585-624-7100. Scott Krebbeks Grade 7 Science Teacher Honeoye Falls-Lima Middle School
