DOCX
advertisement
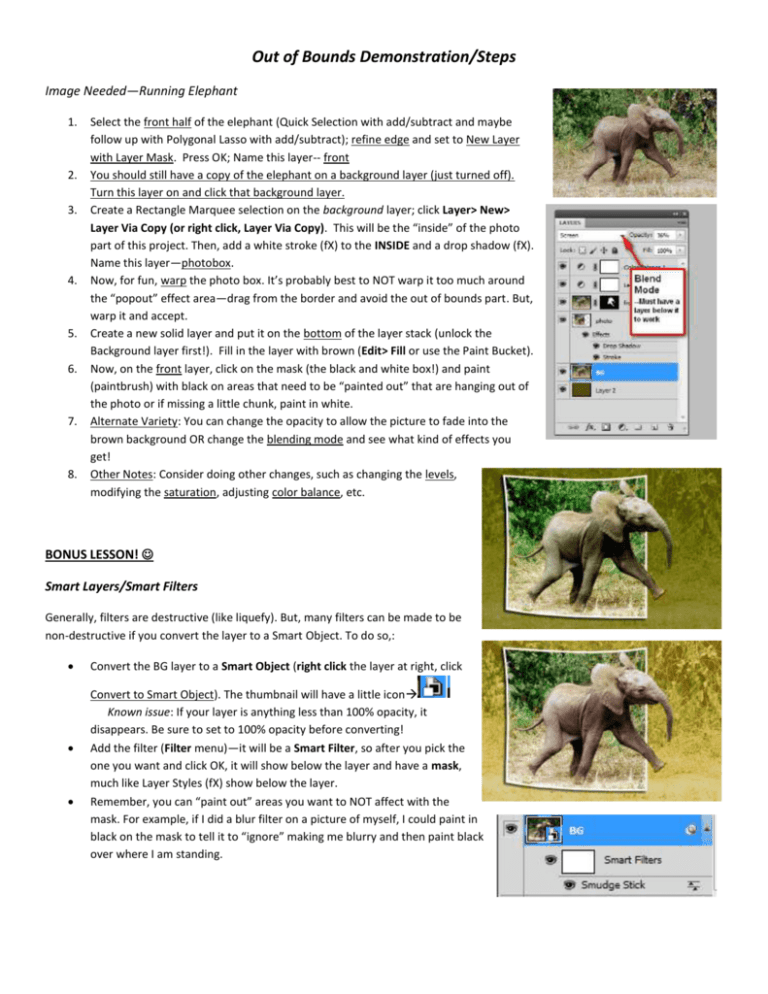
Out of Bounds Demonstration/Steps Image Needed—Running Elephant 1. 2. 3. 4. 5. 6. 7. 8. Select the front half of the elephant (Quick Selection with add/subtract and maybe follow up with Polygonal Lasso with add/subtract); refine edge and set to New Layer with Layer Mask. Press OK; Name this layer-- front You should still have a copy of the elephant on a background layer (just turned off). Turn this layer on and click that background layer. Create a Rectangle Marquee selection on the background layer; click Layer> New> Layer Via Copy (or right click, Layer Via Copy). This will be the “inside” of the photo part of this project. Then, add a white stroke (fX) to the INSIDE and a drop shadow (fX). Name this layer—photobox. Now, for fun, warp the photo box. It’s probably best to NOT warp it too much around the “popout” effect area—drag from the border and avoid the out of bounds part. But, warp it and accept. Create a new solid layer and put it on the bottom of the layer stack (unlock the Background layer first!). Fill in the layer with brown (Edit> Fill or use the Paint Bucket). Now, on the front layer, click on the mask (the black and white box!) and paint (paintbrush) with black on areas that need to be “painted out” that are hanging out of the photo or if missing a little chunk, paint in white. Alternate Variety: You can change the opacity to allow the picture to fade into the brown background OR change the blending mode and see what kind of effects you get! Other Notes: Consider doing other changes, such as changing the levels, modifying the saturation, adjusting color balance, etc. BONUS LESSON! Smart Layers/Smart Filters Generally, filters are destructive (like liquefy). But, many filters can be made to be non-destructive if you convert the layer to a Smart Object. To do so,: Convert the BG layer to a Smart Object (right click the layer at right, click Convert to Smart Object). The thumbnail will have a little icon Known issue: If your layer is anything less than 100% opacity, it disappears. Be sure to set to 100% opacity before converting! Add the filter (Filter menu)—it will be a Smart Filter, so after you pick the one you want and click OK, it will show below the layer and have a mask, much like Layer Styles (fX) show below the layer. Remember, you can “paint out” areas you want to NOT affect with the mask. For example, if I did a blur filter on a picture of myself, I could paint in black on the mask to tell it to “ignore” making me blurry and then paint black over where I am standing.
