081-86A-0033 Initiate IV Infusion Eng POI Ver C
advertisement
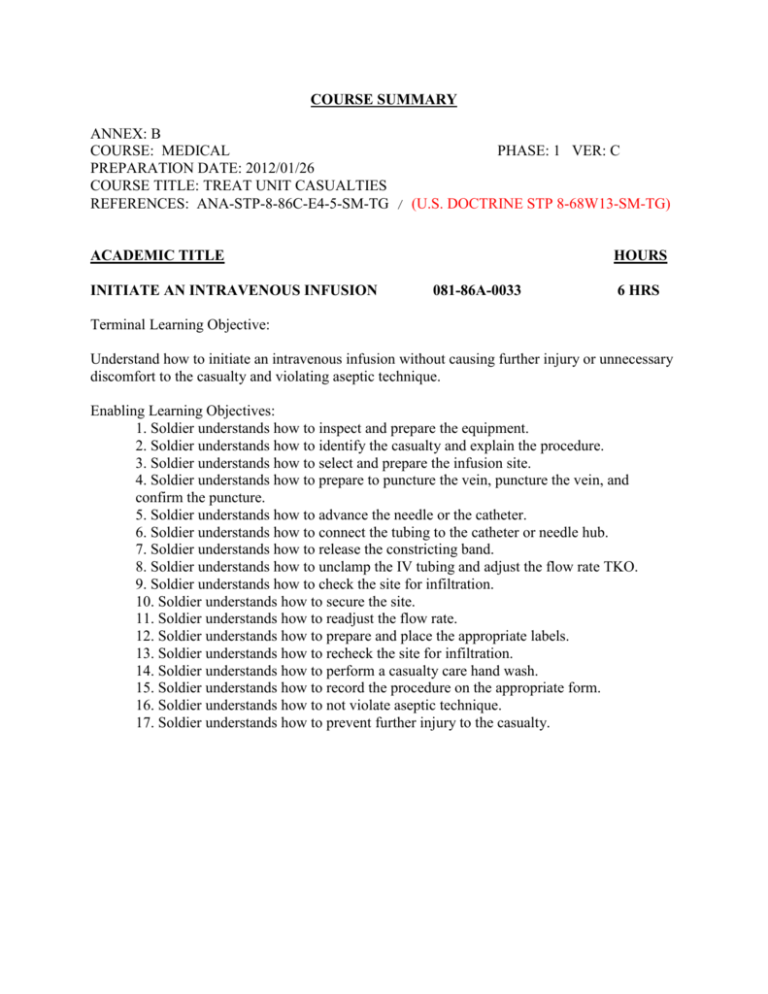
COURSE SUMMARY ANNEX: B COURSE: MEDICAL PHASE: 1 VER: C PREPARATION DATE: 2012/01/26 COURSE TITLE: TREAT UNIT CASUALTIES REFERENCES: ANA-STP-8-86C-E4-5-SM-TG / (U.S. DOCTRINE STP 8-68W13-SM-TG) ACADEMIC TITLE INITIATE AN INTRAVENOUS INFUSION HOURS 081-86A-0033 6 HRS Terminal Learning Objective: Understand how to initiate an intravenous infusion without causing further injury or unnecessary discomfort to the casualty and violating aseptic technique. Enabling Learning Objectives: 1. Soldier understands how to inspect and prepare the equipment. 2. Soldier understands how to identify the casualty and explain the procedure. 3. Soldier understands how to select and prepare the infusion site. 4. Soldier understands how to prepare to puncture the vein, puncture the vein, and confirm the puncture. 5. Soldier understands how to advance the needle or the catheter. 6. Soldier understands how to connect the tubing to the catheter or needle hub. 7. Soldier understands how to release the constricting band. 8. Soldier understands how to unclamp the IV tubing and adjust the flow rate TKO. 9. Soldier understands how to check the site for infiltration. 10. Soldier understands how to secure the site. 11. Soldier understands how to readjust the flow rate. 12. Soldier understands how to prepare and place the appropriate labels. 13. Soldier understands how to recheck the site for infiltration. 14. Soldier understands how to perform a casualty care hand wash. 15. Soldier understands how to record the procedure on the appropriate form. 16. Soldier understands how to not violate aseptic technique. 17. Soldier understands how to prevent further injury to the casualty. INITIATE AN INTRAVENOUS INFUSION 081-86A-0033 Conditions: You need to initiate an intravenous (IV) infusion on a patient. You have performed a patient care hand-wash. You will need an IV injection set, IV solution, catheter-over-needle, constricting band, antiseptic sponges, 2 x 2 gauze sponges, tape, IV stand or substitute, arm board, and gloves. Standards: Initiate an IV without causing further injury or unnecessary discomfort to the patient. Do not violate aseptic technique. Performance Steps 1. Identify the patient and explain the procedure. a. Ask the patient's name. b. Check the identification band against the patient's chart, as appropriate. c. Explain the reason for IV therapy. d. Explain the procedure and caution the patient against manipulating the equipment. e. Ask about any known allergies to such things as betadine or medication. 2. Select and inspect the equipment for defects, expiration date, and contamination. a. IV fluid of choice (check medical officer's order). Discard containers that have cracks, scratches, leaks, sedimentation, condensation, or fluid which is not crystal clear and colorless. b. IV injection set. (1) Spike, drip chamber, tubing, and needle adapter. Discard them if there are cracks or holes or if any discoloration is present. (2) Flow regulator. Inspect the flow regulator and ensure that it tightens. (3) Catheter-over-needle. Discard them if they are flawed with barbs or nicks. NOTE: Place the stand to the side of the patient and close to the IV site. 3. Prepare the equipment. a. Move the flow regulator 6 to 8 inches below the drip chamber and tighten/close it. b. Remove the protective covers from the spike and from the outlet of the IV container. CAUTION: Do not touch the spike or the outlet of the IV container. c. Push the spike firmly into the container's outlet tube. d. Hang the container at least 2 feet above the level of the patient's heart, if possible. NOTE: An IV bag container may be placed under the patient's body if there is no way to hang it. You must completely fill the drip chamber if you place it under the patient's body to prevent air from entering the tubing. e. Squeeze the drip chamber until it is half full of the IV fluid. f. Prime the tubing. NOTE: Ensure that all air is expelled from the tubing. (1) Hold the tubing above the level of the bottom of the container. (2) Loosen the protective cover from the needle adapter to allow the air to escape. (3) Release the clamp on the tubing. (4) Gradually lower the tubing until the solution reaches the end of the needle adapter. (5) Tighten the flow regulator to stop the flow of IV fluids. (6) Retighten the needle adapter's protective cover. (7) Loop the tubing over the IV stand or holder. g. Cut several pieces of tape and hang them in a readily accessible place. 4. Select the infusion site. a. Put on gloves for body substance isolation. b. Choose the most distal and accessible vein of an uninjured arm or hand. c. Avoid sites over joints. d. Avoid veins in infected, injured, or irritated areas. e. Use the nondominant hand or arm, whenever possible. CAUTION: Do not use an arm that may require an operative procedure. f. Select a vein large enough to accommodate the size of needle/catheter to be used. 5. Prepare the infusion site. a. Apply the constricting band. NOTE: When applying the constricting band, use soft-walled latex tubing about 18 inches in length. (1) Place the tubing around the limb, about 2 inches above the site of venipuncture. Hold one end so that it is longer than the other, and form a loop with the longer end. (2) Pass the looped end under the shorter end of the constricting band. NOTE: When placing the constricting band, ensure that the tails of the tubing are turned away from the proposed site of venipuncture. (3) Apply the constricting band tight enough to stop venous flow but not so tightly that the radial pulse cannot be felt. (4) Tell the patient to open and close his fist several times to increase circulation. CAUTION: Do not leave the constricting band in place for more than 2 minutes. b. Select a prominent vein. c. Tell the patient to close his fist and keep it closed until instructed to open the fist. d. Clean the skin over the selected area with 70% alcohol or betadine, using a firm circular motion from the center outward. e. Allow the skin to dry and discard the gauze. f. Put on gloves for self-protection against transmission of contaminants. 6. Prepare to puncture the vein. a. Pick up the assembled needle and remove the protective cover with the other hand. (1) Ensure the needle is bevel up. (2) Place the forefinger on the needle hub to guide it during insertion through the skin and into the vein. b. Position yourself so as to have a direct line of vision along the axis of the vein to be entered. 7. Puncture the vein. CAUTION: Keep the needle at the same angle to prevent through-and-through penetration of the vein walls. NOTE: You may position the needle directly above the vein or slightly to one side of the vein. a. Draw the skin below the cleaned area downward to hold the skin taut over the site of venipuncture. b. Position the needle point, bevel up, parallel to the vein and about 1/2 inch below the site of venipuncture. c. Hold the needle at a 20 to 30 degree angle and insert it through the skin. d. Decrease the angle of the needle until it is almost parallel to the skin surface and direct it toward the vein. e. Move the needle forward about 1/2 inch into the vein. 8. Confirm the puncture. NOTE: A faint "give" will be felt as the needle enters the lumen of the vein. a. Check for blood in the flash chamber. If successful, proceed to step 9. b. If the venipuncture is unsuccessful, pull the needle back slightly (not above the skin surface) and attempt to pierce the vein again. c. If the venipuncture is still unsuccessful, release the constricting band and tell the patient to open and relax his clinched fist. (1) Place a sponge lightly over the site and quickly withdraw the needle. (2) Immediately apply pressure to the site. d. Notify your supervisor before attempting a venipuncture at another site. 9. Advance the catheter-over-needle. a. Grasp the hub and with a slight twisting motion fully advance the catheter. b. While continuing to hold the hub, press lightly on the skin over the catheter tip with the fingers of the other hand. NOTE: This prevents the backflow of blood from the hub. c. Remove the needle from inside the catheter. 10. Remove the protective cover from the needle adapter on the tubing. Quickly and tightly connect the adapter to the catheter or needle hub. WARNING: Do not allow air to enter the blood stream. 11. Tell the patient to unclench the fist, and then release the constricting band. 12. Loosen the flow regulator and adjust the flow rate to keep the vein open (KVO) or to keep open (TKO). NOTE: A rate of about 30 cc per hour, or 7 to 10 drops per minute using standard drip tubing, is adequate to keep the vein open. 13. Check the site for infiltration. If it is painful, swollen, red, cool to the touch, or if fluid is leaking from the site, stop the infusion immediately. 14. Secure the site IAW local SOP. a. Apply a sterile dressing over the puncture site, leaving the hub and tubing connection visible. b. Loop the IV tubing onto the extremity and secure the loop with tape. c. Splint the arm loosely on a padded splint, if necessary, to reduce movement. 15. Readjust the flow rate. a. Determine the total time over which the patient is to receive the dosage. Example: The patient is to receive the dosage over a 3 hour period. b. Determine the total IV dosage the patient is to receive by checking the doctor's orders. Example: The patient is to receive 1000 cc of IV fluid. c. Check the IV tubing package to determine the number of drops of IV fluid per cc the set has been designed to deliver. Example: The set is designed to give 10 drops of IV fluid per cc (10 gtts/cc). d. Multiply the total hours (step 15a) by 60 minutes to determine the total minutes over which the IV dosage is to be administered. Example: 3 hours X 60 min = 180 min. e. Divide the total IV dosage (step 15b) by the total minutes over which the IV dosage is to be administered (step 15d) to determine the cc of fluid to be administered per minute. Example: 1000 cc / 180 min = 5.5 cc/min. f. Multiply the cc/min (step 15e) by the number of drops of IV fluid per cc delivered by the tubing (step 15c) to determine the number of drops per minute to be administered. Example: 5.5 cc/min X 10 drops/cc = 55 drops/min. NOTE: Always round drops per minute off to the nearest whole number. If drops per minute equal .5, round up to the next whole number. 16. Prepare and place the appropriate label. a. Dressing. (1) Print the information on a piece of tape. (a) Date and time the IV was started. (b) Initials of the person initiating the IV. (2) Secure the tape to the dressing. b. IV solution container. (1) Print the information on a piece of tape. (a) Patient's identification. (b) Drip rate. (c) Date and time the IV infusion was initiated. (d) Initials of the person initiating the IV. (2) Secure the tape to the IV container. c. IV tubing. (1) Wrap a strip of tape around the tubing, leaving a tab. (2) Print the date and time the tubing was put in place and the initials of the person initiating the IV. NOTE: Place disposable items in an appropriate receptacle and clean and store equipment IAW local SOP. 17. Recheck the site for infiltration. 18. Perform a patient care hand-wash. 19. Record the procedure on the appropriate form. a. Date and time the IV infusion was initiated. b. Type and amount of IV solution initiated. c. Drip rate and total volume to be infused. d. Type and gauge of needle or cannula. e. Location of the infusion site. f. Patient's condition. g. Name of the person initiating the IV. Performance Measures 1. Identify the patient and explain the procedure. 2. Inspected the equipment. 3. Prepared the equipment. 4. Selected the infusion site. 5. Prepared the infusion site. 6. Prepared to puncture the vein. 7. Punctured the vein. 8. Confirmed the puncture. 9. Advanced the catheter. 10. Connected the adapter to the catheter hub. 11. Released the constricting band. 12. Loosened the flow regulator and adjusted the flow rate TKO. 13. Checked the site for infiltration. 14. Secured the site. 15. Readjusted the flow rate. 16. Prepared and placed the appropriate labels. 17. Rechecked the site for infiltration. 18. Performed a patient care hand-wash. 19. Recorded the procedure on the appropriate form. 20. Did not violate aseptic technique, or cause further injury to the patient. PASS —— —— —— —— —— —— —— —— —— —— —— —— —— —— —— —— —— —— —— —— FAIL —— —— —— —— —— —— —— —— —— —— —— —— —— —— —— —— —— —— —— —— Evaluation Guidance: Score each Soldier according to the performance measures. Unless otherwise stated in the task summary, the Soldier must pass all performance measures to be scored PASS. If the Soldier fails any steps, show what was done wrong and how to do it correctly.

