chapter9
advertisement
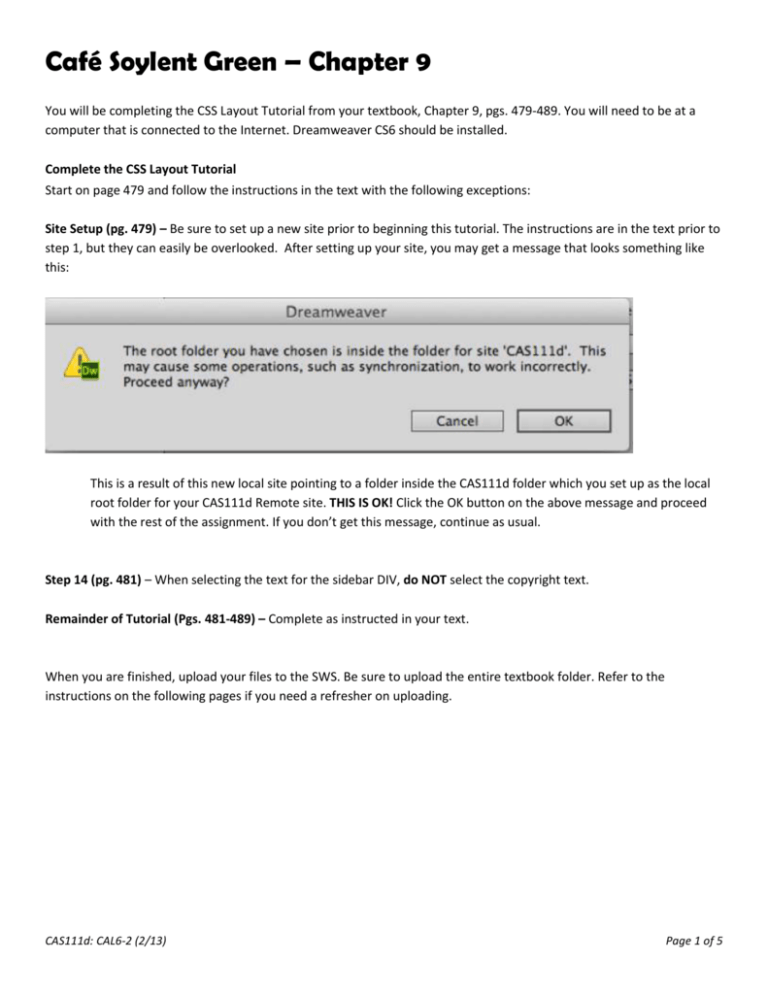
Café Soylent Green – Chapter 9 You will be completing the CSS Layout Tutorial from your textbook, Chapter 9, pgs. 479-489. You will need to be at a computer that is connected to the Internet. Dreamweaver CS6 should be installed. Complete the CSS Layout Tutorial Start on page 479 and follow the instructions in the text with the following exceptions: Site Setup (pg. 479) – Be sure to set up a new site prior to beginning this tutorial. The instructions are in the text prior to step 1, but they can easily be overlooked. After setting up your site, you may get a message that looks something like this: This is a result of this new local site pointing to a folder inside the CAS111d folder which you set up as the local root folder for your CAS111d Remote site. THIS IS OK! Click the OK button on the above message and proceed with the rest of the assignment. If you don’t get this message, continue as usual. Step 14 (pg. 481) – When selecting the text for the sidebar DIV, do NOT select the copyright text. Remainder of Tutorial (Pgs. 481-489) – Complete as instructed in your text. When you are finished, upload your files to the SWS. Be sure to upload the entire textbook folder. Refer to the instructions on the following pages if you need a refresher on uploading. CAS111d: CAL6-2 (2/13) Page 1 of 5 Your finished page (menu.html) should look like this when viewed in Firefox: CAS111d: CAL6-2 (2/13) Page 2 of 5 Create a Class Site Definition with Remote Server If you have already set up a CAS111d site, you can skip to page 5. If you have not yet set up a CAS111d site, complete the following: 1. Choose Site New Site. 2. Enter the following information: Type “CAS 111d” as the Site Name (no quotes) Click the Browse button and navigate to your cas111d folder that you created during Week 1. This should be on your USB drive, or on your hard drive. 3. Click the Servers option in the list on the left-side of your screen. 4. Click the + button. CAS111d: CAL6-2 (2/13) Page 3 of 5 5. Enter the information for the SWS as shown in the image below: IMPORTANT: Be sure to replace the information in the image above with your specific class and student information as shown here: Server Name: SWS Connect using: Make sure you select “SFTP” and use Port “22” as shown above SFTP Address: sws.pcc.edu Username: Your MyPCC username. Example: sallysmith14 Password: Your PCC “G” number. Example: G0283748 Root Directory: student/cas111d_xxxxxx_xxxxx_your username/ Example: student/cas111d_melany.budiman_20847_sallysmith14/ The Root Directory should be the path to your directory on your SWS account. The best way to enter this long path is to use your browser to go to sws.pcc.edu and navigate to your directory in this class. Then copy and paste the path from the browser's address bar. Remember: your path will be different than this based on your course section number and name. The Web URL is not required and you can ignore it. The case and slashes are very important so be precise. 6. Click the TEST button to verify your connection. If you entered everything correctly, you should see a message that says, “Dreamweaver Connected to your Web Server Successfully” 7. Click SAVE. 8. Click SAVE again. You are now ready to upload your files to the SWS. CAS111d: CAL6-2 (2/13) Page 4 of 5 Upload your Website: You will use the Files Panel within Dreamweaver to upload your files. Make sure that you are viewing the CAS111d class site. You will know if you are by looking in the site dropdown list in the Files Panel. 1. Click the “textbook” folder in the Files panel to select it. Second: Click the PUT button FIRST: Click on the name of the folder you want to upload 2. Click the “Put” button (the upward pointing arrow) When you click the Put button, Dreamweaver will connect to the site that was set up in the Remote Site Definition. If this was not done correctly, it may have trouble connecting. 3. You may see a dialog box with a confirmation about Dependent Files. It doesn’t matter if you click Yes or No in this case because there are no dependent files. MOST IMPORTANT STEP: 4. Verify that your files went where you think they went!!! Using your browser, navigate to your directory in our classes’ SWS directory. Then navigate to your /textbook /chapter09 directory. When you click this directory, your Café Soylent home page should magically appear on your screen. (Well, not magic actually – it appears because you named this file index.html which is how home pages should always be named!) 5. If everything looks good, go back to D2L and continue working on this weeks’ assignments. CAS111d: CAL6-2 (2/13) Page 5 of 5


