CSS 200 - SOILS and PLANT NUTRITION - PROJECT
advertisement
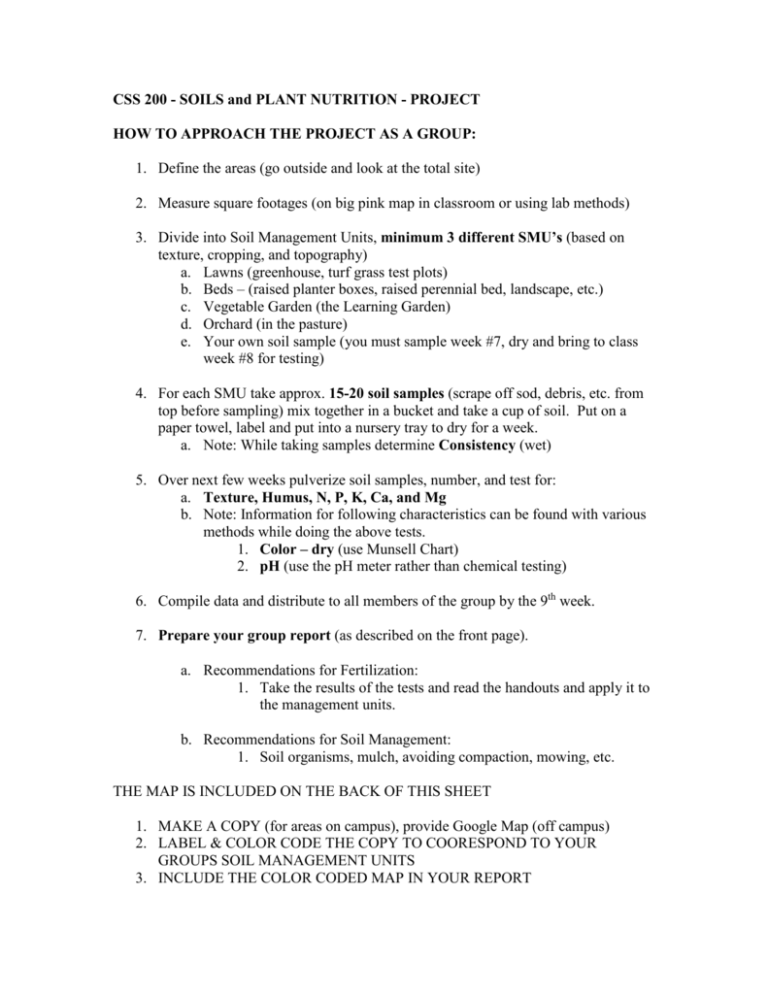
CSS 200 - SOILS and PLANT NUTRITION - PROJECT HOW TO APPROACH THE PROJECT AS A GROUP: 1. Define the areas (go outside and look at the total site) 2. Measure square footages (on big pink map in classroom or using lab methods) 3. Divide into Soil Management Units, minimum 3 different SMU’s (based on texture, cropping, and topography) a. Lawns (greenhouse, turf grass test plots) b. Beds – (raised planter boxes, raised perennial bed, landscape, etc.) c. Vegetable Garden (the Learning Garden) d. Orchard (in the pasture) e. Your own soil sample (you must sample week #7, dry and bring to class week #8 for testing) 4. For each SMU take approx. 15-20 soil samples (scrape off sod, debris, etc. from top before sampling) mix together in a bucket and take a cup of soil. Put on a paper towel, label and put into a nursery tray to dry for a week. a. Note: While taking samples determine Consistency (wet) 5. Over next few weeks pulverize soil samples, number, and test for: a. Texture, Humus, N, P, K, Ca, and Mg b. Note: Information for following characteristics can be found with various methods while doing the above tests. 1. Color – dry (use Munsell Chart) 2. pH (use the pH meter rather than chemical testing) 6. Compile data and distribute to all members of the group by the 9th week. 7. Prepare your group report (as described on the front page). a. Recommendations for Fertilization: 1. Take the results of the tests and read the handouts and apply it to the management units. b. Recommendations for Soil Management: 1. Soil organisms, mulch, avoiding compaction, mowing, etc. THE MAP IS INCLUDED ON THE BACK OF THIS SHEET 1. MAKE A COPY (for areas on campus), provide Google Map (off campus) 2. LABEL & COLOR CODE THE COPY TO COORESPOND TO YOUR GROUPS SOIL MANAGEMENT UNITS 3. INCLUDE THE COLOR CODED MAP IN YOUR REPORT

