ISTE 2014 PPT Gaming Instructions Industrial
advertisement
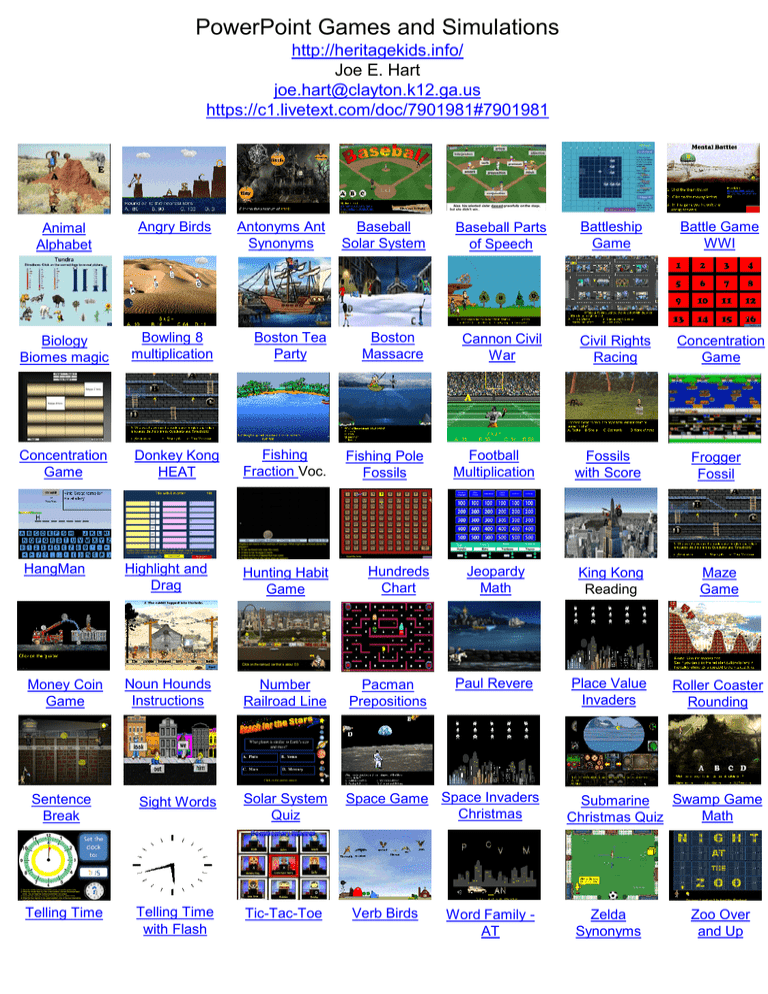
PowerPoint Games and Simulations http://heritagekids.info/ Joe E. Hart joe.hart@clayton.k12.ga.us https://c1.livetext.com/doc/7901981#7901981 Animal Alphabet Angry Birds Antonyms Ant Synonyms Baseball Solar System Biology Biomes magic Bowling 8 multiplication Boston Tea Party Boston Massacre Concentration Game Donkey Kong HEAT Fishing Fraction Voc. Fishing Pole Fossils Baseball Parts of Speech Battleship Game Battle Game WWI Cannon Civil War Civil Rights Racing Concentration Game Football Multiplication Fossils with Score Frogger Fossil Jeopardy Math King Kong Reading Maze Game Paul Revere Place Value Invaders Roller Coaster Rounding HangMan Highlight and Drag Hunting Habit Game Hundreds Chart Money Coin Game Noun Hounds Instructions Number Railroad Line Pacman Prepositions Space Game Space Invaders Christmas Sentence Break Sight Words Solar System Quiz Telling Time Telling Time with Flash Tic-Tac-Toe Verb Birds Word Family AT Swamp Game Submarine Math Christmas Quiz Zelda Synonyms Zoo Over and Up How to Make an Animated PowerPoint Game by Joe E. Hart http://www.heritagekids.info joe.hart@clayton.k12.ga.us 1. What is your theme for your game? 2. Get a background for your slide. I use Google images. Copy and paste on side. Leave room at the bottom for your questions and multiple choice answers. 3. What will be animated in the game? Usually 4 objects for multiple choice questions. Google images. Copy and paste on slide. 6c 6. Renaming objects. a. Click on object to be renamed b. Click on “Home” tab c. Under the last tab area to the right, click on arrow down “Select” tab. d. Click on “Selection Pane” (Section Pane will appear.) e. In the Selection Pane click until your cursor appears and rename object. 5b. Grouping objects b. Right click on the two selected objects. Move mouse to “Group” and select “Group” from the second window. 5a. Grouping objects a. Select the wagon and the A textbox by dragging a box diagonally over both. You should see a box for the wagon and the A textbox. 4. Use + and – signs to set zoom at 40% 6d 6e 7e 7. Animate Object a. Click on Animation Tab b. Click on Animation Pane c. Click on Object to animate. (a box appears around it. d. Click on “Add Animation” e. Click on “More Motion Paths” (Pane appears) f. Click on “left” and click “OK”. (Arrow with Green to start and red to finish appear) g. Click on the white dot at the end of the red arrow and drag it further left off the screen. 7f 7c 7e 8. Animation Timing a. Click to highlight an object in the “Animation Pane”. b. Click on the down arrow 8a c. Select “Start With Previous” (This object will begin moving when the slide begins.) 8c d. Click on down arrow again and select “Timing” (Window Appears.) e. Click on “Duration” arrow and click to make curser before the word 8d seconds. Change the number to 15 seconds. f. Click on the “Repeat” arrow and select “Until End of Slide”. g. Click “OK”. 8e 8f 8g 9e 9. Second Animation to make object disappear a. Click on Object to animate. (a box appears around it. b. Click on “Add Animation” c. Click on “More Exit Effect” (Pane appears) d. Click on “Fly Out” e. Click “OK”. 9d 9c 9e 10b 10. Trigger to make object disappear a. Click object animation in “Animation Pane”. b. Click “Trigger” arrow. c. Click “On Click of” arrow d. Select the object that will be the Trigger “button” to make the object disappear. Most of the time it will be the objects name. 10d e. The “Animation Pane” will have a “Trigger: name of object” appear. 11. Repeat steps 7, 8, 9 and 10 to animate and provide “Triggers” for disappearing for Answers B, C, and D. 10a 10e 12b 12. Make Correct Answer for Game a. Click on the Red “Correct!” 12a Rectangle. b. Click “Add Animation” c. Select “More Motion Paths” d. Select “Down” in pop up window e. Click on white button at the end of the red arrow and pull down to the railroad tracks. f. Click on “Rectangle 4” down arrow in the “Animation Pane” and select “Start With Previous”. g. With “Rectangle 4” selected in the “Animation Pane”, use the down or up arrows in “Re-Order” to select which answer is correct. It should be the last item in a trigger. 12f 12d e 12c 12g 12g b 13c 13. Hyperlink to the next slide. a. Click on the red “Correct” rectangle. b. Click on the Insert tab. c. Click on the Action icon. (“Action Settings” appears) d. Click “Hyperlink to:” button e. Click on down arrow of “Hyperlink to:” and select “Next Slide.” f. Click “OK” 13a 13d 13e 13f
