Margin change after page numbers have been inserted
advertisement
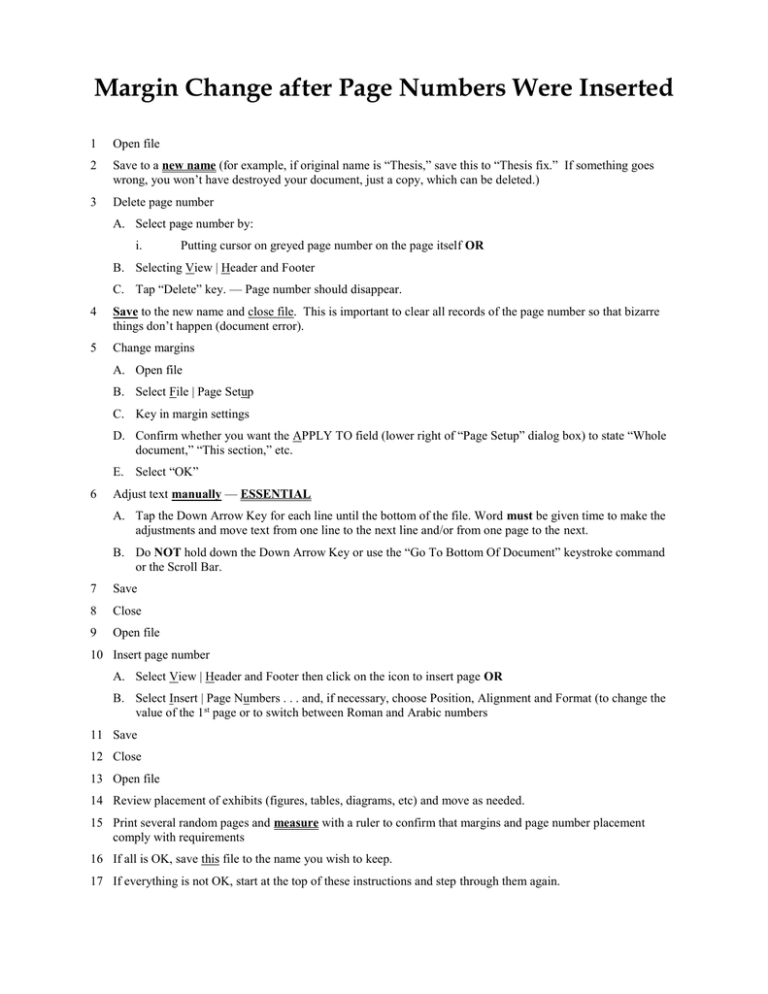
Margin Change after Page Numbers Were Inserted 1 Open file 2 Save to a new name (for example, if original name is “Thesis,” save this to “Thesis fix.” If something goes wrong, you won’t have destroyed your document, just a copy, which can be deleted.) 3 Delete page number A. Select page number by: i. Putting cursor on greyed page number on the page itself OR B. Selecting View | Header and Footer C. Tap “Delete” key. — Page number should disappear. 4 Save to the new name and close file. This is important to clear all records of the page number so that bizarre things don’t happen (document error). 5 Change margins A. Open file B. Select File | Page Setup C. Key in margin settings D. Confirm whether you want the APPLY TO field (lower right of “Page Setup” dialog box) to state “Whole document,” “This section,” etc. E. Select “OK” 6 Adjust text manually — ESSENTIAL A. Tap the Down Arrow Key for each line until the bottom of the file. Word must be given time to make the adjustments and move text from one line to the next line and/or from one page to the next. B. Do NOT hold down the Down Arrow Key or use the “Go To Bottom Of Document” keystroke command or the Scroll Bar. 7 Save 8 Close 9 Open file 10 Insert page number A. Select View | Header and Footer then click on the icon to insert page OR B. Select Insert | Page Numbers . . . and, if necessary, choose Position, Alignment and Format (to change the value of the 1st page or to switch between Roman and Arabic numbers 11 Save 12 Close 13 Open file 14 Review placement of exhibits (figures, tables, diagrams, etc) and move as needed. 15 Print several random pages and measure with a ruler to confirm that margins and page number placement comply with requirements 16 If all is OK, save this file to the name you wish to keep. 17 If everything is not OK, start at the top of these instructions and step through them again.
