Worksheet 13 - Teaching Web Server
advertisement
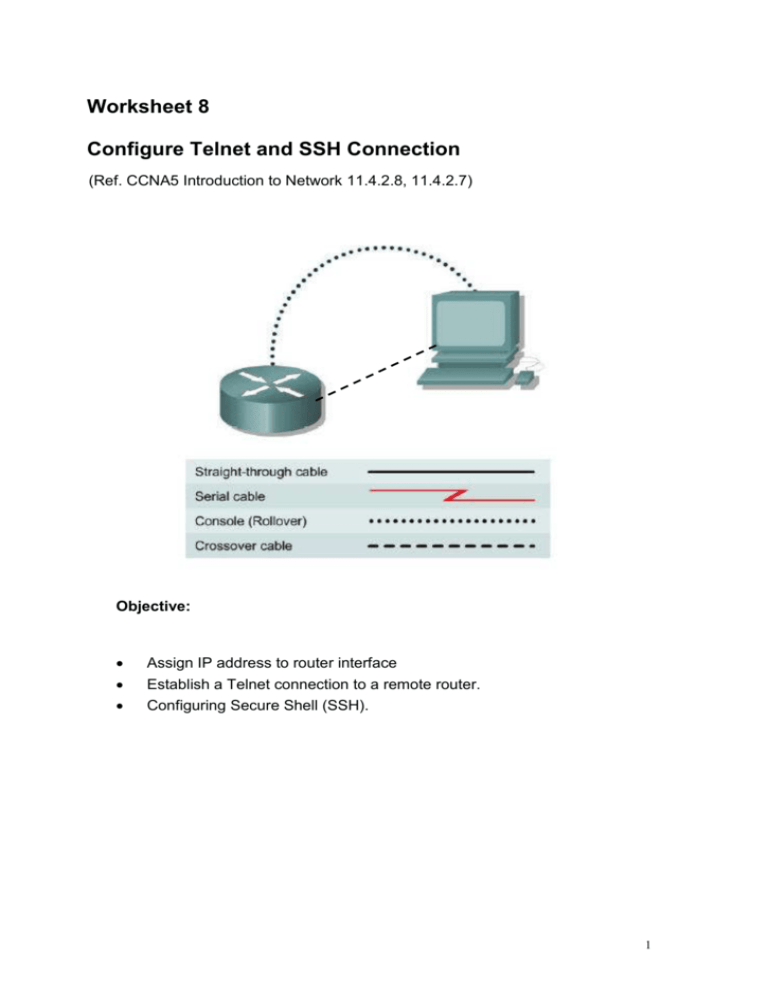
Worksheet 8 Configure Telnet and SSH Connection (Ref. CCNA5 Introduction to Network 11.4.2.8, 11.4.2.7) Objective: Assign IP address to router interface Establish a Telnet connection to a remote router. Configuring Secure Shell (SSH). 1 Step 1 Set up console and Ethernet connection between router and PC 1.1 Connect the devices based on the diagram shown. Step 2 Configure IP address for the network devices interfaces Devices Interface IP address Subnet Mask PC Fa0/0 192.168.1.1 255.255.255.0 Router Fa0/0 192.168.1.2 255.255.255.0 2.1 Set the IP address, subnet mask and default gateway for the PC. 2.2 Go to CLI of the router through Putty. 2.3 In order to configure the IP address of the router interface, you have to be in interface configuration mode of fa0/0. Router(config)# int fa0/0 Router(config-if)# ip address 192.168.1.2 255.255.255.0 2.4 Unlike switch, all router ports are disabled by default. Use the following command to enable a port. Router(config-if)# no shutdown 2.5 Verify the router configuration Router# show running-config Step 3 Set up Virtual teletype line for telnet connection 3.1 Telnet is used to connect from a local network device to another remote network device in order to simulate being at the console on the remote device. The local device acts as a Telnet client and the remote device acts as a Telnet server. Virtual teletype is a command line interface that enables users to connect to the daemon using the Telnet protocol. To connect to a VTY, users must setup and use a VTY password. 2 Router(config)# line vty 0 4 Router(config-if)# login Router(config-if)# password 123 Note that if the vty password is not set. The telnet connection cannot be built up. 3.2 Set the enable password/secret for the router. Without the enable password, it is not allowed to enter the privileged mode. Router(config)# enable password class 3.3 Go to the command prompt of the PC. Connect to the router through Ethernet connection. PC> telnet 192.168.1.2 Enter the password and start configuring the router. Note: Telnet connection is considered as insecure. When a telnet connection is made to a server, all your credentials including your username, password and location are broadcast to the server in plain text. All your vital security information is available in what is essentially a text file to anyone viewing or intercepting the packets and analyzing them. Secure Shell (SSH) is a protocol that provides a secure (encrypted), command-line based connection to a remote device. Because its strong encryption features, SSH should replace Telnet for management connections. 3 Step 4 Configure SSH 4.1 Reload the router and repeat step 1 and step 2 again. 4.2 To set up SSH, hostname and domain name for the router should be set as these will be composed to be the rsa key. Router(config) # hostname ISOM3180 ISOM3180(config) # ip domain-name percy.com 4.3 Generate an encryption key for secure communication. The router will respond with a message showing the naming convention for the keys. ISOM3180(config) # crypto key generate rsa What is the default size, in bits, of the key modulus? ______________________________________________________________ 4.4 Define a local user and assign SSH communication to the vty lines ISOM3180(config) # username admin password ilovebba ISOM3180(config) # line vty 0 4 ISOM3180(config-if) # login local ISOM3180(config-if) # transport input ssh 4.5 Verify the connection What can you do to verify the connection of the PC and router interface? ______________________________________________________________ 4 4.6 Configuring SSH timeouts and authentication retries is a way of providing additional security for the connection. ISOM3180(config) # ip ssh time-out 15 ISOM3180(config) # ip ssh authentication-retries 2 4.7 Go to the command prompt of the PC. Connect to the router through Ethernet connection. PC> ssh –l admin 192.168.1.2 Enter the secret and start configuring the router. 5

