Readme file
advertisement

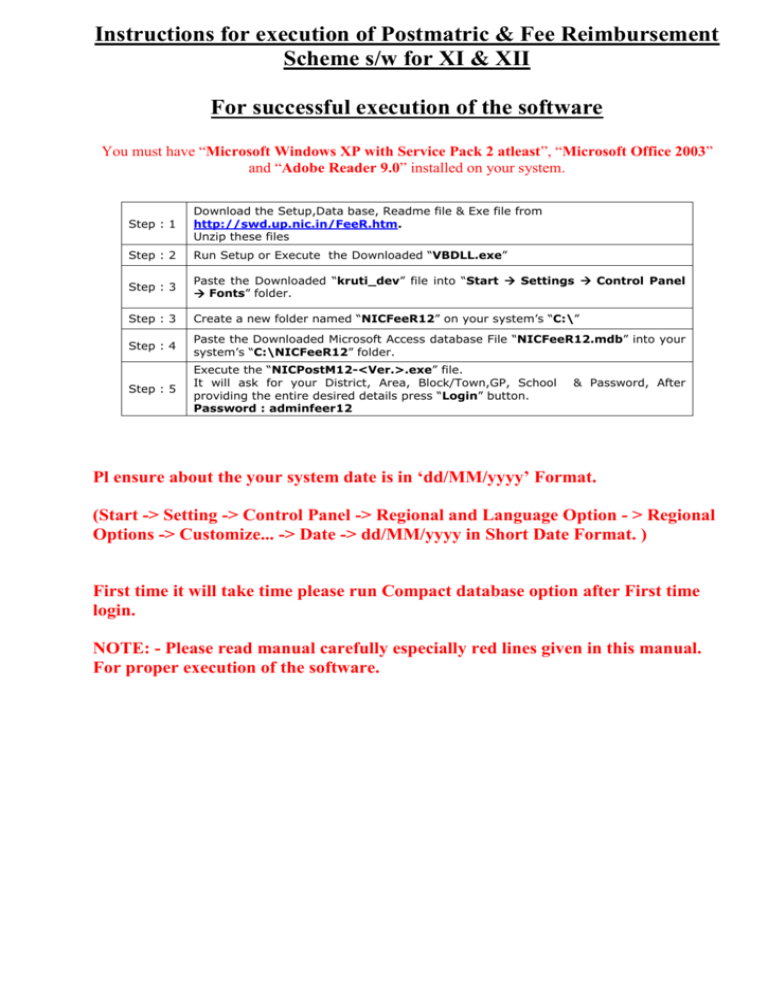
Instructions for execution of Postmatric & Fee Reimbursement Scheme s/w for XI & XII For successful execution of the software You must have “Microsoft Windows XP with Service Pack 2 atleast”, “Microsoft Office 2003” and “Adobe Reader 9.0” installed on your system. Step : 1 Download the Setup,Data base, Readme file & Exe file from http://swd.up.nic.in/FeeR.htm. Unzip these files Step : 2 Run Setup or Execute the Downloaded “VBDLL.exe” Step : 3 Paste the Downloaded “kruti_dev” file into “Start Settings Control Panel Fonts” folder. Step : 3 Create a new folder named “NICFeeR12” on your system’s “C:\” Step : 4 Paste the Downloaded Microsoft Access database File “NICFeeR12.mdb” into your system’s “C:\NICFeeR12” folder. Step : 5 Execute the “NICPostM12-<Ver.>.exe” file. It will ask for your District, Area, Block/Town,GP, School providing the entire desired details press “Login” button. Password : adminfeer12 & Password, After Pl ensure about the your system date is in ‘dd/MM/yyyy’ Format. (Start -> Setting -> Control Panel -> Regional and Language Option - > Regional Options -> Customize... -> Date -> dd/MM/yyyy in Short Date Format. ) First time it will take time please run Compact database option after First time login. NOTE: - Please read manual carefully especially red lines given in this manual. For proper execution of the software. Select your district then Area, Block/Town/GP/School and enter the password then click login button. After successful login a menu driven screen will appear Go through menu "Master Data"--> "School Master" for adding bank, branch, account number of School. It is mandatory step for using further options of the software, without doing this step user cannot do any thing in software. Please fill these School Profile information carefully without proper information demand will not be generated. Press save Button after entering Bank details of school. All * marked fields are mandatory. For Compact and Repair database Go Through "Master Data-->Compact DataBase" option,this will Compact your database. After feeding of Student’s records if there is a requirement for breakup data Department wise you may use Master Data-->Prepare Data For Department" option.This option will create separate database file for each department. The above screen will come, in the above screen select department and give the name of database and press “Proceed “button. It will filter the data department wise. For new entry of Application Go through "Application Master--> New Application Alphabet 2 Char. Pl enter Col no 22 i.e. Fee Claim amount if it is zero then no amount will reimburse at the time of demand generation. To Edit /Delete student's record, for this Go through "Application Master -->Edit/Delete Application" . Check the correctness of existing Student's Data Go through "Application Master-->Print Application" Please run this option before submitting this Data to Concern Department For Course wise summary Go through "Application Master-->Course Wise Summary" Before giving data to Department for Processing use Validation option and remove the unwanted records for this Go to option "Data Validation Report " Now Click on “Validate Your Student’sData” Button and wait for message.


