Create a Newsletter
advertisement
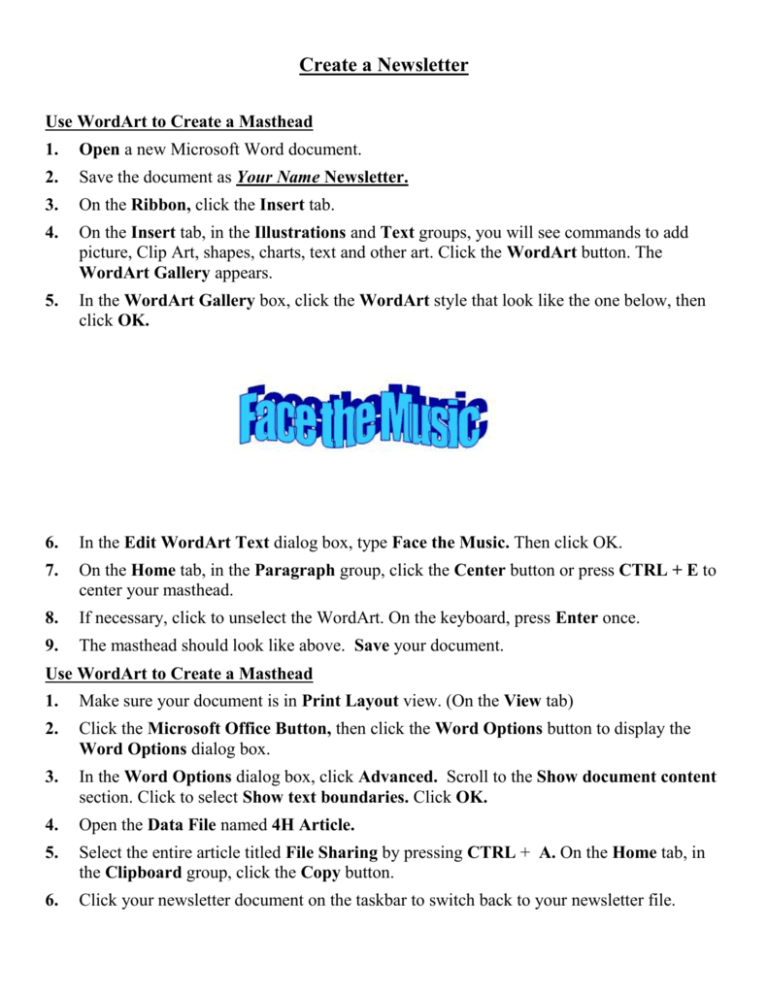
Create a Newsletter Use WordArt to Create a Masthead 1. Open a new Microsoft Word document. 2. Save the document as Your Name Newsletter. 3. On the Ribbon, click the Insert tab. 4. On the Insert tab, in the Illustrations and Text groups, you will see commands to add picture, Clip Art, shapes, charts, text and other art. Click the WordArt button. The WordArt Gallery appears. 5. In the WordArt Gallery box, click the WordArt style that look like the one below, then click OK. 6. In the Edit WordArt Text dialog box, type Face the Music. Then click OK. 7. On the Home tab, in the Paragraph group, click the Center button or press CTRL + E to center your masthead. 8. If necessary, click to unselect the WordArt. On the keyboard, press Enter once. 9. The masthead should look like above. Save your document. Use WordArt to Create a Masthead 1. Make sure your document is in Print Layout view. (On the View tab) 2. Click the Microsoft Office Button, then click the Word Options button to display the Word Options dialog box. 3. In the Word Options dialog box, click Advanced. Scroll to the Show document content section. Click to select Show text boundaries. Click OK. 4. Open the Data File named 4H Article. 5. Select the entire article titled File Sharing by pressing CTRL + A. On the Home tab, in the Clipboard group, click the Copy button. 6. Click your newsletter document on the taskbar to switch back to your newsletter file. 7. Verify that the insertion point is two blank lines below the masthead. On the Home tab, in the Paragraph group, click the Align Text Left button or press CTRL + L to left align the insertion point. 8. On the Page Layout tab, in the Page Setup group, choose Columns. Then click More Columns to display the Columns dialog box. 9. Under Presets, click Two. 10. Click the arrow next to the Apply to box, then choose This point forward. Click OK. 11. Save your document. Your newsletter should look like below. Close the 4H Article data file. Create Tables 1. In your newsletter, place your insertion point at the end of the article. 2. Press Enter two times. This will insert extra spaces below your table. 3. On the Insert in the Tables group, click the Tables button. Click Insert Table to display the Insert Table dialog box. 4. Change Number of columns to 2. Change Number of rows to 4. 5. Click OK to insert the table into your newsletter. The inserted table should look like below. 6. Place the insertion point in the first cell and selected both cells in the first row. 7. On the Layout tab, in the Merge group, click the Merge Cells button to combine the two cells into one large cell. 8. In the merged cell, type the table title Copyright Guidelines and center it. 9. On the keyboard, us the arrow keys to move the insertion point to the top cell in the left column. 10. Type Can you legally download music for a fee? 11. Move your insertion point to the cell to the right and type Yes, but only you can play or burn the music to a CD. 12. Enter the rest of the text as shown below. 13. Select the whole table with your mouse. 14. On the Home tab, in the Font group, click the Font Size arrow to select 12. 15. On the Table Tools Design tab, in the Table Styles group, click the arrow beside the Borders button. Then click Borders and Shading to open the Borders and Shading dialog box. 16. Click the Borders tab, if necessary. 17. In the Style box, scroll through the border line styles. Choose one that looks like the border shown below. 18. Under Setting, click Grid. 19. Click the Shading tab. Under Fill, click the down arrow to open the color palettes. Under Standard Colors, click the color Yellow. Then click OK. 20. Your document should look like below. Save your document.


