Apsen-Entering PD Courses
advertisement
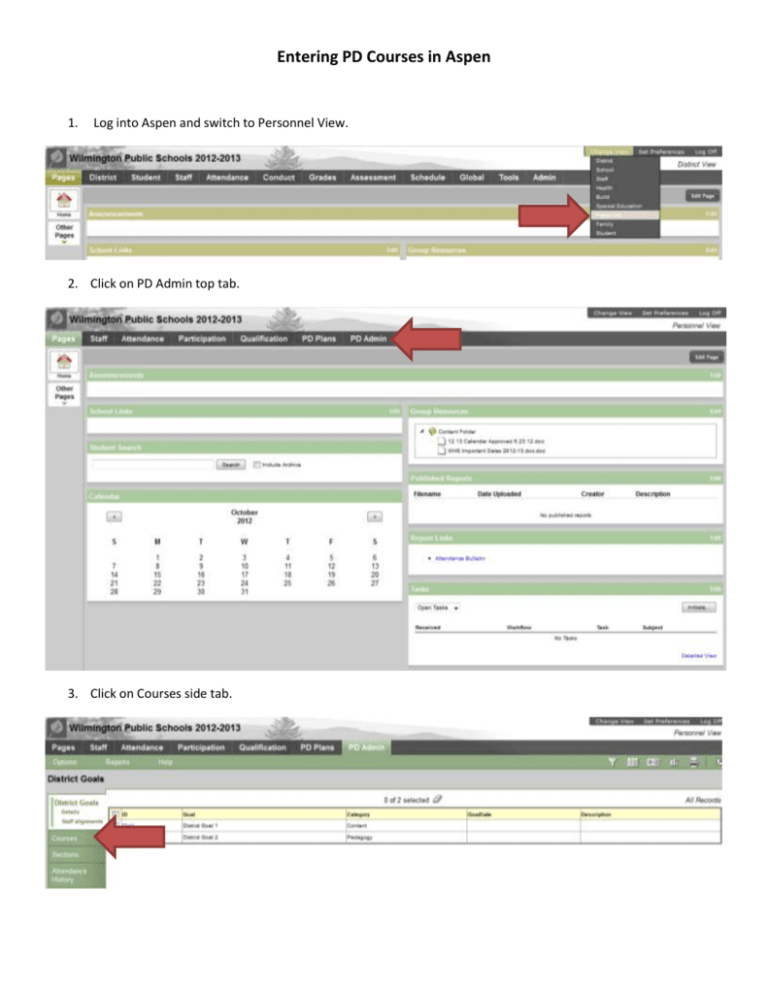
Entering PD Courses in Aspen 1. Log into Aspen and switch to Personnel View. 2. Click on PD Admin top tab. 3. Click on Courses side tab. 4. Click on Options, then Add. 5. A new window will open. Fill out at least the following: Identifier - Short code/name (up to 10 characters) for the course (ex: IntroWord) Title – Full name of the course (ex: Introduction to Microsoft Word) Description – Provide the full description of the course. Will be viewable to the teachers once the online signup process is working. The other fields for points/hours/credits, etc. are all additional informational fields that can be viewed by the teacher when signing up for the course. They are not required fields, but could be helpful for those viewing the course details. You can also use the Add button to attach district level goals that are applicable to this course. 6. Click “Save”. 7. Click on the Courses side tab again. Note that the new course is now listed. Once a course has been created, you will not have to enter it again if it is taught multiple times. 8. Each time the course is taught, a new Section needs to be recorded. Click on that side tab. 9. You are now viewing Current Offerings. You can view all sections (closed or future) by changing the Filter to “All Records”. 10. Click on Options and then Add to add a new section. 11. A new window will open. Start by choosing which Course this section is for. You can do so by clicking on the Magnifying Glass icon. 12. A popup window containing a list of all available courses will open. Select the radial next to the Course and click on OK. 13. The course name is now filled out. Next, enter a section number. This is the first time this course is being hosted, so in this example, it will be 01. 14. Enter the Start Date for the section. The end date is also helpful to identify the time span the section will occur over. 15. Other information to fill out as needed: Staff > Name – If a staff member is teaching the class, select his or her name. This will allow him/her to take attendance in Aspen for the section. Enrollment Max – Beneficial to fill out based on room constraints. If a lab has 20 computers, for example, this can be used to limit the section to 20 participants so everyone has a computer available. Enrollment Open/Close Date – When the online submission workflow is complete, this will allow teachers to sign up during the window you set. This will prevent people from signing up after the course is already in process. Enrollment Type – Should almost always be delayed. This will force our approval process. If “Immediate” is selected, the approval process is bypassed and the section is filled on a first come, first served basis. 16. Next, add the actual meeting times. Click on the Add button. 17. A new line will become active for you to type in. Enter the first meeting date, start time, duration, School where the training is being held and room number where the training is being held. Click OK when the information has been entered. 18. Use the Add button to enter any additional dates this section will be held. 19. Click Save when the information has been entered as desired. 20. Click on the main Sections side tab again. The Section is now listed.

