Thermal deburring TEM Thermal energy method Explosive
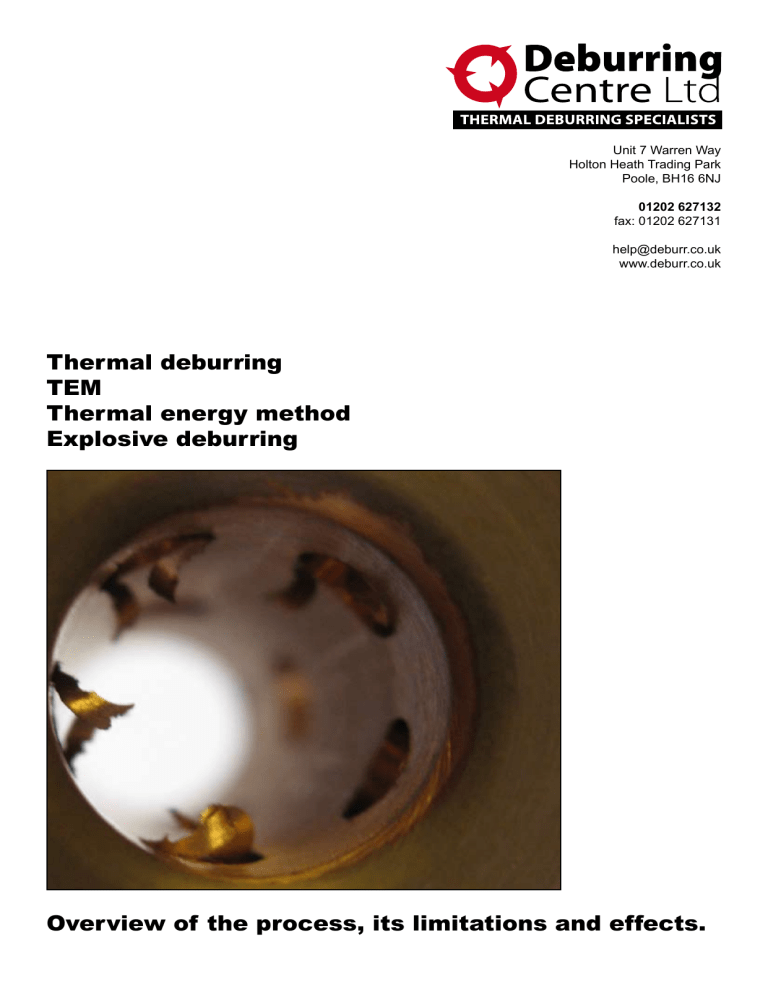
Thermal deburring
TEM
Thermal energy method
Explosive deburring
Unit 7 Warren Way
Holton Heath Trading Park
Poole, BH16 6NJ
01202 627132 fax: 01202 627131 help@deburr.co.uk
www.deburr.co.uk
Overview of the process, its limitations and effects.
Thermal deburring focuses on removing potentially loose burrs. If it doesn’t come off during our explosion — it won’t come off in service. Removing raised edges or radiusing corners will probably need an alternate abrasive method.
TEM exploits the extreme difference in mass between the component and its burrs. The component (large mass, relatively small surface area) safely dissipates the heat throughout its bulk and experiences a modest rise in temperature (well below any levels that would affect its metallurgy) whilst the burrs (small mass, relatively large surface area) can only dissipate the heat in one direction, through their root, into the component. Because of this restriction, their temperature goes up past their ignition point when they oxidise completely.
It’s somewhat akin to passing one’s hand through a flame quickly. The hand senses heat but the hairs are efficiently removed.
The machines
The process is nothing to do with heat treatment. Rather imaging a single cylinder car engine (albeit a 5 litre single cylinder engine) with inlet and exhaust valves and a spark plug. There are 5 stations that can be pre loaded whilst the machine cycles. The chamber closes, fills with gas, ignites, exhausts, opens and cycles round. One complete cycle takes a couple of minutes. The rest of the machine
(size 3x4x3m) houses the cast iron frame that closes with 350 tonnes of pressure and the hydraulic and pneumatic switch gear.
The process
Thermal deburring is essentially a chemical reaction aided by heat. The heat is generated by combusting natural gas and oxygen under pressure inside a sealed chamber (max size 250 diameter x 330mm high). This blast lasts only 20 milliseconds but temperatures reach between 2,500 and 3,500°C and pressures up to 400 bar (with a pressure spike of up to 2,000 bar). The majority of heat hitting the component’s surfaces is safely dissipated throughout it’s bulk.
Aluminium will typically reach 55-60°C whilst steels reach around 150°C (due to being fired twice). By the very nature of using a gas as the deburring ‘media’ — which is non abrasive — no surfaces are scratched; no hole is too small; no burr inaccessible; no media left; and, more importantly, no burr, debris or contaminant missed.
The majority of the oxide (gas) is extracted, but some oxide powder (dependant on the mass of burr removed) is deposited on the surface of the component (and the walls of the chamber). This can be subsequently removed with a simple wash, either in-house using a 20% phosphoric acid solution for steels or, in the case of aluminium, usually preanodising.
Burr preparation
The amount of burr removed is influenced by the material, the amount of heat, and the shape of the burr. We control the first two with the ratio between the gases and the pressure. You need to control the burr.
Milled burrs from sharp tools at the right feed and speed tend to be thin and an even thickness. The process will then oxidise them neatly back to the sharp edge of the component. melt oxidise oxidise dissipate dissipate
Sharp tools leave a sharp edge oxidise dissipate
Blunt tools or wrong feeds and speeds result in a bulge of displaced material before producing the burr.
This wedge shaped burr extends the distance over which the temperature drops. In these cases TEM still oxidises the potential loose part. It then melts back the next section and, depending on the burr’s geometry, could possibly leave a raised edge at the root of the burr where the heat safely dissipates into the bulk of the dissipate oxidise
Blunt tools can leave a raised edge
If this ‘raised edge’ is an issue - as in the case of a passing spool - then we would suggest going back down the bore to push the burr into the cross hole where the raised edge might not be such an issue, or — especially if a radius is required — addressing it by hand before thermally deburring, which will then remove the smaller burrs created with the scraper/ deburring tool.
Trialing is the easiest way of ascertaining the best heat setting, the optimum component preparations, and the range of burr variation that will be acceptable and consistently deburred.
Large burrs can be efficiently removed, but may leave a melted edge.
Wedge shaped burrs can leave raised edges.
Component preparation
Although quite sizeable burrs can be removed by increasing the heat - eventually the process will start to ‘deburr’ the largest burrs. They can then melt and fuse to the body; or even explode and splatter (especially aluminium). For this reason any swarf compacted in holes is best removed before thermal. And if all holes are blasted through with an air line and sizeable flaps are knocked off, a better finished result is obtained. Also oil needs to be removed. Excessive oil can cause pre-ignition of the TEM machines. It also has a tendency to utilise the heat when vapourising so reducing the deburring effect. It also causes a black carbon deposit which can be stubborn to remove.
from left...
splatter swarf carbon deposit
Possible side effects
The heat could also find the ‘weakest’ part of the component. This is usually the thinnest sections, which could start to melt back. Cavities and porosity in castings can be blown open. The thin lead-in to the thread will be burnt back along with any whiskers on the threads. However threads will normally be left intact (unless they are smaller than the burrs!) as there is a mass of material behind the points.
Metallurgical effects are minimal. In most cases, non existent. Negligible dimensional change is experienced. Some burr roots could experience hardening to a depth of a few micron, and very thin walled shapes, ie tubes or boxes, could distort with the heat and blast. Fixturing eliminates any bounce damage. Heat sinks can also be used to protect delicate features.
Historically
The process was first utilised over 40 years ago by the hydraulics and die cast industries. Hydraulics liked the focus on — and guarantee of — removing the smallest, most awkward burrs, and those most likely to come off in service.
‘If it didn’t come off in the explosion — it won’t come off in service’ is the accepted guarantee of this repeatable, automated, non selective, non abrasive thermal deburring process.
Over the last decade, as expectations and inspection magnification increase, more sectors: medical, deep sea, electronics, etc are investigating and approving the application of explosive deburring.
The following are typical examples of before and after burr removal.
Steel cartridges, with a myriad of small burrs and contaminants left after drilling cross holes. 4x mag
Cast iron; the thin leading edge of threads are burnt back and angel hairs removed. 1x
Steel, a typical crown burr and cap left after drilling. 2x
Aluminium manifold; removing the last piece of material pushed away from milling cutter. 3x
Aluminium manifold block; cross hole into thread, time consuming by hand. 3x
Stainless steel; fine milled burrs, easily missed by hand and eye especially with 0.1mm burrs. 10x
Stainless steel; 2mm drilled hole. notice exaggerated effect of surface milling. 40x

