Setting up your Course Website in a Hurry http://portal.utoronto.ca
advertisement
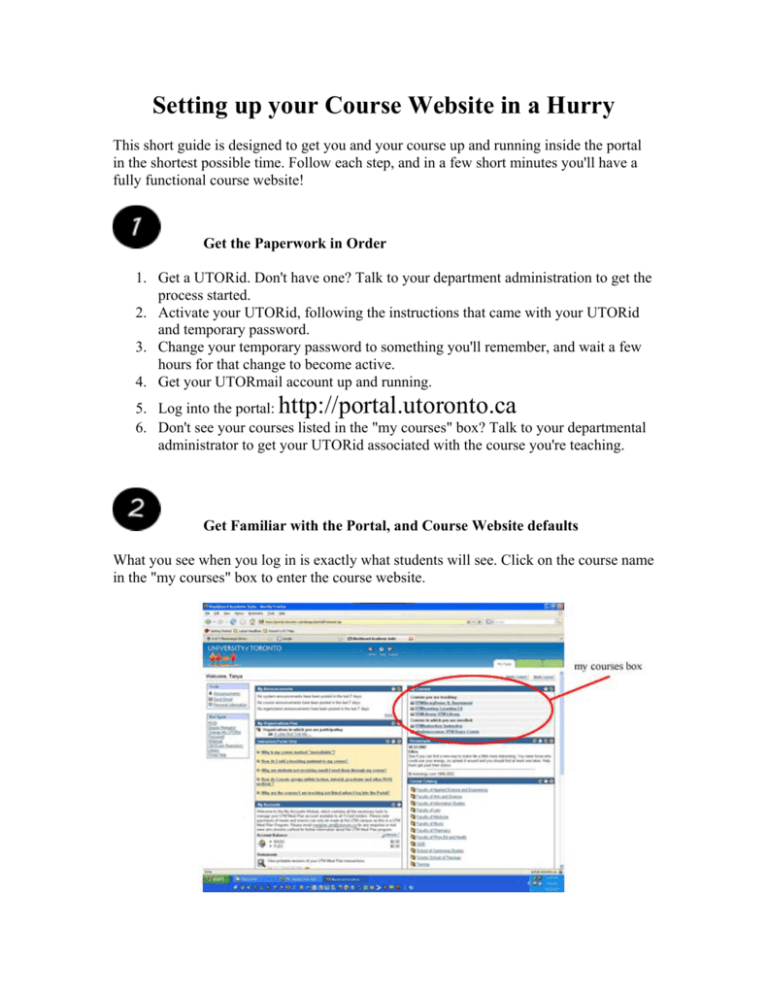
Setting up your Course Website in a Hurry This short guide is designed to get you and your course up and running inside the portal in the shortest possible time. Follow each step, and in a few short minutes you'll have a fully functional course website! Get the Paperwork in Order 1. Get a UTORid. Don't have one? Talk to your department administration to get the process started. 2. Activate your UTORid, following the instructions that came with your UTORid and temporary password. 3. Change your temporary password to something you'll remember, and wait a few hours for that change to become active. 4. Get your UTORmail account up and running. http://portal.utoronto.ca 5. Log into the portal: 6. Don't see your courses listed in the "my courses" box? Talk to your departmental administrator to get your UTORid associated with the course you're teaching. Get Familiar with the Portal, and Course Website defaults What you see when you log in is exactly what students will see. Click on the course name in the "my courses" box to enter the course website. Below is a screenshot of a typical course website: Find the Class List The class list is updated every day around 2am. To find it: 1. Click on 2. Click on "gradebook". 3. Here, you'll see the class list. Upload the Syllabus and other Documents For this part, go back to the course website by clicking on the course name on the top left of the screen. This is called a "bread-crumb trail", and is always along the top to help you move around inside the course. In a default course website, you'll notice that there is list of options ready on the course menu. These are essentially folders awaiting material that you can add to them. These defaults can be renamed, deleted, or changed. (See more about editing the course menu on http://www.portalinfo.utoronto.ca) for more details.) In general, "course information" means the syllabus; "course documents" might be handouts or lecture slides, and "assignments" is a listing of the assignments in the course. To upload a syllabus, click on "Course Information". You will see a page that reads "folder empty". Look along the top right of the page, and you'll see this: 1. The "EDIT VIEW" button shifts the screen from the student's view (or "display view") and the instructor's view. Click "EDIT VIEW" to add elements to the page. 2. To upload the syllabus, click the button. It will bring you to a form. There are advanced functions within it, but the easy way is this: 3. Give the file a name. In this case, you could call it "Syllabus". 4. Use the first browse button to locate your syllabus document on your computer. This is similar to sending an attachment in email. Optionally, you can provide a name for the linked file, which might be something like "click here to download the syllabus". 5. Click Submit to upload the file. You can repeat this same process for uploading lecture notes, powerpoint slides, etc. WARNING: there is an 8 megabyte limit on file uploads. If you use extremely large powerpoint files, use the program to shrink them down, turn them into .pdf files, or break them into smaller files before uploading them. To add the rest of your course documents, you go through these same steps in the other menu items (like "course documents" and "assignments"). Make an Announcement Announcements appear on the main page of your course website, and also on the portal page of students enrolled in the class. It's a very effective means of communication. To make an announcement: 1. Click on 2. Look on the lefthand side for "announcements", and click on it. 3. Press the button. 4. Much like email, give the announcement a subject and message body in the form provided. 5. If desired, tick the "email announcement" tickbox to send the announcement as an email to all course participants. 6. Click "submit". Send Email To send email to students (other than making an announcement): 1. Click on 2. Look on the lefthand side for "Send Email", and click on it. 3. You will be presented with a list of possible recipients. You can email all course participants (including other instructors and TAs), just students, particular students, etc. Choose the option that serves you best. 4. Supply a subject and text of the message. 5. Click the "submit" button. Enroll TAs You can enroll your own TAs into your course, but first you must know their UTORids. Ask your departmental administrator for their UTORids, or email your TAs and ask them directly. 1. Click on 2. Look in the centre of the page for " Enroll Course Staff", and click on it. 3. Enter the TA's UTORid in the box provided. 4. You will be presented with the TAs name and email address for verification. 5. Choose a role from the dropdown menu. 6. Click the "Add" button. Using your Gradebook You can use the gradebook to help calculate student grades, and to reveal grades to students during the course. Final grades must only be released by the registrar's office. To use the gradebook: 1. Click on 2. Look for "Gradebook" on the righthand side of the screen and click on it. 3. To add gradable items to your gradebook, click the "add item" button. Each item added will be added as a column in the gradebook. 4. To weight the items, click "weight grades" and add percentages to each item. The gradebook will keep a running tally of each student's total grade. For more information on using the gradebook, go to http://www.portalinfo.utoronto.ca. Making your Course Available to Students By default, all courses in the portal are initially unavailable to students. This means that while you can see and build your course website, students will not see the name of the course appear when they log in at all. This is to allow you some privacy in building your page, and also to have the system only reveal to students the course websites that are actually in use. We recommend that you make your course available as soon as possible, but no later than the first day your class meets. To make your course available: 1. Click on 2. Look on the bottom left hand side of the screen for "Settings". 3. Click "Course Availability". 4. Click on the radio button next to "yes", and click the "submit" button. Your course is now available to students. Checklist Are you ready for the first day of class? Have you: Uploaded your syllabus? Enrolled your TA(s)? Made your course available? If those three things are done, you're ready to go! Have a great term! See the complete step-by-step guide here: http://www.portalinfo.utoronto.ca

