Bio Drawing Rules
advertisement
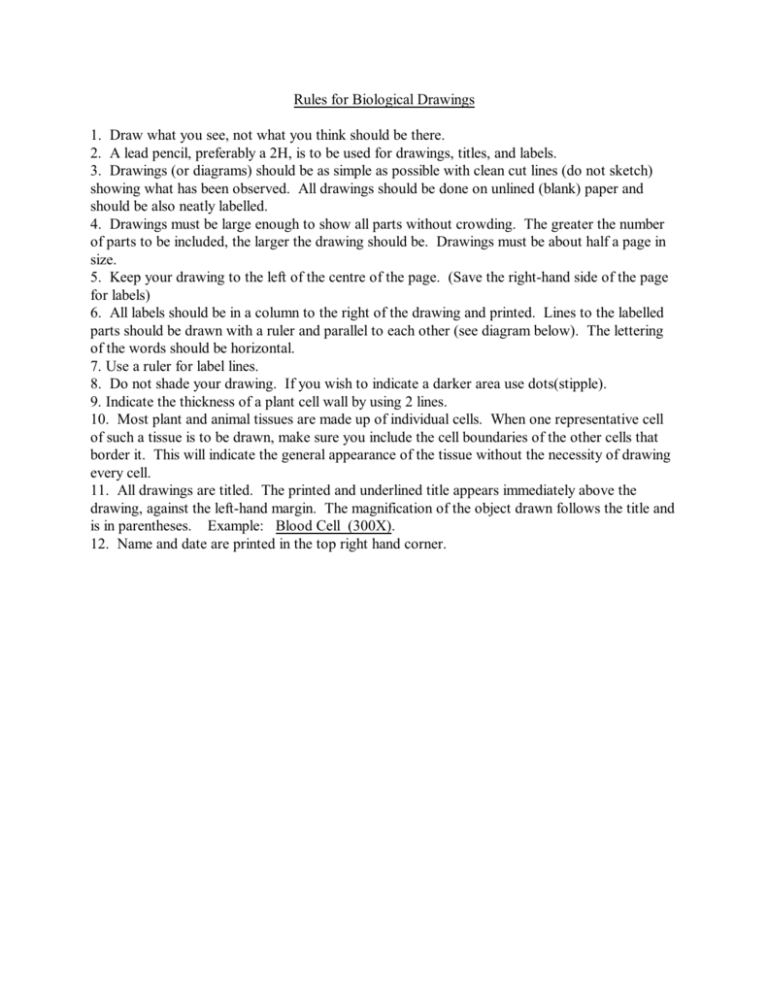
Rules for Biological Drawings 1. Draw what you see, not what you think should be there. 2. A lead pencil, preferably a 2H, is to be used for drawings, titles, and labels. 3. Drawings (or diagrams) should be as simple as possible with clean cut lines (do not sketch) showing what has been observed. All drawings should be done on unlined (blank) paper and should be also neatly labelled. 4. Drawings must be large enough to show all parts without crowding. The greater the number of parts to be included, the larger the drawing should be. Drawings must be about half a page in size. 5. Keep your drawing to the left of the centre of the page. (Save the right-hand side of the page for labels) 6. All labels should be in a column to the right of the drawing and printed. Lines to the labelled parts should be drawn with a ruler and parallel to each other (see diagram below). The lettering of the words should be horizontal. 7. Use a ruler for label lines. 8. Do not shade your drawing. If you wish to indicate a darker area use dots(stipple). 9. Indicate the thickness of a plant cell wall by using 2 lines. 10. Most plant and animal tissues are made up of individual cells. When one representative cell of such a tissue is to be drawn, make sure you include the cell boundaries of the other cells that border it. This will indicate the general appearance of the tissue without the necessity of drawing every cell. 11. All drawings are titled. The printed and underlined title appears immediately above the drawing, against the left-hand margin. The magnification of the object drawn follows the title and is in parentheses. Example: Blood Cell (300X). 12. Name and date are printed in the top right hand corner.
