Lesson 3 - Advance Tools Effects Word
advertisement
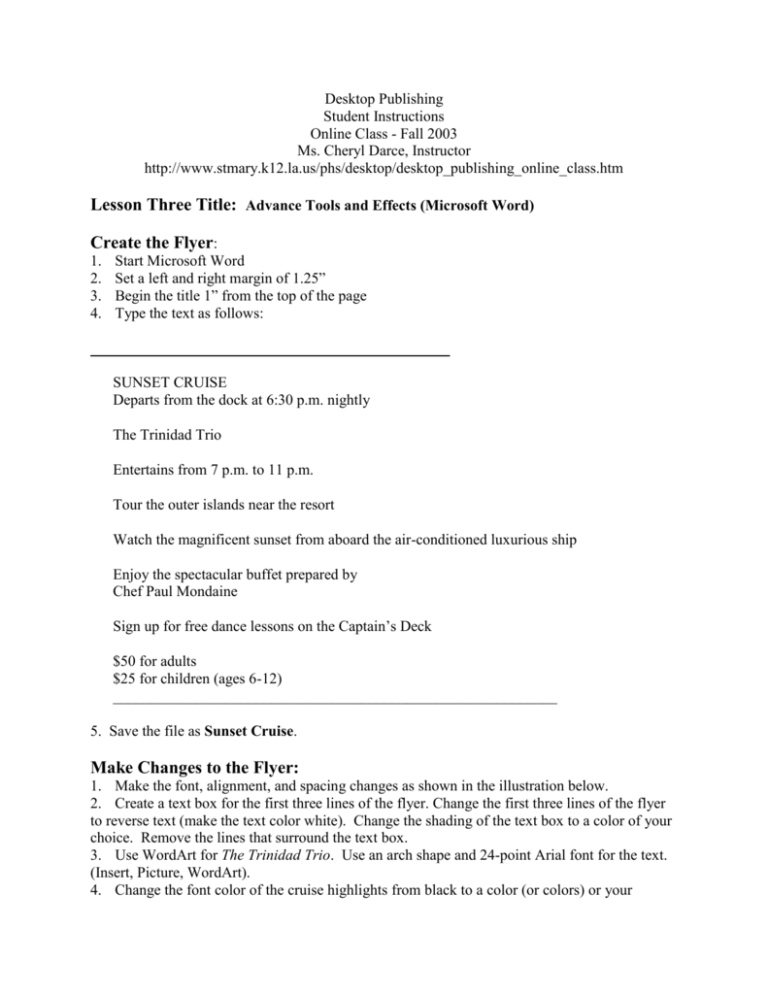
Desktop Publishing Student Instructions Online Class - Fall 2003 Ms. Cheryl Darce, Instructor http://www.stmary.k12.la.us/phs/desktop/desktop_publishing_online_class.htm Lesson Three Title: Advance Tools and Effects (Microsoft Word) Create the Flyer: 1. 2. 3. 4. Start Microsoft Word Set a left and right margin of 1.25” Begin the title 1” from the top of the page Type the text as follows: SUNSET CRUISE Departs from the dock at 6:30 p.m. nightly The Trinidad Trio Entertains from 7 p.m. to 11 p.m. Tour the outer islands near the resort Watch the magnificent sunset from aboard the air-conditioned luxurious ship Enjoy the spectacular buffet prepared by Chef Paul Mondaine Sign up for free dance lessons on the Captain’s Deck $50 for adults $25 for children (ages 6-12) ___________________________________________________________ 5. Save the file as Sunset Cruise. Make Changes to the Flyer: 1. Make the font, alignment, and spacing changes as shown in the illustration below. 2. Create a text box for the first three lines of the flyer. Change the first three lines of the flyer to reverse text (make the text color white). Change the shading of the text box to a color of your choice. Remove the lines that surround the text box. 3. Use WordArt for The Trinidad Trio. Use an arch shape and 24-point Arial font for the text. (Insert, Picture, WordArt). 4. Change the font color of the cruise highlights from black to a color (or colors) or your choice. 5. Insert a ship graphic as a watermark. Remember that once you insert a clip art, you must right click on the image and choose “Format Picture.” At the Picture tab, change the Image Control Color from Automatic to Watermark. Next, select the Layout tab and change the layout to “Behind Text”. Size the graphic accordingly. Drag the graphic to the desired location. Finally to complete the transition from a clip art to a watermark, open the Draw toolbar and click on the Draw button and then Order, and then click on “Send Behind Text”. 6. Proofread, check the spelling and grammar in the document. 7. Save the document. 8. E-mail the document to the instructor http://www.stmary.k12.la.us/phs/desktop/Lesson%203.htm Desktop Publishing - OnLine Class Lesson Plans Lesson Three: Mastering the Drawing Tools Curriculum Area: Business Grade Levels: Louisiana Framework: B-4-A Select and utilize equipment and technology appropriate for successfully completing various tasks. B-17-C Identify, compare, and use various desktop publishing technology. B-20-C Create, compose, edit, store, retrieve, and print documents. M-1-H Selecting and using appropriate units, techniques, and tools to measure quantities in order to achieve specified degrees of precision, accuracy, and error (or tolerance) of measurement. (3) Technology Strategies: 9-12-E Explain and use advanced terminology, tools, and concepts associated with software applications, telecommunications, and emerging technologies. (1,3) 9-12-G Refine knowledge and enhance skills in keyboarding, word processing, desktop publishing, spreadsheets, databases, multimedia, and telecommunications in preparing and presenting classroom projects. (3,6) 9-12-J Use appropriate technology to locate, retrieve, organize, analyze, evaluate, and communicate information for problem solving and decision making. (1,2,4) 9-12-K Evaluate the usage of technology and the processes involved during and upon completion of individual and group projects. (2,5) Learner Objectives: The learner will be able to: insert WordArt create a watermark add reverse text formatting apply shading to a block of text Materials: Lesson 3 Instruction Sheet Sample Illustration of Document Rubric Technology Connection: Microsoft Word Lesson Procedures: A. Motivation: 1. Up to this point you have seen how to add clip art and auto shapes to a project. In this lesson you will see how to change a clip art image to a watermark. A watermark is a lightly shaded image that appears behind the text on a document. You will also learn how to insert a WordArt image into the document. WordArt allows the used to create text and twist the text into different shapes. B. Lesson Procedure: (At the computer) Create the Flyer: 1. Start Microsoft Word 2. Set a left and right margin of 1.25” 3. Begin the title 1” from the top of the page Type the text as follows: SUNSET CRUISE Departs from the dock at 6:30 p.m. nightly The Trinidad Trio Entertains from 7 p.m. to 11 p.m. Tour the outer islands near the resort Watch the magnificent sunset from aboard the air-conditioned luxurious ship Enjoy the spectacular buffet prepared by Chef Paul Mondaine Sign up for free dance lessons on the Captain’s Deck $50 for adults $25 for children (ages 6-12) 4. Save the file as Sunset Cruise Make Changes to the Flyer: 1. Make the font, alignment, and spacing changes as shown in the illustration below. 2. Create a text box for the first three lines of the flyer. Change the first three lines of the flyer to reverse text (make the text color white). Change the shading of the text box to a color of your choice. Remove the lines that surround the text box. 3. Use WordArt for The Trinidad Trio. Use an arch shape and 24-point Arial font for the text. (Insert, Picture, WordArt) 4. Change the font color of the cruise highlights from black to a color (or colors) or your choice. 5. Insert a ship graphic as a watermark. Remember that once you insert a clip art, you must right click on the image and choose “Format Picture.” At the Picture tab, change the Image Control Color from Automatic to Watermark. Next, select the Layout tab and change the layout to “Behind Text”. Size the graphic accordingly. Drag the graphic to the desired location. Finally to complete the transition from a clip art to a watermark, open the Draw toolbar and click on the Draw button and then Order, and then click on “Send Behind Text”. 6. Proofread, check the spelling and grammar in the document 7. Save the document 8. E-mail the document to the instructor Assessment: Rubric showing the grading scale for Lesson 3 Final Project Rubric Back to Lesson Plan Page for Lesson 3 Back to Teacher Lesson Plan Page Back to Desktop Publishing Home Page Home Library Internet Resources Clubs Alumni Sports Calendar Departments Cracker Jacks Faculty History Mission Statement Back to Teacher Lesson Plan Page Back to Desktop Publishing Home Page Home Library Internet Resources Clubs Alumni Sports History Calendar Departments Cracker Jacks Faculty Mission Statement

