Exercise 1. Basic Techniques
advertisement
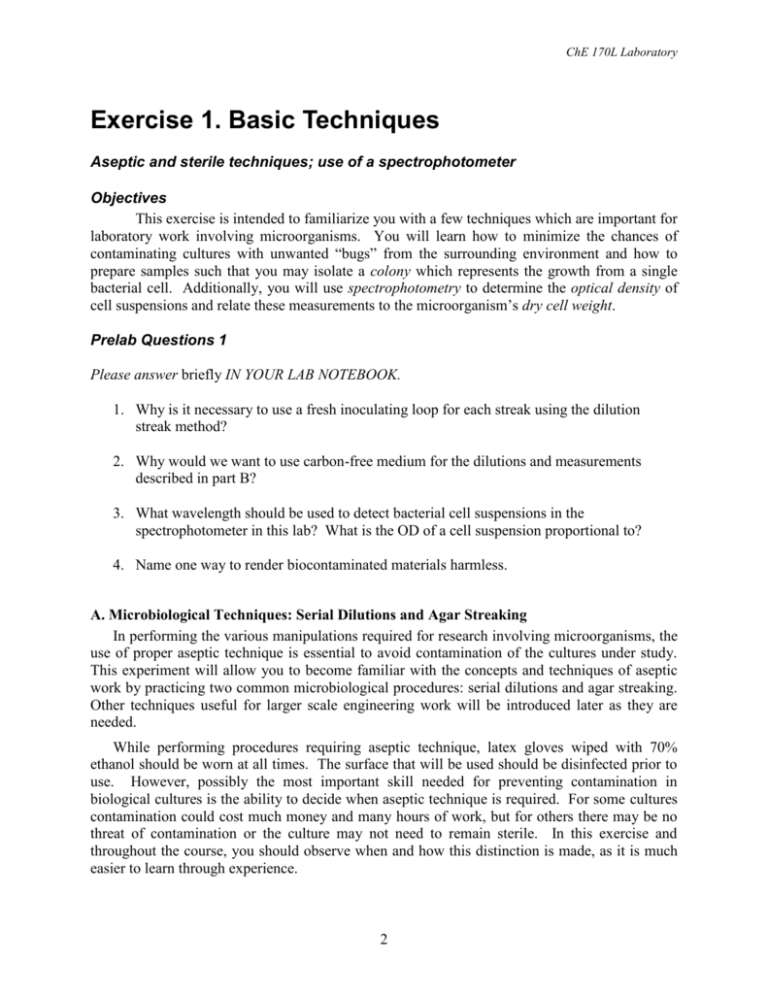
ChE 170L Laboratory Exercise 1. Basic Techniques Aseptic and sterile techniques; use of a spectrophotometer Objectives This exercise is intended to familiarize you with a few techniques which are important for laboratory work involving microorganisms. You will learn how to minimize the chances of contaminating cultures with unwanted “bugs” from the surrounding environment and how to prepare samples such that you may isolate a colony which represents the growth from a single bacterial cell. Additionally, you will use spectrophotometry to determine the optical density of cell suspensions and relate these measurements to the microorganism’s dry cell weight. Prelab Questions 1 Please answer briefly IN YOUR LAB NOTEBOOK. 1. Why is it necessary to use a fresh inoculating loop for each streak using the dilution streak method? 2. Why would we want to use carbon-free medium for the dilutions and measurements described in part B? 3. What wavelength should be used to detect bacterial cell suspensions in the spectrophotometer in this lab? What is the OD of a cell suspension proportional to? 4. Name one way to render biocontaminated materials harmless. A. Microbiological Techniques: Serial Dilutions and Agar Streaking In performing the various manipulations required for research involving microorganisms, the use of proper aseptic technique is essential to avoid contamination of the cultures under study. This experiment will allow you to become familiar with the concepts and techniques of aseptic work by practicing two common microbiological procedures: serial dilutions and agar streaking. Other techniques useful for larger scale engineering work will be introduced later as they are needed. While performing procedures requiring aseptic technique, latex gloves wiped with 70% ethanol should be worn at all times. The surface that will be used should be disinfected prior to use. However, possibly the most important skill needed for preventing contamination in biological cultures is the ability to decide when aseptic technique is required. For some cultures contamination could cost much money and many hours of work, but for others there may be no threat of contamination or the culture may not need to remain sterile. In this exercise and throughout the course, you should observe when and how this distinction is made, as it is much easier to learn through experience. 2 ChE 170L Laboratory Serial Dilutions and Agar Streaking Prepare a 10-fold dilution of the stock E. coli culture by aseptically transferring 1.0 ml of the culture to 9.0 ml of sterile buffer (M9 minimal media). The teaching assistant (TA) will demonstrate the technique. Mix well by swirling the test tube. Now, you will aseptically streak one of the agar plates with the stock and one with the 10fold dilution according to the following procedure, which is called the dilution streak method. It is designed to provide a continuous dilution of the sample by smearing out the culture on the agar. Place your streaks close together but not overlapping. Do not apply too much pressure or you will dig up the agar. We will be using disposable, pre-sterilized inoculating loops. Because the loops are not individually wrapped, it is very important that you remove a single loop as quickly as possible, while being careful to minimize contact with the other loops or the inside of the container. You will need to share the packaged loops with nearby groups. Always remove a loop by grabbing the handle end (solid stem) of the loop. DO NOT TOUCH THE CIRCLE END OF THE LOOP!!! If you do touch the circle end with your fingers, or if it comes into contact with any surface or other materials, it is contaminated and should be discarded. Obtain a drop of the dilute cell solution on your inoculating loop by dipping it into the appropriate tube. Be careful not to touch the outside and top rim of the tube with the loop, because you can not be sure that these areas are clean. Starting with the drop, streak about l/3 of the plate with a continuous motion as shown: Rotate the plate 90o counterclockwise and make another streak with a fresh loop, initially pulling though one line of the first area. Cover about l/2 of the remaining area with this streak as shown: 3 ChE 170L Laboratory o Rotate the plate another 90 counterclockwise and cover the remaining area with another zigzagged streak (again using a fresh loop), pulling through the previously streaked area only once as shown: Mark the plate with the name of the organism, the dilution, your initials, and the date, (on the side or edge of the plate so that colonies can be viewed once they have grown) then put it in a 37°C incubator. It is good laboratory practice to label everything very carefully. This will ensure that others who share the laboratory and equipment will know how to treat your samples, reagents, and cultures. It is most important for distinguishing dangerous from non-dangerous situations. Repeat the streaking procedure on a new plate using the stock B. subtilis culture. You do not have to make a dilution or streak a second plate. Parallel Streak Method Using the 10-fold dilution prepared above, streak another agar plate using the parallel streak method shown below. (Remember to obtain a fresh loop as mentioned earlier.) Label this plate with the organism, your initials and the date, and place it in the incubator. Also note on the plate that it was streaked using the parallel method. 4 ChE 170L Laboratory Contamination Streak the remaining agar plate using the dilution and method as described above. Leave the plate uncovered for 5 to 10 minutes. If you wish you may try other “methods” to contaminate the plate (be creative, for example, lean close to the plate and gently exhale on it, streak from a bench top or a window sill, streak with a finger. . . ). Label this plate and mark it “contaminated” and put in the incubator. These will be incubated until good growth occurs (usually about 24 hours), then they will be stored in the cold until they can be examined. Examine the plates after growth has occurred. Compare the quantities and configurations of the colonies on the plates with the dilution and streaking method employed. Look for single circular colonies with no other colonies touching them. These colonies probably grew from a single bacterial cell and could be considered a pure strain colony if the original culture had been a mixture of different species. If any colonies are different in color, texture, or shape from the major type, they are probably contaminants and indicate faulty technique (unless, of course, you are looking at the plate you contaminated on purpose). Sketch the plates, as these will be a topic of discussion. B. Cell Mass Determination - Optical Density Method The determination of microbial cell mass or cell numbers is one of the most fundamental analytical techniques used in working with microorganisms. The method usually used for non-filamentous organisms (most bacteria and yeast) is the optical density method, which depends on the scattering of light by the cells in suspension. In this experiment you will prepare a calibration curve (which will be used in a later experiment) for determining microbial dry weight per ml from the optical density of the suspension. You will be provided with a concentrated suspension of bacterial cells (Escherichia coli). This culture was collected in exponential phase during growth with aeration. The cells were harvested by centrifugation and re-suspended in carbon-free M9 minimal medium to an optical density of approximately 1.0. (Why would we want to use carbon-free medium for these dilutions and measurements?) Prepare the dilutions of the suspension according to the scheme in the table below. Use the vortexer to mix your samples well. Measure the absorbance of each dilution immediately after preparing it and save each dilution in a microcentrifuge tube after the measurement. Use M9 medium to blank the spectrophotometer. Record the results in tabular form, as shown in the sample results table. The OD (optical density) measurements will be made at a wavelength of 600 nm (red filter). Dilution Scheme: Suspension Number (* Use 2mL vial) 1 2* 3* 4 Suspension Volume M9 Minimal (ml) Medium (ml) 1 ml original 1.5 ml original 1 ml original 0.5 ml number 2 5 0 0.5 1 0.5 ChE 170L Laboratory 5* 6 7 8 9 10 0.5 ml original 0.4 ml number 3 0.6 ml number 5 0.1 ml original 0.1 ml number 2 0.1 ml number 5 1.5 0.6 0.4 0.9 0.9 0.9 The dry cell weight of the original will be determined for you by drying 1 ml of the suspension on a drying glass in a warm oven overnight. The glass will be weighed before and after drying. This dry weight corresponds to the mass of cellular components (proteins, DNA, carbohydrates, etc.) and is a common means of describing cell concentrations. Representative Result Table: Suspension Number Fraction of Original Mg dry cell wt/ml Absorbance C. Microscopy and Gram Staining Use of the Microscope and Observation of Microorganisms The Gram Stain: The differential Gram stain (or Gram reaction), accidentally discovered by Christian Gram in 1884, remains today one of the most useful tools for the classification and identification of bacteria. Although the chemical basis for the reaction is still not entirely understood, the retention of the dye by fixed cells treated with iodine and alcohol is known to depend on the chemical composition and intactness of the bacterial cell walls. To be dependable, the stain must be applied to young cultures, since old cells of “Gram positive” species may lose their ability to retain the dye and become “Gram negative” or, as sometimes recorded, “Gram variable.” For the Gram stain, heat fixation is generally used. Liquid cultures can be used or the cells from a bacterial colony or slant culture can be emulsified in a drop of water on a slide to give a light suspension. The preparations (smears) are air dried and gently heat-fixed. Gram Stain Procedure Make a smear of Escherichia coli, one of Bacillus subtilis, and one of a mixture of the two organisms, all on one clean slide, by emulsifying small quantities of cells from slants or flasks in small drops of tap water. Aseptic technique must be used when removing bacteria from the slants. After the cells have been removed from culture, do they need to be kept free from contamination? Why? Allow the smears to dry in the air, or by passing the slide high above the alcohol lamp (the smaller the drop of cells the less time it takes to dry). Next, heat-fix the cells by passing the microscope slide quickly over an alcohol lamp. The emulsion must be dried without disturbing the bacterial cell wall. For this purpose, keep the slide a fair distance from the flame and patiently move the slide about until the water evaporates. Note: Air drying 6 ChE 170L Laboratory the sample would be preferable, except for the large drying time required. Proceed to stain the smears as directed by the Sigma kit instructions: 1. 2. 3. 4. 5. 6. 7. 8. Cover the smears with crystal violet dye for one minute. Wash briefly with deionized water, rinse with Gram’s iodine. Apply Gram’s iodine solution for one minute. Wash with deionized water. Flood with decolorizer solution for up to 10 seconds, until color stops running. Wash with deionized water, rinse with safranin. Counterstain with safranin for one minute. Wash with deionized water; drain, blot, and air-dry. Examine the preparation using oil immersion without a cover slip. Place a drop of oil on top of the dried cells and lower the objective until the lens just touches the oil. Observe the cells through the eyepiece and focus manually. Record your results and observations. Include sketches of all samples viewed with the microscope. Gram positive cultures are a deep purple, while Gram negative cells are only a very light pink. However, a bad technique can yield false results. Guidelines for Analysis & Conclusions Section Remember, these are points you should consider and include in your analysis. This section, however, need not be limited to these specific guidelines. Part A. Microbiological Techniques 1. Compare and contrast the two streaking techniques in terms of shape and quantity of the colonies formed. 2. Which streaking method would you recommend for obtaining a large quantity of distinct colonies? At what dilution? 3. How does the morphology of the E. coli colonies differ from the B. subtilis colonies? 4. Does the “contaminated” plate exhibit any unusual characteristics? Why or why not? Part B. Cell Mass Determination--Optical Density Method 1. Prepare a calibration curve of absorbance versus mg dry cell weight per ml. relationship linear? Comment on the usefulness of your graph. 2. What are some reasons Beer’s law might fail in this system? 7 Is the ChE 170L Laboratory Part C. Microscopy and Gram Staining 1. Discuss the Gram stain classification of E. coli and B. subtilis in light of your results. What do the results tell you about the structure of these bacteria? Are your results consistent with those expected? If not, propose a reason why. 2. Discuss the effectiveness of the light microscope in terms of what it does and does not allow you to observe. 3. Discuss the effectiveness and problems of the Gram stain. Finally, remember to explain any errors, incomplete data, or unexpected results in your analysis. 8 ChE 170L Laboratory Equipment and Reagents Part A. Microbiological Techniques Nutrient broth culture of E. coli Nutrient broth culture of B. subtilis One sterile 15 ml Falcon tube with 9 ml buffer Sterile pipettes Five LB agar plates Inoculating loops Bunsen burner Part B. Cell Mass Determination 10 ml E. coli suspension in Carbon-free M9 medium with OD approximately 1.0 Assorted 1.5mL and 2.0mL microcentrifuge tubes Carbon-free M9 medium, 25 ml Sterile pipets (10 ml and 5 ml) Spectrophotometer cuvettes M9 Minimal Medium, Carbon-free (1 liter): 798 ml Deionized H2O (autoclave sterilized) 200 ml 5x M9 salts (autoclave sterilized) 1.0 ml 1M MgSO4 (filter sterilized) 1 ml 0.1 M CaCl2 (autoclave sterilized) 5x M9 salts: Dissolve the following salts in deionized water, bringing the final volume to 1.0 liter. 30 g Na2HPO4 15 g KH2PO4 2.5 g NaCl 5.0 g NH4Cl Part C. Gram Staining and Microscopy Compound microscope Gram Stain kit: Violet dye Gram’s iodine Decolorizer Safranin Microscope slides Reference Madigan, M.T. et al. (1997) Brock Biology of Microorganisms, 8th Ed., pp. 15-18, 54-58, 70-78, 155-158. Prentice Hall, Upper Saddle River, NJ. 9


