Creating a Journal Entry
advertisement
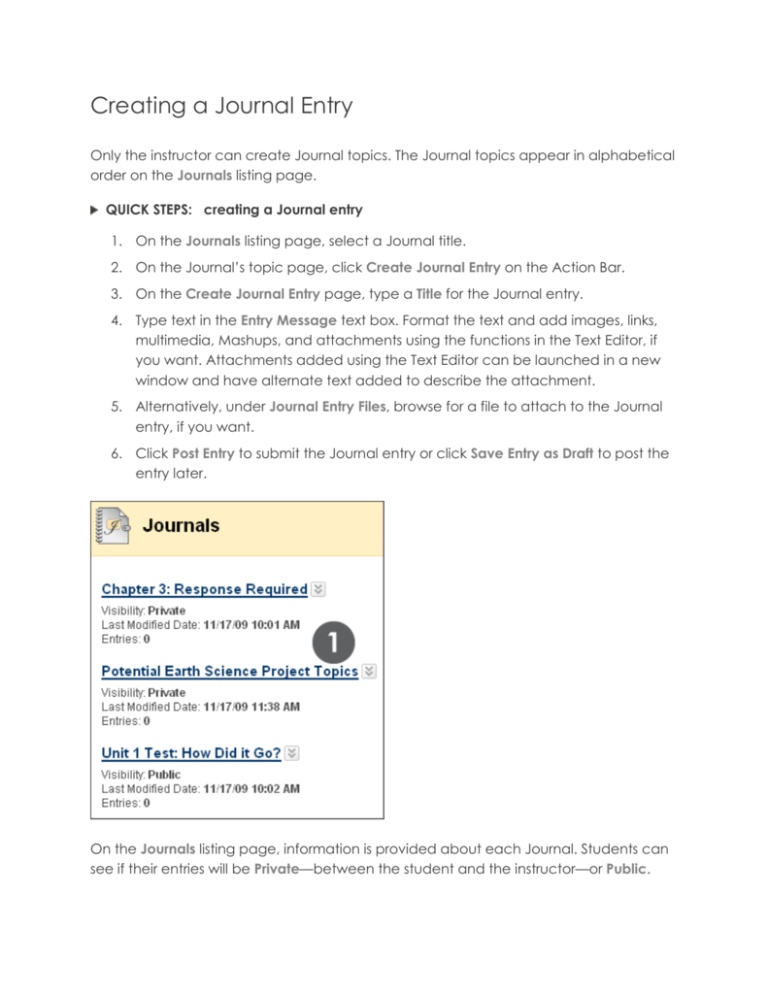
Creating a Journal Entry Only the instructor can create Journal topics. The Journal topics appear in alphabetical order on the Journals listing page. QUICK STEPS: creating a Journal entry 1. On the Journals listing page, select a Journal title. 2. On the Journal’s topic page, click Create Journal Entry on the Action Bar. 3. On the Create Journal Entry page, type a Title for the Journal entry. 4. Type text in the Entry Message text box. Format the text and add images, links, multimedia, Mashups, and attachments using the functions in the Text Editor, if you want. Attachments added using the Text Editor can be launched in a new window and have alternate text added to describe the attachment. 5. Alternatively, under Journal Entry Files, browse for a file to attach to the Journal entry, if you want. 6. Click Post Entry to submit the Journal entry or click Save Entry as Draft to post the entry later. On the Journals listing page, information is provided about each Journal. Students can see if their entries will be Private—between the student and the instructor—or Public. The Journal topic page is divided into two main sections. You can view the Instructions in the content frame. Click the X to collapse the field. In the side panel, you can view information about the Journal. In our example, entries made to this Journal topic are graded and the points possible are listed. You can expand and collapse sections in the side panel using the double arrows. Any entries saved as drafts can be accessed by clicking View Drafts on the Action Bar. If allowed by your institution, users can add avatars which will appear in the Journals tool. To add an avatar, go to My Places in the header > Personal Information > Personalize My Places > Browse My Computer and upload an image. Students can add text, images, links, multimedia, Mashups, and attachments to their Journal entries using the functions in the Text Editor. The Add Mashup function is circled in the preceding image. A Mashup can be defined as combining elements from two or more sources. When you view a YouTube™ video in a Blackboard Learn™ course as part of the course content, you are experiencing a Mashup. Mashups can also include Flickr® photos and SlideShare presentations. Images attached in the Journal Entry Files section appear as a link in the student’s Journal entry. To display an image directly on the Journal page, the image can be added using the Attach Image function in the Text Editor. NOTE: Students will see the Browse Content Collection function if your school licenses the content management capability. If the Content Collection is not available, students can only upload files from their local drives. Take Note A. The student’s Journal entry appears in the content frame following the Instructions. B. Following the entry, the student can see if comments were made by the instructor. Click the link to view comments. C. The student can respond to an instructor’s comments by clicking Comment. Commenting is detailed in the instructor section of this manual. D. In the side panel, the About this Journal section provides information about the Journal. The Journal Grade section appears if the Journal is set to be graded. The student can see if the Journal entry has been graded. E. The student can make another Journal entry for this topic at any time. For example, the instructor may add a comment requesting that the student clarify what has been written before a grade is assigned. The student’s most recent Journal entry appears first. NOTE: In this example, the student cannot edit or delete her Journal entry. The instructor determines if students can edit or delete entries during Journal topic creation.
