Interaction Desktop Quick Reference Card
advertisement

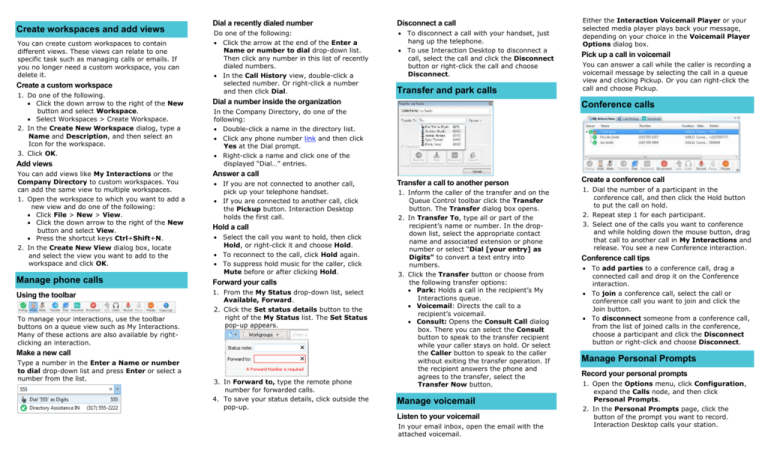
Create workspaces and add views You can create custom workspaces to contain different views. These views can relate to one specific task such as managing calls or emails. If you no longer need a custom workspace, you can delete it. Create a custom workspace 1. Do one of the following. Click the down arrow to the right of the New button and select Workspace. Select Workspaces > Create Workspace. 2. In the Create New Workspace dialog, type a Name and Description, and then select an Icon for the workspace. 3. Click OK. Add views Dial a recently dialed number Disconnect a call Do one of the following: Click the arrow at the end of the Enter a Name or number to dial drop-down list. Then click any number in this list of recently dialed numbers. In the Call History view, double-click a selected number. Or right-click a number and then click Dial. To disconnect a call with your handset, just hang up the telephone. To use Interaction Desktop to disconnect a call, select the call and click the Disconnect button or right-click the call and choose Disconnect. Dial a number inside the organization Answer a call Manage phone calls Forward your calls To manage your interactions, use the toolbar buttons on a queue view such as My Interactions. Many of these actions are also available by rightclicking an interaction. If you are not connected to another call, pick up your telephone handset. If you are connected to another call, click the Pickup button. Interaction Desktop holds the first call. Hold a call Select the call you want to hold, then click Hold, or right-click it and choose Hold. To reconnect to the call, click Hold again. To suppress hold music for the caller, click Mute before or after clicking Hold. 1. From the My Status drop-down list, select Available, Forward. 2. Click the Set status details button to the right of the My Status list. The Set Status pop-up appears. Make a new call Type a number in the Enter a Name or number to dial drop-down list and press Enter or select a number from the list. 3. In Forward to, type the remote phone number for forwarded calls. 4. To save your status details, click outside the pop-up. Pick up a call in voicemail You can answer a call while the caller is recording a voicemail message by selecting the call in a queue view and clicking Pickup. Or you can right-click the call and choose Pickup. Conference calls In the Company Directory, do one of the following: Double-click a name in the directory list. Click any phone number link and then click Yes at the Dial prompt. Right-click a name and click one of the displayed “Dial…” entries. You can add views like My Interactions or the Company Directory to custom workspaces. You can add the same view to multiple workspaces. 1. Open the workspace to which you want to add a new view and do one of the following: Click File > New > View. Click the down arrow to the right of the New button and select View. Press the shortcut keys Ctrl+Shift+N. 2. In the Create New View dialog box, locate and select the view you want to add to the workspace and click OK. Using the toolbar Transfer and park calls Either the Interaction Voicemail Player or your selected media player plays back your message, depending on your choice in the Voicemail Player Options dialog box. Transfer a call to another person 1. Inform the caller of the transfer and on the Queue Control toolbar click the Transfer button. The Transfer dialog box opens. 2. In Transfer To, type all or part of the recipient’s name or number. In the dropdown list, select the appropriate contact name and associated extension or phone number or select “Dial [your entry] as Digits” to convert a text entry into numbers. 3. Click the Transfer button or choose from the following transfer options: Park: Holds a call in the recipient’s My Interactions queue. Voicemail: Directs the call to a recipient’s voicemail. Consult: Opens the Consult Call dialog box. There you can select the Consult button to speak to the transfer recipient while your caller stays on hold. Or select the Caller button to speak to the caller without exiting the transfer operation. If the recipient answers the phone and agrees to the transfer, select the Transfer Now button. Manage voicemail Listen to your voicemail In your email inbox, open the email with the attached voicemail. Create a conference call 1. Dial the number of a participant in the conference call, and then click the Hold button to put the call on hold. 2. Repeat step 1 for each participant. 3. Select one of the calls you want to conference and while holding down the mouse button, drag that call to another call in My Interactions and release. You see a new Conference interaction. Conference call tips To add parties to a conference call, drag a connected call and drop it on the Conference interaction. To join a conference call, select the call or conference call you want to join and click the Join button. To disconnect someone from a conference call, from the list of joined calls in the conference, choose a participant and click the Disconnect button or right-click and choose Disconnect. Manage Personal Prompts Record your personal prompts 1. Open the Options menu, click Configuration, expand the Calls node, and then click Personal Prompts. 2. In the Personal Prompts page, click the button of the prompt you want to record. Interaction Desktop calls your station. 3. Pick up the call and record the prompt, then press 1 to end the recording. Tip: If you selected SIP Soft Phone as Station Type when you logged on, select the Press 1 button on the Personal Prompts properties pane to end the recording. 4. To review a recorded prompt, click the Preview button. 5. To return a prompt to a generic recording, click the Reset button. 6. Click Apply to save your changes. Manage status Set your status Do one of the following: Select a status from the My Status drop-down list. In the notification area of your taskbar (at the lower right side of your main window), rightclick your status icon and select a status. Click a Fast Status button. Set another person’s status More Keyboard Tips Note: You need the Change Status Users Access Control right for a specific user to be able to change that user’s status. 1. Right-click the user’s name in the Company Directory or other directory view. 2. Select Change User’s Status from the menu that appears. The Set Status dialog box appears. 3. Select a status from the drop-down list and enter other applicable status information. 4. Click OK. The Winkey is the Windows logo key typically located between the Ctrl and Alt keys. To place Interaction Desktop on top of any other running Windows applications, in Windows 8, press WinKey+N. In previous Windows versions, press WinKey+C. If an interaction is in your queue, the focus is on My Interactions. To expand Interaction Desktop to full-screen mode, press Winkey+up arrow. To restore it to its previous size, press Winkey+down arrow. Advanced user tips and shortcuts Interaction Desktop contains shortcuts for frequently performed tasks. Note: These shortcuts work only if you select an interaction or view before you use a shortcut. A view must have focus before you use the shortcut keys. A tab with its name in bold type indicates the view with focus. For shortcuts to work properly, hold down the Ctrl or Alt key while pressing and releasing the second and then, if needed, the third key. 1. In the My Status drop-down list, point to, but do not click, a status. 2. Do one of the following: To add a Fast Status button, click a gray star. To remove a Fast Status button, click a yellow star. Help To learn about views and workspaces, click Help > Getting Started. To learn more about managing interactions, click Help > Interaction Client. Online tutorial Check with your CIC administrator about the availability of an online tutorial that shows you how to use Interaction Desktop. Interaction functions Shortcut Function Ctrl+B Callback Ctrl+P Pickup Ctrl+H Hold Ctrl+U Mute Ctrl+T Transfer Ctrl+K Park Orbit Ctrl+M Voicemail Ctrl+Shift +P Ctrl+Shift +R Shortcut Function Ctrl+D Disconnect Ctrl+J Join Ctrl+L Listen In Ctrl+R Record Ctrl+E Pause Ctrl+I Private Ctrl+N Assistance Properties Remove from Queue Menu shortcuts Add or remove Fast Status buttons More about Interaction Desktop Shortcut Alt+F+O Alt+F+S Alt+F+C Alt+F+X Ctrl+Shift+N Alt+R+C Alt+O+C Function Log off Change Station Close (hide) Interaction Desktop Exit Create a new View Create a new Workspace Configuration My contact information Corporate phone number: My direct number: My extension: _______________ _____________________ ________________________ My password: _________________________ My email address: Other: _____________________ ______________________________ Copyright 1997–2015 Interactive Intelligence, Inc. 7601 Interactive Way Indianapolis, IN 46278 Telephone/Fax: (317) 872-3000 www.ININ.com DC-012-4.0-QRID1 Revised February 17, 2016 Applies to CIC 2015 R4 or later


