Liquid Density: How does it Work
advertisement
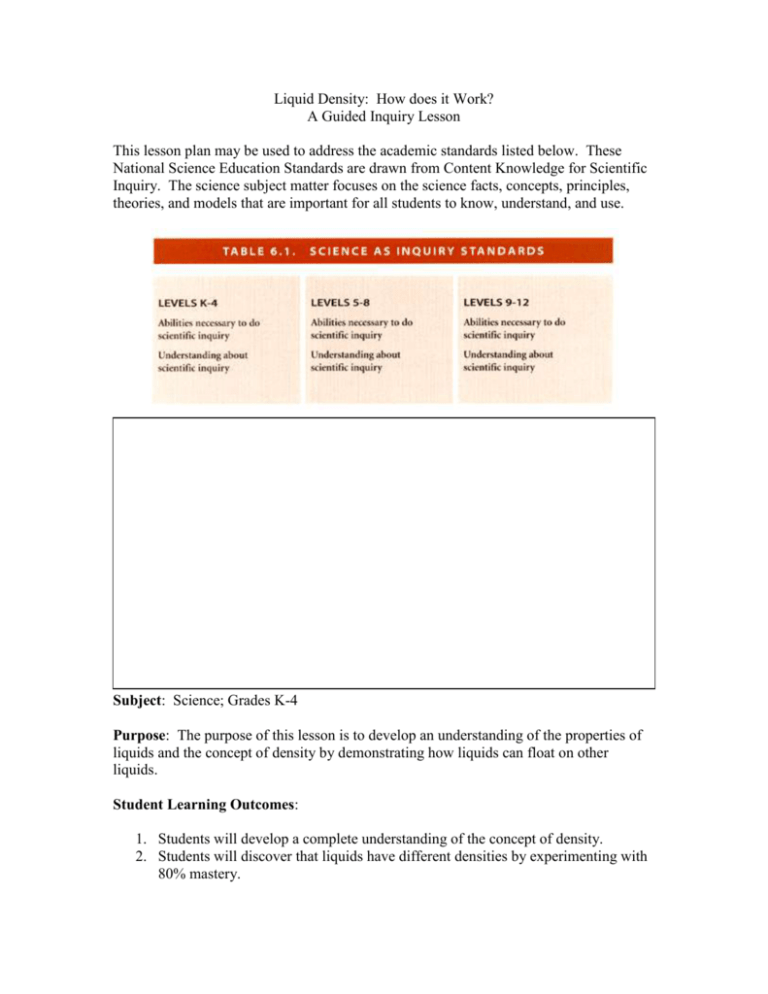
Liquid Density: How does it Work? A Guided Inquiry Lesson This lesson plan may be used to address the academic standards listed below. These National Science Education Standards are drawn from Content Knowledge for Scientific Inquiry. The science subject matter focuses on the science facts, concepts, principles, theories, and models that are important for all students to know, understand, and use. Subject: Science; Grades K-4 Purpose: The purpose of this lesson is to develop an understanding of the properties of liquids and the concept of density by demonstrating how liquids can float on other liquids. Student Learning Outcomes: 1. Students will develop a complete understanding of the concept of density. 2. Students will discover that liquids have different densities by experimenting with 80% mastery. 3. Through observation, students will identify how liquids with different densities interact with one another with 100% mastery. Materials: Teacher: Large beaker 1 bottle of green liquid dish soap 1 bottle of rubbing alcohol 1 gallon of water 1 jar of corn syrup 1 bottle of corn oil Red food coloring (for alcohol) Blue food coloring (for water) Small disposable (paper) cups Students: The following materials will be required for each group: 1 small cup of corn syrup 1 small cup of corn oil 1 small cup of (blue) water 1 small cup of (red) rubbing alcohol 1 small cup of green dish soap Small glass Crayons or markers Worksheet Behavior Expectations: Today we will be performing an experiment. Some of the materials we are going to use are messy. I expect you to be careful and abide by the safety rules when using the materials. I expect the proper clean-up after the experiment. Motivation: Ask the students what they believe is heavier, a pound of rocks or a pound of rice (trick question). Although the pound of rocks will seem heavier than the pound of rice, a pound is still a pound. Ask the children what they believe is heavier, a cup of rocks or a cup of rice. Hold up cups of each that have been prepared earlier. Let a few students hold both cups to feel the weight of each. Explain that the cup of rocks weighs more than the cup of rice because the rocks are denser than the rice. Although there is the same amount of material in each of the cups, the rocks have more density than the rice. Density is also a property of liquids. Pre-Data Collection: (Use an overhead) 1. Density is a physical property of matter. Density can also be defined as the relative “heaviness” of objects with constant volume. Density refers to how closely “packed” or “crowded” a material appears to be. For instance, a ceramic cup will be denser than a Styrofoam cup, even though they are the same size and shape. 2. Different liquids also have different densities. Did you ever try to pour two different kinds of liquids together? What happened? I am sure that you got different results depending on the types of liquids that you may have used. Some of the liquids you used may have mixed together. Some of the liquids may not have mixed. Why do you suppose this happens? 3. Liquids with different densities will not mix. The liquids that are denser are also heavier and will sink to the bottom while the liquids that are least dense will stay on top. Because of the different densities, we can actually separate liquids into layers. 4. Another factor that helps to keep the liquids from mixing is polarity. Polarity is the attraction between two or more substances. A polar substance has both positive and negative molecules. A non-polar substance has no charge. Like properties mix, so two polar substances will mix, while not alike substances will not mix. Therefore, the way the liquids are layered (polar on top of non-polar), helps to prevent the liquids from mixing. Data Collection: 1. Pass out small numbered cups with different liquids and one small glass to each group. While this is being done, give the students a moment or two to assign jobs to each individual in their group. We will need someone to hold the glass, someone to be in charge of the liquids, someone to pour the liquids, and someone to record the group’s observations. 2. We will begin with the liquid in cup #1. This is corn syrup. Carefully pour the liquid into the bottom of the glass making sure to keep the glass completely still. 3. Next we will pour the contents of cup #2 into the glass. CAREFUL! Make sure that when you pour a new substance into the glass that you pour slowly and to the edge of the glass. (Demonstrate for the students.) 4. Now take a few moments and record what you see. The second substance was corn oil. How is it interacting with the corn syrup? 5. Record what you see and why you believe the liquids are interacting the way they are. Before we begin with cup #3, I want you to hypothesize what you think is going to happen and record it on your data sheet. 6. Now, let’s pour the contents of cup #3 into the glass. Wait a few moments and record what happens. 7. Isn’t that strange? How many of you believed that the third liquid would float on top of the second liquid? What happened? The third liquid moved in between the first and second liquids. The liquid was water. The interesting thing that we saw was that even though the oil was added second, the water was heavier than the oil and pushed the oil up to the top. The liquids that are dropped in will settle on the first layer that has a heavier density than itself and under a solution that is lighter than it is. 8. Finally, let’s add the contents of cup #4 and record your findings. Cup #4 contains rubbing alcohol. 9. Pass out cup #5 and instruct the students to try to guess what the substance is. After recording their guesses, gently pour the liquid into their glass and wait a few moments. Record their findings. Each student will then get a personal data chart and markers. They will draw a picture of their glass and label the different colored liquids. Finally they will answer the questions at the bottom of their data sheet using the group data sheet and their observations. Debriefing and Checking for Understanding: Data Processing: 1. Review what occurred with cup #5 by allowing one or two students to share their observations. 2. Discuss the diagrams and data sheets to ensure the students have developed an understanding of the concept of density, discovered that liquids have different densities, and through observation, have learned how liquids with different densities interact with one another. Appraisal: Collect the student’s individual and group data sheets and check for 80% mastery. They can be labeled with the correct density layers as well as correct answers to questions on the worksheet with all layers correct. Extended Practice: Students can explore their own kitchen at home to find other (safe) liquids and observe how they interact with one another. They can report their findings back to the class the next day. Also encourage them to find lava lamps and other “odd” artifacts (wave tubes) that show how liquids with different densities will interact. Reference: Magic Science by Jim Wiese, 1998. Additional Reading: States of Matter from Facts on File, 11 Penn Plaza, New York, NY 10001-2006 Temperature and You by Betsy and Guilio Maestro Science Book of Hot and Cold by Neil Ardley
