Wind Energy Unit - College of Engineering at Iowa State University
advertisement
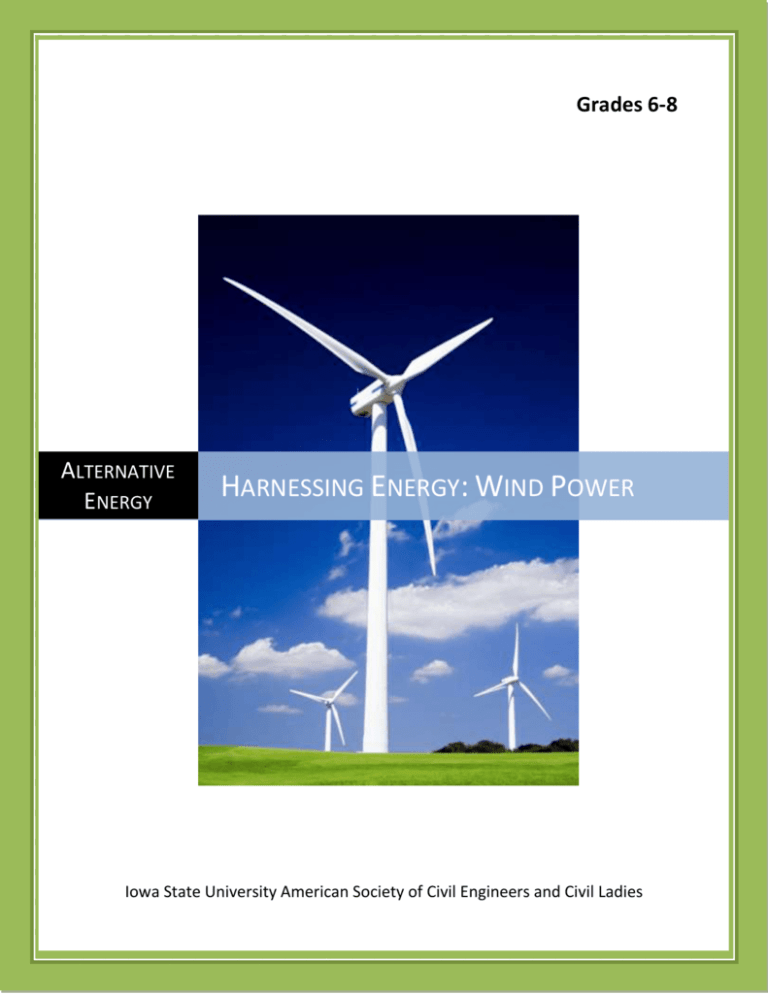
Grades 6-8 ALTERNATIVE ENERGY HARNESSING ENERGY: WIND POWER Iowa State University American Society of Civil Engineers and Civil Ladies Table of Contents Rationale………………………………………………………………………………………………………….….…………………… 3 Scope and Sequence………………………………………………………….………………………………………………..…… 4 Lesson 1: Introduction to Energy……………………………………………………………………………………….……… 6 Lesson 2: Energy and Energy Transfers…………………………………………………………………………….………. 8 Lesson 3: Observing the Wind………………………………………………………………………………………………… 10 Lesson 4: Harnessing the Wind………………………………………………………………………………………………. 12 Lesson 5: Making a Difference with Wind Energy……………………………………………………………….….. 14 Outreach Information…………………………………………………………………………………………………….………. 16 Resources…………………………………………………………………………………………………………………….………… 17 Works Cited ……………………….……………………………………………………………………………………………….…. 18 2 Rationale The theme of this unit is alternative energy, specifically wind energy. This unit predominantly focuses on science concepts about energy, including forms of energy and energy transfer. It also incorporates social studies concepts relating to reading maps, understanding how the environment affects people and how people’s actions change the environment. The science standards in this unit expect students to use evidence to develop descriptions and explanations, understand the forms of energy and energy transfer, and understand and apply knowledge of social and personal responsibility for the environment. The social studies standards in this unit expect students to know how to use geographic tools to learn about people, places and environments, as well as have an understanding of how people modify the environment and how the environment affects humans. In this unit, students will begin by learning about energy. They will learn about different forms of energy as well as energy transfer through educational videos, classroom demonstrations and hands-on minds-on activities. Finally, students will learn more about wind energy as an alternative energy by making observations about the wind, learning about wind turbines and analyzing wind density and topographic maps to determine a viable location for a future wind farm. The “big picture” learning that this unit hopes to achieve is awareness about alternative energies and the benefits of using them over fossil fuels. Our world and our country are approaching an energy crisis if we continue to live as we are now. This unit seeks to educate the next generation about a better, cleaner, sustainable way of powering the world. 3 Scope and Sequence Science Standards 1. Use evidence to develop descriptions, explanations, predictions, and models. Objectives that meet this standard: Students will make observations about the wind. (Lesson 3) Students will explain how wind is formed. (Lesson 4) Students will represent how a wind turbine transfers wind energy into electricity by drawing and labeling a picture. (Lesson 4) 2. Understand and apply knowledge of forms of energy and energy transfer. Objectives that meet this standard: Students will identify different forms of energy. (Lesson 2) Students will show and explain an example of energy transfer. (Lesson 2) Students will represent how a wind turbine transfers wind energy into electricity by drawing and labeling a picture. (Lesson 4) 3. Understand and apply knowledge of social and personal implications of environmental issues. Objective that meets this standard: Students will give examples of how our energy use affects the environment. (Lesson 1) 4 Social Studies Standards 1. Understand the use of geographic tools to locate and analyze information about people, places, and environments. Objective that meets this standard: Students will locate 3 areas in the United States that are ideal for wind turbines using maps. (Lesson 5) 2. Understand how physical processes and human actions modify the environment and how the environment affects humans. Objectives that meet this standard: Students will share ideas they have about energy, energy use, energy sources, etc. (Lesson 1) Students will give examples of how our energy use affects the environment. (Lesson 1) 5 Lesson 1: Introduction to Energy Standards: Understand and apply knowledge of social and personal implications of environmental issues. Understand how physical processes and human actions modify the environment and how the environment affects humans. Objectives: Students will share ideas they have about energy, energy use, energy sources, etc. Students will give examples of how our energy use affects the environment. Materials: Television with DVD or VCR Tape or DVD of Bill Nye the Science Guy: Episode 45 – Energy Elmo Paper Pencils Procedure: 1. Introduce the unit. a. Will be learning about types of energy b. Will be learning about forms of energy c. Will be learning about sources of energy 2. Have students write down what they know about energy – give ideas for them to write about: what is renewable and nonrenewable energy, things that use energy, where do we get energy?, etc. (walk around the classroom in order to assess how long students need for this activity). 3. Facilitate a class sharing – create a concept map on the Elmo using students’ ideas. (See Figure 1) a. Ask students to elaborate on their thinking in order to better understand what they really know. b. Encourage students to add on to other student’s thoughts. c. Have every student share at least one idea. 4. Explain to students as we learn more about energy in this unit we will have opportunities to add and change our ideas on the class concept map about energy. 5. Introduce the video Bill Nye the Science Guy - Energy 6. After watching the video ask if students want to add any information to the concept map. 6 7. Have students answer the question: How does our energy consumption affect the environment? First have students discuss in partners or at their table and then have each table or partner group share their thinking. Add this to the concept map. 8. Conclude the lesson by connecting today’s discussions to the rest of the unit: a. We will be learning about one type of alternative energy that is clean and renewable b. We will continue to learn about the things Bill Nye talked about – potential and kinetic energy, transfer of energy, forms of energy, etc. Assessment: Students will be assessed based on their participation during the discussion activities. Each student should have contributed to the concept map as well as answered the question about how our energy consumption affects the environment. Figure 1 7 Lesson 2: Energy and Energy Transfers Standards: Understand and apply knowledge of forms of energy and energy transfer. Objectives: Students will identify different forms of energy. Students will show and explain an example of energy transfer. Materials: Classroom Objects Slinky Pinwheel Example of food Elmo Procedure: 1. Introduce today’s lesson: a. Energy is everywhere b. Energy takes different forms c. Energy is constantly being transformed from one form to another 2. Introduce the different forms of energy (write on Elmo): a. Heat energy b. Light energy c. Electrical Energy d. Mechanical Motion Energy e. Sound Energy f. Nuclear Energy g. Chemical Energy 3. Give/show examples of how we observe these different forms of energy. a. Heat energy – warm oven, melting ice cube, sun b. Light energy – from light bulb, sun c. Electrical Energy – when gadgets are on (iPod, cellphone, computer), working appliances (blender, microwave, refrigerator) d. Mechanical Motion Energy – spinning pinwheel, moving car e. Sound Energy – clapping, sound moves like a slinky f. Nuclear Energy – energy within atoms g. Chemical Energy – food we eat, wood that burns, batteries 8 4. Give/show examples of energy transfer. a. Light energy (sun) Chemical energy (photosynthesis in plants) b. Electrical energy (electricity) Light energy (light bulb) c. Mechanical energy (rushing water) Mechanical motion energy (turning wheel) Electrical energy (generator) d. Chemical energy (wood) Heat and Light energy (Fire) e. Chemical energy (gasoline) Mechanical motion energy (moving car) f. Chemical energy (apple) Chemical energy (human body) Mechanical motion energy (riding a bike) 5. Now that students have seen and heard about the different forms of energy as well as seen examples of energy transfers, have students find examples energy forms and transfers using classroom objects. Students should work in partners or small groups. Each group should find one example of an energy form and transfer to share with the class. For example, one group could use the pencil sharpener as an example of using mechanical energy. They could talk about the energy transfer that occurs when a person uses chemical energy to turn the knob on the sharpener and then that is transferred into mechanical energy as the knob turns and makes the gears grind in the sharpener. 6. Elaborate when possible on students’ examples and make sure students are correctly identifying different forms of energy. 7. After students are done sharing conclude the lesson by having the class add to the concept map. Assessment: Students will be assessed based on their participation during this activity. The teacher will observe students and evaluate whether they are on task during the group activity. Additionally, the teacher will evaluate students’ understanding of energy forms and energy transfer based on students’ correct or incorrect identification of the energy form an object uses as well as energy transfers that occur using the object. 9 Lesson 3: Observing the Wind Standards: Use evidence to develop descriptions, explanations, predictions, and models. Objectives: Students will make observations about the wind. Materials: Elmo Paper Pencils Push pins Rulers Procedure: 1. Explain to students that we will be focusing on wind energy for the remainder of the unit. Wind energy is a renewable resource and it better for the environment than using nonrenewable energy resources (use concept map as a tool for connecting these thoughts back to previous two lessons). 2. Before we learn about how we can use wind energy let’s take some time to observe the wind. Have students go outside with a notebook or paper and pencil and record some of their observations about the wind (5-10 minutes) 3. Once inside, have students share some of their observations. Some questions you could ask are: a. How could you tell the wind was or wasn’t blowing? b. How hard was it blowing? c. What ideas do you have to help you better describe the speed of the wind? 4. Now have students make a pinwheel that they can use to better describe the wind. Additionally, if students make different sizes of pinwheels then they can also make observations about how the pinwheel’s size affects how it spins. Follow the following directions to make pinwheels. 5. Have students make observations about their pinwheels as well as compare the rate at which different pinwheel sizes spin. Students should record their observations in their notebooks or on their paper. 6. Allow time for students to share their findings during a class discussion time. 10 7. End the lesson by adding to the concept map. Assessment: Students will be assessed on their observations about the wind as well as their participation during the class discussions. Make your own Pinwheel. 1. Start with a square piece of paper. (Have students experiment with different sizes of pinwheels – 2x2, 3x3, 4x4, 5x5, 6x6, 7x7, 8x8) 2. Draw an X from the corners. Then place a dot in each corner (take care to put the dot on the same side of every line as you rotate it clockwise). 3. Cut on the lines leaving one inch of line uncut towards center dot. 4. Using a push pin poke holes through all five dots. 5. Fold each dotted flap toward the center dot and push the push pin through all five layers into the top of a pencil eraser to hold the pinwheel together. 6. Adjust the push pin so the pinwheel can spin freely. 11 Lesson 4: Harnessing the Wind Standards: Use evidence to develop descriptions, explanations, predictions, and models. Understand and apply knowledge of forms of energy and energy transfer. Objectives: Students will explain how wind is formed. Students will represent how a wind turbine transfers wind energy into electricity by drawing and labeling a picture. Materials: Elmo Computer with Internet access Paper Pencil Globe Flashlight Pop bottle with lid Two buckets or pots (one with hot water, one with cold water) Procedure: 1. Begin the lesson by having a demonstration about pressure change. Have students record what they are observing as you lead the demonstration. 2. First show students an empty pop bottle. Ask students what is inside the pop bottle (air). 3. Put the pop bottle (with the lid off) into the bucket or pot of hot water and let it sit for a few minutes. Ask students what is happening to the air inside the pop bottle. 4. Cap the bottle, take it out of the water, show students (it looks like a normal plump bottle) and then plunge it into the cold water. Ask students what is happening to the air in the bottle. 5. After a minute or so, pull the bottle out of the water and show students (the bottle will have shrunk into itself). Ask students to comment on what they are seeing. 6. After the discussion, explain that this was a demonstration of pressure change. The air in the pop bottle was warmed and then sealed and when the air cooled it shrank the bottle because it had a lower pressure than the room temperature around it. 7. Now explain that this is how wind is formed. 12 8. Draw a sun and earth on the Elmo. Ask students what forms of energy we get from the sun (light and heat). Now explain that the heat that comes from the sun warms up the air that is in our atmosphere. However, the sun does not warm the air around the earth equally. Use a flashlight pointed at the globe to illustrate this better. The flashlight does not light up the whole globe, just like the sun is not shining on every surface of the earth at all times. It is because of this, that different air pressures occur and thus movement occurs in air – this is wind. Continue the illustration: the sun sends heat energy to the earth, there are different pressures created and thus wind is created. Ask students what form of energy they think wind is – have them discuss with a partner before sharing to the class. Wind is mechanical motion energy. 9. Since wind is mechanical motion energy that is renewable, we have a great energy source if we can figure out how to use it. Wind turbines help us use the energy in wind. 10. Show the “Energy 101: Wind Turbines” video on youtube.com (http://www.youtube.com/watch?v=tsZITSeQFR0) 11. Review what student just learned in the video about a. How wind turbine blades are moved b. The energy transfer that occurs from the wind turbine blade to the gears to the generator c. The amount of clean, renewable, and usable energy that is created by one wind farm 12. Have students draw and label the process of converting the wind into electricity. 13. Learn more about wind turbines by watching these videos: a. “Where Does Wind Power Come From? Climbing Inside a Wind Turbine.” (http://www.youtube.com/watch?v=x8PjVoYRuYs) b. “PYCO Wind Turbine Construction Timelapse (short).” (http://www.youtube.com/watch?v=lNZqNL4qZxY) 14. Conclude the lesson by referring back to the class concept map and adding more ideas to it. Assessment: Students will be assessed on the correctness of their drawings. 13 Lesson 5: Making a Difference with Wind Energy Standards: Understand and apply knowledge of social and personal implications of environmental issues. Understand the use of geographic tools to locate and analyze information about people, places, and environments. Objectives: Students will locate 3 areas in the United States that are ideal for wind turbines by analyzing maps of wind densities. Students will reflect about their learning during this unit as well as their energy responsibilities. Materials: Elmo Paper Pencil Energy Island Topographic map of United States Wind densities map of United States Procedure: 1. Introduce the lesson with a scenario. Let’s say our class is going to have the opportunity to choose the location of the next wind turbine farm in the United States. Have students brainstorm some of the things we need to consider when thinking about where to put the wind turbine farm. 2. Facilitate a class sharing. Some ideas that may surface are: a. How windy an area is b. If we can get the equipment to build a wind turbine to the area c. The area needs to be open – not in the middle of a town 3. Give students (working in partners or groups) topographic maps of the United States. 4. Explain to students that the closer the lines on the maps the steeper the land. Lines that are really close together tend to show mountains and lines that are very far apart tend to show plains and flatlands. 5. Give students the map of United States Annual Average Wind Power at http://rredc.nrel.gov/wind/pubs/atlas/maps/chap2/2-01m.html and talk through the key. 6. Have students work in groups to locate three areas that they would recommend building a wind turbine farm. Encourage students to think about the ideas they brainstormed earlier 14 when making their decision. Have each group circle the areas of the map they would recommend as well as give written explanations for their three choices. 7. After students have completed the activity have groups share with the class. 8. Finish the unit by reading the book Energy Island by Allan Drummond. 9. Have students reflect over the unit and the book by having a five minute write. They should be encouraged to write about: a. What they learned during the unit b. How they can be more responsible with energy use c. Questions they would like to investigate further 10. Finish the unit by adding information to the concept map and asking students what they learned during this unit. Assessment: Students will be assessed on their group participation, their explanations of wind turbine farm placements, participation during class discussion as well as their reflection over the unit. 15 Wind Energy Outreach Information Iowa State University’s American Society of Civil Engineers and Civil Ladies provide interactive Wind Energy demonstrations and activities to schools throughout Iowa. Their outreach activities include an overview of how wind turbines work, as well as explorations into how turbines are built. Their outreach activities support concepts covered within the unit such as, renewable energy vs. nonrenewable energy, energy forms and energy transfer, as well as location considerations when building a wind turbine farm. Teachers are encouraged to schedule an outreach through the Civil Ladies at Iowa State University. This outreach would be appropriate and beneficial to students before, during or after teaching this unit. Contact Information: Iowa State University American Society of Civil Engineers and Civil Ladies Students: Rachel Franz refranz@iastate.edu (763) 210.8111 Allison Machtemes allison9@iastate.edu (320) 583.1044 Faculty: Dr. Timothy Ellis tge@iastate.edu (515) 294.8922 16 Resources National Energy Education Department (NEED) Project Intermediate Energy Infobook http://www.need.org/needpdf/Intermediate%20Energy%20Infobook.pdf Wind Energy http://www.need.org/needpdf/infobook_activities/PriInfo/WindP.pdf US Department of Energy Kids Saving Energy http://www1.eere.energy.gov/kids/ 17 Works Cited Drummond, Allan. Energy Island: How one community harnessed the wind and changed their world. N.p.: D&M Publishers, Inc., 2011. Print. "Episode 45: Energy." Bill Nye the Science Guy. Perf. Bill Nye. Public Broadcasting Station. n.d. CD-ROM. Iowa Core. Iowa Department of Education, n.d. Web. 11 Dec. 2011. <http://educateiowa.gov/index.php?option=com_content&view=article&id=2485&Item id=4602>. "United State Annual Average Wind Power." Wind Energy Resource Atlas of the United States. National Renewable Resource Laboratory, n.d. Web. 11 Dec. 2011. <http://rredc.nrel.gov/wind/pubs/atlas/maps/chap2/2-01m.html>. Youtube. N.p., n.d. Web. 11 Dec. 2011. <www.youtube.com>. 18
