Lab 5 Querying and Manipulating Vector Data
advertisement
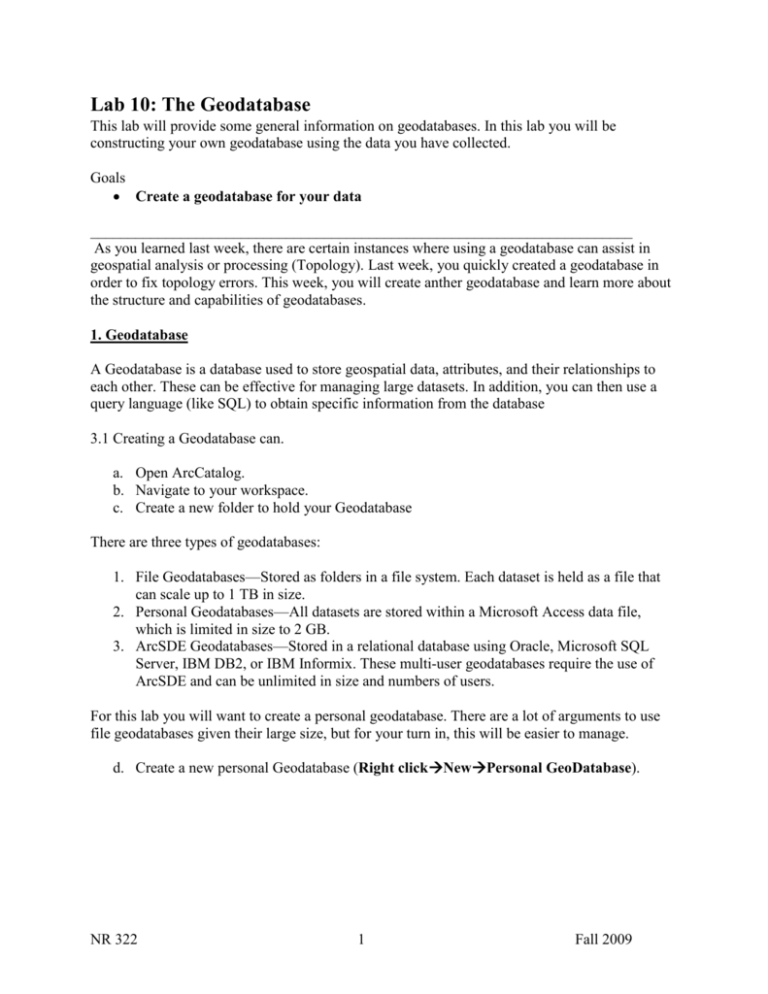
Lab 10: The Geodatabase This lab will provide some general information on geodatabases. In this lab you will be constructing your own geodatabase using the data you have collected. Goals Create a geodatabase for your data ________________________________________________________________________ As you learned last week, there are certain instances where using a geodatabase can assist in geospatial analysis or processing (Topology). Last week, you quickly created a geodatabase in order to fix topology errors. This week, you will create anther geodatabase and learn more about the structure and capabilities of geodatabases. 1. Geodatabase A Geodatabase is a database used to store geospatial data, attributes, and their relationships to each other. These can be effective for managing large datasets. In addition, you can then use a query language (like SQL) to obtain specific information from the database 3.1 Creating a Geodatabase can. a. Open ArcCatalog. b. Navigate to your workspace. c. Create a new folder to hold your Geodatabase There are three types of geodatabases: 1. File Geodatabases—Stored as folders in a file system. Each dataset is held as a file that can scale up to 1 TB in size. 2. Personal Geodatabases—All datasets are stored within a Microsoft Access data file, which is limited in size to 2 GB. 3. ArcSDE Geodatabases—Stored in a relational database using Oracle, Microsoft SQL Server, IBM DB2, or IBM Informix. These multi-user geodatabases require the use of ArcSDE and can be unlimited in size and numbers of users. For this lab you will want to create a personal geodatabase. There are a lot of arguments to use file geodatabases given their large size, but for your turn in, this will be easier to manage. d. Create a new personal Geodatabase (Right clickNewPersonal GeoDatabase). NR 322 1 Fall 2009 e. Name the geodatabase something meaningful. You should now see an icon that looks like a gray can in your folder. This is your personal Geodatabase One of the key features of a geodatabase is the dataset. Datasets are use to organize and standardize different types of spatial data. There are three types of datasets: 1. Feature 2. Raster 3. Table Datasets allow for advanced capabilities (for example: Topology) to model GIS data and maintain data integrity. For this lab you will be primarily concerned with feature datasets although you may want to explore raster datasets for your projects. We are going to create feature datasets to hold your vector data. Feature datasets hold what we have been calling shapefiles. You can imagine a feature dataset being a folder holding shapefiles of a specific area that all have the same coordinate reference system. What we would call a polyline shapefile is called a line feature class in a geodatabase. So, in summary, feature datasets hold a collection of feature classes. f. Within your geodatabase, create a new featured dataset (Right click feature dataset icon NewFeature Dataset). You can have multiple feature datasets within a geodatabase. Generally theses are divided thematically or spatially. For example you may have one feature dataset that contain human structures and another that contain wildlife locations. Within each of these you may have multiple feature classes that are points, polylines or polygons that are either human structures or wildlife locations. g. Name your feature dataset something meaningful. Click Next.. Each feature dataset has only one coordinate reference system. This means that all the data placed into that dataset will have the same coordinate reference system. NR 322 2 Fall 2009 h. Select a coordinate reference system that is both appropriate for your area and for your extent. Click Next. i. If your data requires a vertical coordinate system for z-units (for example if spatial data that had height or depth values), you may import one from another feature class or feature dataset; otherwise, select None. In the next window you have the option to set the xy tolerance, z tolerance and m tolerance. These are described below taken directly from ArcGIS 9.2 Desktop Help: “The default values for these tolerances is equivalent to 1 mm in real-world units. NOTE: Choosing the default value for each tolerance is a very good choice in all but extreme cases. The xy-, z-, and m-tolerances are used to set the distance that coordinates are allowed to be adjusted by the software during various processing operations. The default x,y-tolerance is set to 0.001 meters or its equivalent in the units of the dataset's coordinate system. For example, if your coordinate system is recorded in feet, the default value is 0.003281 feet (0.03937 inches). If your x,y coordinates are stored in decimal degrees, the default value is 0.0000000556. Using the default xy-tolerance works extremely well in almost all situations unless you have an extreme case in which you have incredibly precise data (i.e., coordinate accuracy better than survey grade coordinates).” You can also find more about the tolerances if you click on About Setting Tolerance j. Accept the defaults for the tolerances and click Finish. Now you should see another icon (the feature dataset) that is within the geodatabase can. k. You can now add feature classes (a.k.a. shapefiles) to the feature dataset. (Right click feature datasetImportFeature Class (multiple)…). You may also want to create other Feature datasets to hold different themes of data at this point. NR 322 3 Fall 2009 When finished you should be able to open your can and subsequent feature dataset and view all your data. Now that you have your data added to the geodatabase you can create advanced objects to work on your data such as relationship classes, topologies, networks, terrains, or geometric networks. If desired you can create a dataset or catalog in your geodatabase to hold your rasters in a similar manner as you did for your feature datasets. To learn more on how to do this, visit ArcGIS 9.2 Desktop help for “Raster Data Organization”. A word of caution: Adding rasters to a geodatabase can invoke a whole slue of problems. Rasters can be quite big and may cause other objects in your geodatabase to be slow or fail. Be sure to back your geodatabase up if you are going to attempt this. NR 322 4 Fall 2009 FINAL TURN IN: Create a geodatabase and add all your vector data to the geodatabase. Make sure you have metadata for each of the layers. By now you should have at least 5 feature classes to include in your geodatabase. E-mail the geodatabase to Nick (nickyoung2332@gmail.com) using the large attachment mailer on the NREL website: http://www.nrel.colostate.edu/ Using the Large Attachment Mailer Click the Large attachment Mailer link on the left navigation bar on the NREL home page Ignore the login portion for now and use the Guest Access Enter your e-mail and name and click Request Access You should then receive an e-mail with a username and password that you can use to login to the large attachment mailer. Use this username and password to login the Large Attachment Mailer Send the e-mail to nickyoung2332@gmail.com Put Lab10_Name in the subject line Then, for the attachments, browse to and select your geodatabase files (you may have two files associated with your geodatabase). Send the email(this may take some time) NR 322 5 Fall 2009
