DOC - Primary Resources
advertisement
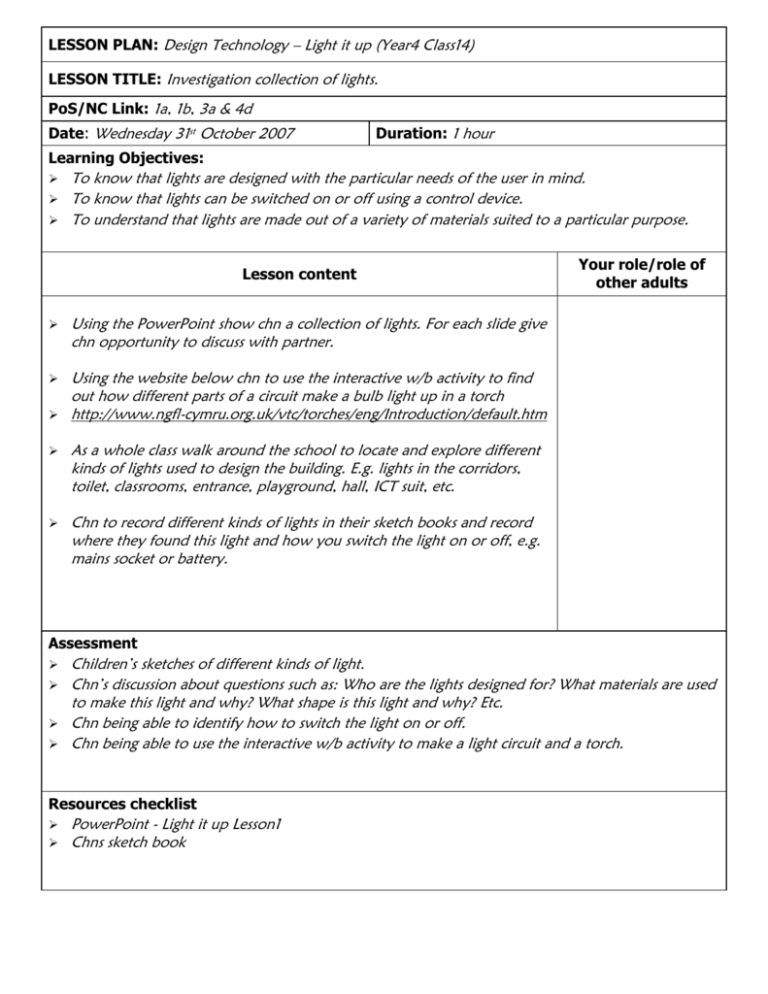
LESSON PLAN: Design Technology – Light it up (Year4 Class14) LESSON TITLE: Investigation collection of lights. PoS/NC Link: 1a, 1b, 3a & 4d Date: Wednesday 31st October 2007 Duration: 1 hour Learning Objectives: To know that lights are designed with the particular needs of the user in mind. To know that lights can be switched on or off using a control device. To understand that lights are made out of a variety of materials suited to a particular purpose. Lesson content Using the PowerPoint show chn a collection of lights. For each slide give chn opportunity to discuss with partner. Using the website below chn to use the interactive w/b activity to find out how different parts of a circuit make a bulb light up in a torch http://www.ngfl-cymru.org.uk/vtc/torches/eng/Introduction/default.htm As a whole class walk around the school to locate and explore different kinds of lights used to design the building. E.g. lights in the corridors, toilet, classrooms, entrance, playground, hall, ICT suit, etc. Chn to record different kinds of lights in their sketch books and record where they found this light and how you switch the light on or off, e.g. mains socket or battery. Your role/role of other adults Assessment Children’s sketches of different kinds of light. Chn’s discussion about questions such as: Who are the lights designed for? What materials are used to make this light and why? What shape is this light and why? Etc. Chn being able to identify how to switch the light on or off. Chn being able to use the interactive w/b activity to make a light circuit and a torch. Resources checklist PowerPoint - Light it up Lesson1 Chns sketch book LESSON PLAN: Design Technology – Light it up (Year4 Class14) LESSON TITLE: Make simple circuits for lights. PoS/NC Link: 1a, 1b, 3a & 4d Date: Wednesday 7th November 2007 Duration: 1 hour Learning Objectives: To recognise safety when using electricity. To make a simple circuit, incorporating a battery, light bulb, different switches and connecting wires in a safe manner To learn how to find a fault in a simple circuit and to correct it. To understand that a variety of metals will conduct electricity. Lesson content Talk to the chn about appropriate safety issues when using electricity. Show chn video to explain safety issues when using electricity. Discuss with chn about what they have watched. Show chn how to make a simple electric circuit using a battery, light bulb, switch and connecting wires. Tell chn that a variety of metal components can be used as part of a circuit. Chn to explore in pairs which metal components can be used as part of a circuit to light a bulb. Set out a variety of metals such as: paper clips, foil, paper fastener, scissors, spoon, coins, keys, etc. - for chn to explore. Your role/role of other adults Assessment Can chn recount and discuss about safety issues when using electricity. Can chn make simple circuit using a variety of metal components. Resources checklist Light bulbs, switches, batteries, wires, metals such as: paper clips, foil, paper fastener, scissors, spoon, coins, keys. Safety Video LESSON PLAN: Design Technology – Light it up (Year4 Class14) PoS/NC Link: 1a, 1b, 3a & 4d Date: Wednesday 14th November 2007 Duration: 1 hour Learning Objectives: To learn how to program a simple control device or use a control box/program. To use ICT, e.g. Internet, CD-Rom to acquire information for their research into different types of light. Lesson content Your role/role of other adults Tell chn that when you design a light you need to have a switch so that you can switch the light on and off whenever you want. Show chn a pre-made template of a switch using materials such as card, foil, paper clips, paper fastener. Connect switch to circuit and show how it works. Introduce chn to a roamer/pixie. Show chn how to program a roamer to move around. Show chn how you can make the device turn on and off in a pre-chosen sequence, using a control box. Split class in two groups (Mars, Jupiter & Venus, Saturn): 20 minutes each for both activity Activity 1: Chn to make their own variety of switches using simple classroom materials, e.g. card, foil, paper clips, paper fastener. Ask chn to make switches that work in different ways, e.g. when you press them, when you slide them. Chn to check if their switch works by connecting to a circuit. Activity 2: Chn to explore programming a roamer to move around and turn on and off in a pre-chosen sequence. Research activity: (2 chn at a time on each computer for 10mins) Chn to use internet to research about different types of light that already exist, its purpose and how it works. Chn to cut and paste information off internet onto word document. Assessment Can chn make a switch. Can chn program and control a roamer/pixie with pre-chosen sequence. Resources checklist Light bulbs, switches, batteries, wires, metals such as: paper clips, foil, paper fastener, scissors, spoon, coins, keys. Safety Video, Internet LESSON PLAN: Design Technology – Light it up (Year4 Class14) LESSON TITLE: Planning and designing lights. PoS/NC Link: See medium term plan Date: Wednesday 21st November 2007 Duration: 1 hour Learning Objectives: To understand that identification of a particular combination of needs can result in a design for a light which has not existed before. To understand that plans for a new product can be made using drawings with labels. Lesson content Tell chn they are going to design their light. Ask chn to think of a purpose for their light. Who are you going to design the light for? What must the light do to be successful? How will you meet the users need? Why will you want to control your light? - chn to talk to their partners. Ask chn to share their ideas and make a list of the ideas for what purpose they are going to design their light, e.g. The light should shine a beam on a page of a book The light should be bright enough to light up a room A student wants it for their desk Teacher to show chn their own design of a light, e.g. a modern miner’s lamp. Tell chn who you are designing it for. Label different parts of your lamp. Annotate what materials you will need to make your lamp. Discuss with chn the importance of appearance, function, safety and reliability. How will the people use what you are designing? What could go wrong? How could you make it safe? What details can you include from your research? Chn to complete wk/s - Planning your new light Assessment Can chn identify needs for a light. Can chn design their own light. Resources checklist Wk/s - Planning your new light Your role/role of other adults LESSON PLAN: Design Technology – Light it up (Year4 Class14) LESSON TITLE: Make their lights PoS/NC Link: See medium term plan Date: Wednesday 28th November 2007 Duration: 1 hour Learning Objectives: To understand that identification of a particular combination of needs can result in a design for a light which has not existed before. To understand that plans for a new product can be made using drawings with labels. Lesson content Tell chn they are going to make their lights today. Chn to recycle and use the junk packaging they have brought in over the weeks to make their lights which they have designed, Chn to think about which material they are going to use for which part of their light. Chn to think about how they will connect their circuit to their light and what kind of switch they will use. Chn to use their light design to help them make their light, Assessment Can chn use materials available to make their light. Resources checklist Junk packaging, masking tape, colouring pencils, scissors Your role/role of other adults LESSON PLAN: Design Technology – Light it up (Year4 Class14) LESSON TITLE: To evaluate your light. PoS/NC Link: See medium term plan Date: Wednesday 5th December 2007 Duration: 1 hour Learning Objectives: To check their product is safe. To evaluate their work both during and at the end of the assignment. Lesson content Remind chn about last lesson where they made their own lights. Tell chn to look at their light and tell their partners about its interesting features. What they like and how they might develop their light further. Does their light comply with their design? How well does your light work? Will it do what you intend it to? How would you develop your work further? What do you need to change and why? What do the users say about your product? Chn to suggest improvements for their light and give helpful comments to inform adjustments. Chn to complete evaluation wk/s. Stick wk/s in books. Your role/role of other adults Assessment Children’s completed evaluation for their chairs. Ask questions such as: How well does your light work? Will it do what you intend it to? How would you develop your work further? What do you need to change and why? What do the users say about your product? Resources checklist Evaluation wk/s Name: Planning your new light Date: Learning objectives: To make plans of a new product using drawings with labels. To check their product is safe. Who are you going to design your light for? My design will look like this (draw and label your light): What activity is your light for? This is the switch I will use Materials I will use Why will you want to control your light? How will you be able to control your switch? Equipment I will use (draw and label your switch): (make a list) (make a list) Name: Evaluation of your light Date: Learning objective: To evaluate your own work. To identify any changes you would make if you repeated the task. How well does your light work? What do you need to change? Why? Will your light do the task you intended it to? How well does your switch work? How can you improve it? If you had the chance to make the light again what would you change? Why? A diagram of the finished light.
