Chapter 6 Notes - Ottawa Township High School
advertisement
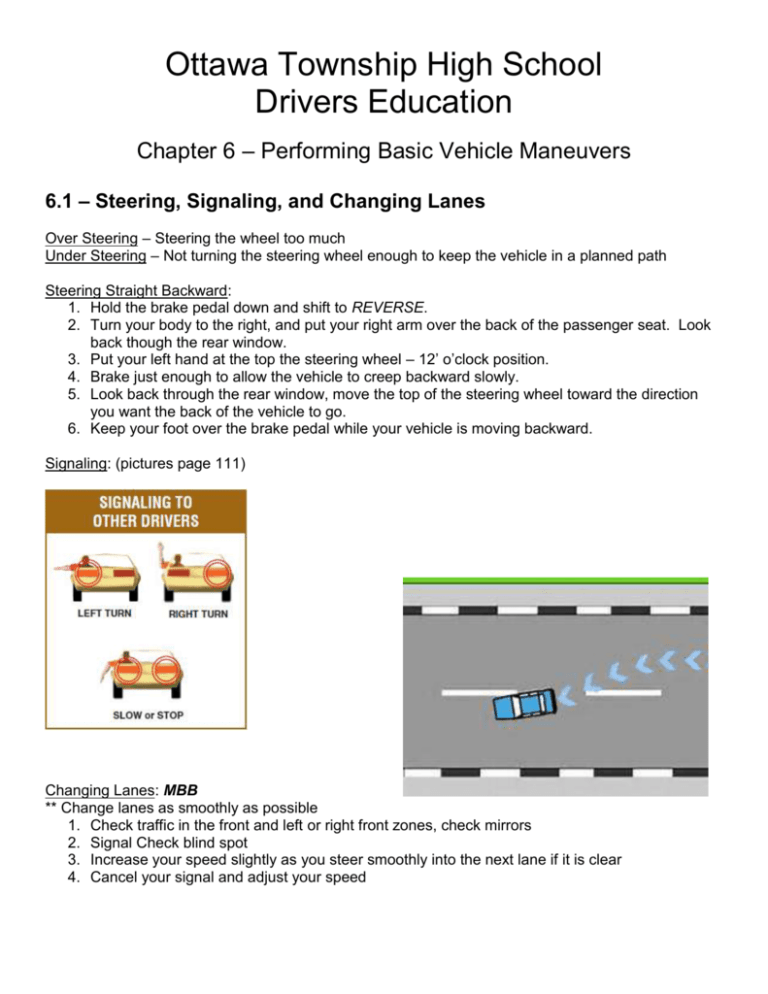
Ottawa Township High School Drivers Education Chapter 6 – Performing Basic Vehicle Maneuvers 6.1 – Steering, Signaling, and Changing Lanes Over Steering – Steering the wheel too much Under Steering – Not turning the steering wheel enough to keep the vehicle in a planned path Steering Straight Backward: 1. Hold the brake pedal down and shift to REVERSE. 2. Turn your body to the right, and put your right arm over the back of the passenger seat. Look back though the rear window. 3. Put your left hand at the top the steering wheel – 12’ o’clock position. 4. Brake just enough to allow the vehicle to creep backward slowly. 5. Look back through the rear window, move the top of the steering wheel toward the direction you want the back of the vehicle to go. 6. Keep your foot over the brake pedal while your vehicle is moving backward. Signaling: (pictures page 111) Changing Lanes: MBB ** Change lanes as smoothly as possible 1. Check traffic in the front and left or right front zones, check mirrors 2. Signal Check blind spot 3. Increase your speed slightly as you steer smoothly into the next lane if it is clear 4. Cancel your signal and adjust your speed 6.2 – Making Turns and Turning the Vehicle Around Hand-over-hand steering Shared left-turn lane – a center lane that can be used midblock to turn into business areas (picture page 114) Backing Left and Right: (page 115) 1. Before backing, check for traffic, pedestrians, parked vehicles, and stationary objects 2. Keep both hands on the wheel, ready for hand-over-hand steering a. Steer left to back left b. Steer right to back right c. Be sure to look in the direction you are turning 3. Back slowly- keeping the foot over the brake a. Make quick glances to the front and side of your vehicle Turnabout: a maneuver for turning your vehicle around to go in the opposite direction (pg. 116-117) Backing into Driveway on Right Side – pg 116 Pulling into Driveway on Left Side – pg 117 Pulling into Driveway on Right Side – pg 117 – avoid this turnabout whenever possible **cannot back across a divided street 3-Point or “Y” Turnabout - pg 118 6.3 – Parking To use a standard reference point, the driver’s line of site sees the center of the hood at Arrow A and the curb at Arrow B. This tells the driver that the right tires are close to the curb. (Picture on pg. 119) Angle and Perpendicular Parking: spacing is the key, be as far away from the parked cars bumper as possible Angle – parking diagonally to the curb (page 120) Perpendicular – parking at a right angle (page 120) Parallel Parking: 1. MBB 2. Align 2-3 feet away and match up bumpers 3. Shift to reverse and turn wheel full right 4. Back to a 45 angle and straighten wheels 5. When front bumper clears, turn wheels full left 6. Stop before hitting the car behind you, center yourself in the space Leaving a Parallel Parking Space: 1. Shift to reverse and back up 2. Turn wheels full left an shift to drive 3. MBB 4. Pull out and watch your front bumper 5. Shoulder, mirror, front bumper check 3-5 times Uphill Parking: 1. MBB –lane change 2. Parallel to the curb 6-12 inches away 3. Turn the wheels away from the curb (up, up & away) 4. Shift to neutral or reverse 5. Let the car GENTLY roll back to the curb 6. Secure the vehicle Leaving an Uphill Park: 1. Release parking brake 2. Shift to drive 3. MBB 4. Pull out and straighten wheels in lane Downhill Parking: 1. MBB – lane change 2. Parallel to the curb 6-12 inches away 3. Turn wheels toward the curb 4. Shift to neutral or drive 5. Let the car GENTLY roll forward to curb 6. Secure the vehicle Leaving a Downhill Park: 1. Release parking brake 2. Shift to reverse and back off the curb (6-12 inches) 3. Straighten wheels 4. Shift to drive 5. MBB 6. Pullout when clear Starting on a Hill: 1. Hold the foot brake down with your left foot. 2. While still holding the foot brake with your left foot, accelerate gradually until the engine starts to pull. 3. Release the foot brake gently as you increase acceleration to move forward.
