Spring 2012 University of Montevallo Elementary Education Lesson
advertisement
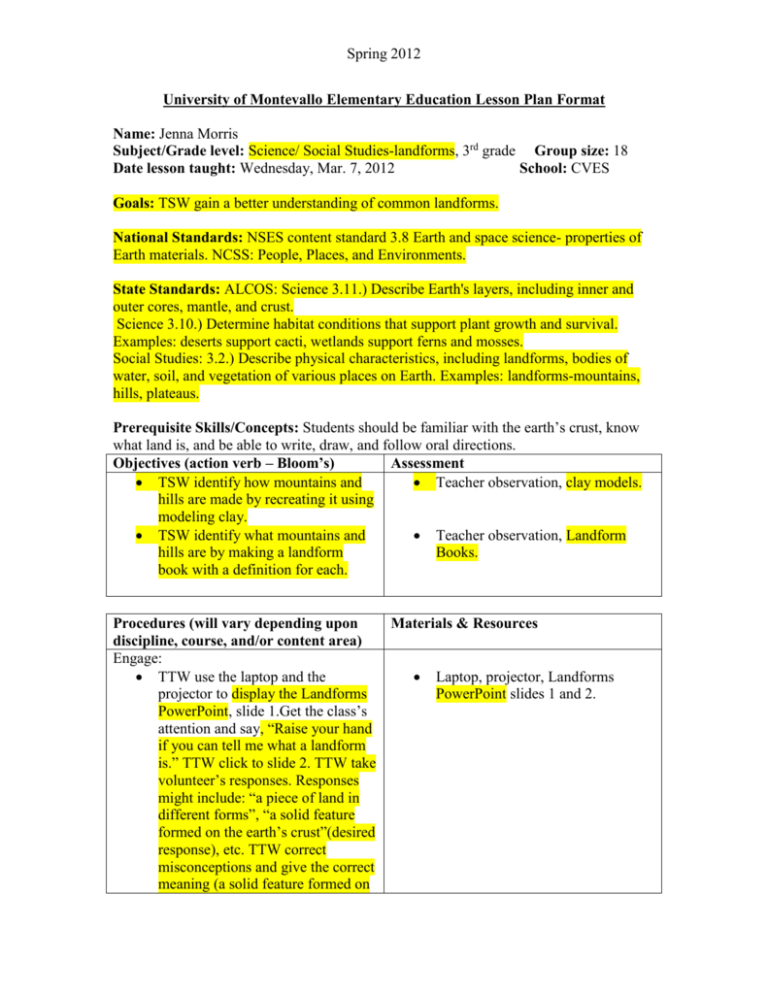
Spring 2012 University of Montevallo Elementary Education Lesson Plan Format Name: Jenna Morris Subject/Grade level: Science/ Social Studies-landforms, 3rd grade Group size: 18 Date lesson taught: Wednesday, Mar. 7, 2012 School: CVES Goals: TSW gain a better understanding of common landforms. National Standards: NSES content standard 3.8 Earth and space science- properties of Earth materials. NCSS: People, Places, and Environments. State Standards: ALCOS: Science 3.11.) Describe Earth's layers, including inner and outer cores, mantle, and crust. Science 3.10.) Determine habitat conditions that support plant growth and survival. Examples: deserts support cacti, wetlands support ferns and mosses. Social Studies: 3.2.) Describe physical characteristics, including landforms, bodies of water, soil, and vegetation of various places on Earth. Examples: landforms-mountains, hills, plateaus. Prerequisite Skills/Concepts: Students should be familiar with the earth’s crust, know what land is, and be able to write, draw, and follow oral directions. Objectives (action verb – Bloom’s) Assessment TSW identify how mountains and Teacher observation, clay models. hills are made by recreating it using modeling clay. TSW identify what mountains and Teacher observation, Landform hills are by making a landform Books. book with a definition for each. Procedures (will vary depending upon Materials & Resources discipline, course, and/or content area) Engage: TTW use the laptop and the Laptop, projector, Landforms projector to display the Landforms PowerPoint slides 1 and 2. PowerPoint, slide 1.Get the class’s attention and say, “Raise your hand if you can tell me what a landform is.” TTW click to slide 2. TTW take volunteer’s responses. Responses might include: “a piece of land in different forms”, “a solid feature formed on the earth’s crust”(desired response), etc. TTW correct misconceptions and give the correct meaning (a solid feature formed on Spring 2012 the earth’s crust). And say, “Today we are going to talk about landforms, specifically mountains and hills.” TTW click to slide 3, Mountains. TTW read and discus slide 3 and take any questions about mountains TTW will explain that when the earth’s crust moves together, it makes a mountain. TTW tell them that we are going to make our own mountains. TTW group students who sitting together (groups of 3). And explain the materials and rules to each group before handing out materials. They are not to “play” with the clay. If they are caught using the clay incorrectly on purpose, TTW take it away and they will just watch while the other students make models. TTW give each group a sheet of wax paper and some modeling clay. TTW remind them of how mountains form and show them how to make a mountain by laying the clay flat and pushing the opposite sides together. TTW demonstrate how to make a mountain using the clay. TSW make a mountain for each group. TSW show the teacher their mountain. Each student will have a chance to make a mountain. TTW tell the groups to ball up the clay and put it back in the containers. TTW move on to slide 4 of the PowerPoint and go over hills. TTW explain the difference between a hill and a mountain and how hills are formed. TTW model how to make a hill out of modeling clay. TSW take the clay out again and Laptop, projector, Landforms PowerPoint slide 3. Piece of precut wax paper for each group and one for teacher (7), container of modeling clay for each group and one for teacher (7). Laptop, projector, Landforms PowerPoint slide 4. Piece of precut wax paper for each group and one for teacher (7), container of modeling clay for each Spring 2012 make a hill, then show it to the teacher. After all have made a correct hill, TSW put the clay back in its container and TTW call groups one at a time to put materials on the back table. TTW pass out Landform Books (already folded and stapled) and explain that we will make our own landform books. TTW show her example. TTW guide the students to make the first two pages in the book, writing the titles and information first, then going back and drawing the pictures. The students will copy page 1(Mountains) from PowerPoint slide 2. Then, TSW copy page 2(Hills) from PowerPoint slide 3. When students are finished, they will place their books in the top tray and silent read. They may choose one of the Landform books from the back table. group and one for teacher (7). Landform books for each student (18), teacher’s Landform Book (already completed), pencil for each student (18), markers/crayons for each student, PowerPoint slides 3-4. Landforms books (at least 18). Accommodations (e.g. alternate explanation of material, struggling readers, ESL, special needs, enrichment for gifted students): PowerPoint Presentation accommodates visual learners. Teacher may assist those with attention problems in making their models. Modifications (IEP): Student with Autism will receive help from an aid to write his book and may receive help forming his clay landforms. Extensions (additional activity to reinforce lesson objective(s): When students are finished, they may choose one of the landform books from the back table (because some of them are small group books, there are enough for everyone to read one).
