How do I record my lectures?
advertisement
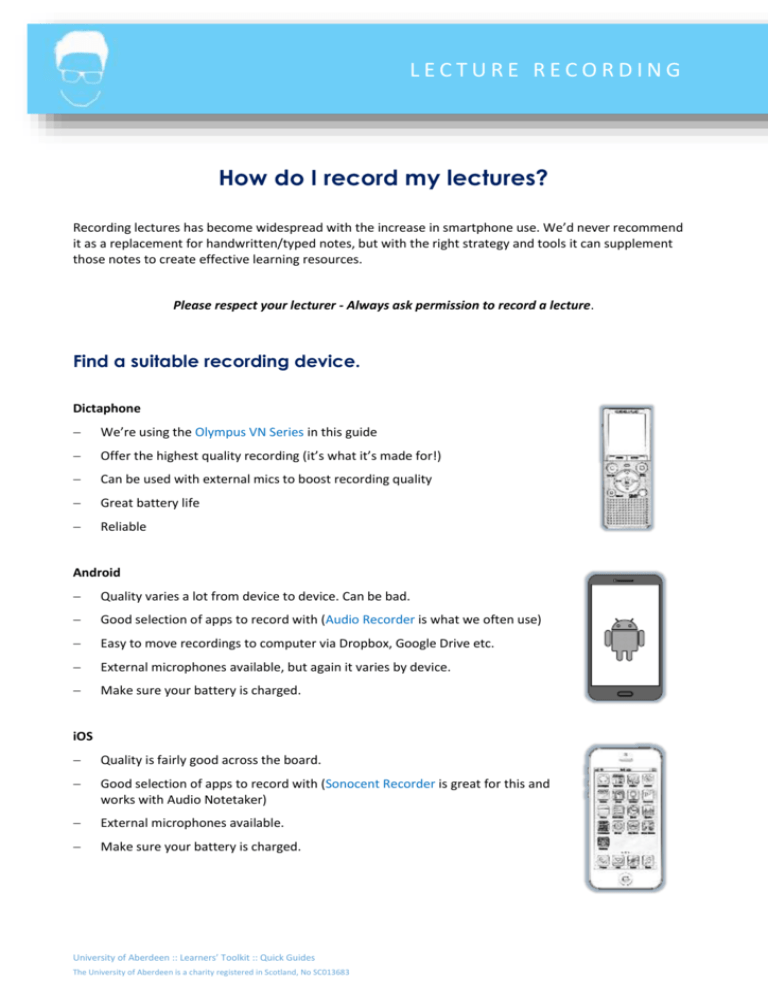
LECTURE RECORDING How do I record my lectures? Recording lectures has become widespread with the increase in smartphone use. We’d never recommend it as a replacement for handwritten/typed notes, but with the right strategy and tools it can supplement those notes to create effective learning resources. Please respect your lecturer - Always ask permission to record a lecture. Find a suitable recording device. Dictaphone We’re using the Olympus VN Series in this guide Offer the highest quality recording (it’s what it’s made for!) Can be used with external mics to boost recording quality Great battery life Reliable Android Quality varies a lot from device to device. Can be bad. Good selection of apps to record with (Audio Recorder is what we often use) Easy to move recordings to computer via Dropbox, Google Drive etc. External microphones available, but again it varies by device. Make sure your battery is charged. iOS Quality is fairly good across the board. Good selection of apps to record with (Sonocent Recorder is great for this and works with Audio Notetaker) External microphones available. Make sure your battery is charged. University of Aberdeen :: Learners’ Toolkit :: Quick Guides The University of Aberdeen is a charity registered in Scotland, No SC013683 Make your recording 1. Prepare for your lecture. Make sure your device is charged and has adequate storage remaining. Do the usual prep e.g. preparatory reading, setting up a good note taking system etc. Again – ensure that you have the lecturer’s permission to record their lecture. 2. Choose a good location in the Lecture hall. The best spot will vary depending on the size and acoustics of the venue as well as the volume/clarity lecturer’s voice. Sometimes the front is your only option for a decent recording. You might also try next to a speaker if a PA system is being used. 3. Make notes that will fit well with your recording Think of your notes as giving structure to the audio. Do not rely solely on the audio: many students have fallen into the trap of recording all their lectures but not linking those recordings with good notes. 30+ hours of recording and no notes do not make for good revision materials! 4. When you’re done, transfer your recording to a computer. Dictaphones usually need to be plugged into a computer via a USB cable. Smartphones can generally use a service like Dropbox or Google Drive to transfer, but remember that 1 hour+ of audio can create a large file so consider using WiFi to sync. 5. Do something with your recording! Just as simply writing notes in a lecture is only part of the process, recording a lecture is not a complete strategy. Think about what you can do with the audio to support your learning. Make sure your recordings are labelled and organised so you can find the key things you need when you need them. Some people like to take key lectures to the gym or for a run so they can revise and get fit. Tools like Audacity can be used to edit your audio: clean up noise, remove sections, break into tracks. Audio Notetaker is available on the classroom computers and is great for processing audio and turning it into a genuinely useful learning aid. See our intro guide for details. Further information and help Contact Assistive Technology or 01224 273336 2

