Geometry Lesson Plan. 4th Grade Differentiated Instruction
advertisement
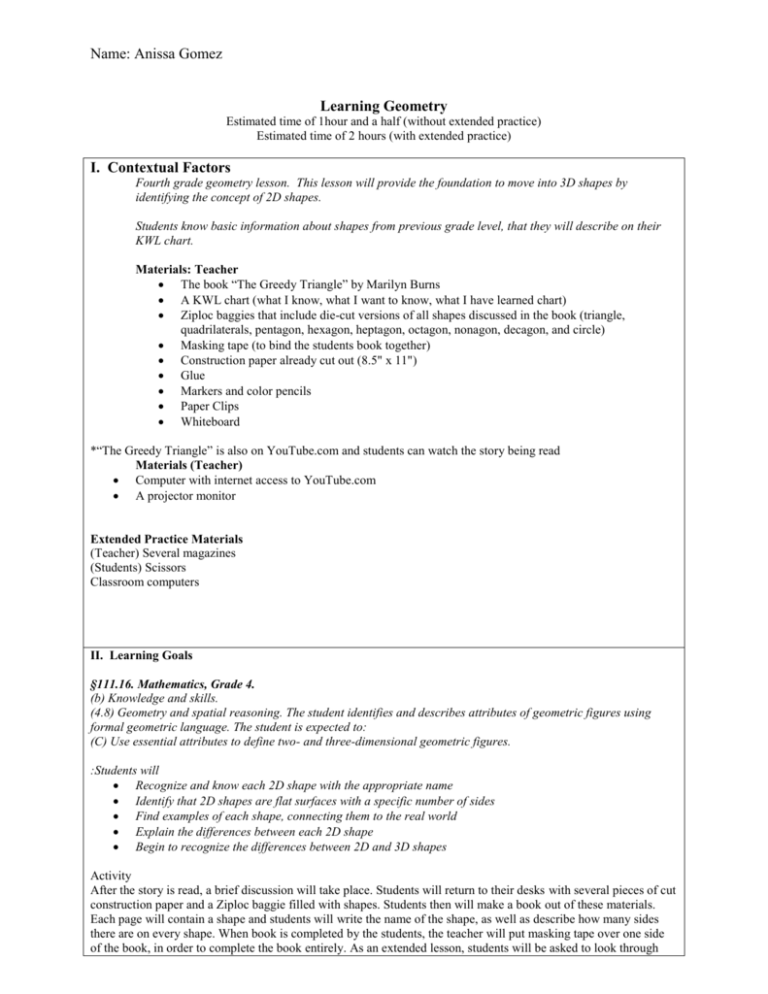
Name: Anissa Gomez Learning Geometry Estimated time of 1hour and a half (without extended practice) Estimated time of 2 hours (with extended practice) I. Contextual Factors Fourth grade geometry lesson. This lesson will provide the foundation to move into 3D shapes by identifying the concept of 2D shapes. Students know basic information about shapes from previous grade level, that they will describe on their KWL chart. Materials: Teacher The book “The Greedy Triangle” by Marilyn Burns A KWL chart (what I know, what I want to know, what I have learned chart) Ziploc baggies that include die-cut versions of all shapes discussed in the book (triangle, quadrilaterals, pentagon, hexagon, heptagon, octagon, nonagon, decagon, and circle) Masking tape (to bind the students book together) Construction paper already cut out (8.5" x 11") Glue Markers and color pencils Paper Clips Whiteboard *“The Greedy Triangle” is also on YouTube.com and students can watch the story being read Materials (Teacher) Computer with internet access to YouTube.com A projector monitor Extended Practice Materials (Teacher) Several magazines (Students) Scissors Classroom computers II. Learning Goals §111.16. Mathematics, Grade 4. (b) Knowledge and skills. (4.8) Geometry and spatial reasoning. The student identifies and describes attributes of geometric figures using formal geometric language. The student is expected to: (C) Use essential attributes to define two- and three-dimensional geometric figures. :Students will Recognize and know each 2D shape with the appropriate name Identify that 2D shapes are flat surfaces with a specific number of sides Find examples of each shape, connecting them to the real world Explain the differences between each 2D shape Begin to recognize the differences between 2D and 3D shapes Activity After the story is read, a brief discussion will take place. Students will return to their desks with several pieces of cut construction paper and a Ziploc baggie filled with shapes. Students then will make a book out of these materials. Each page will contain a shape and students will write the name of the shape, as well as describe how many sides there are on every shape. When book is completed by the students, the teacher will put masking tape over one side of the book, in order to complete the book entirely. As an extended lesson, students will be asked to look through Name: Anissa Gomez magazines and cut out shapes that match the ones represented in their book. III. Assessment Plan Use of multiple assessment modes and approaches aligned with learning goals to assess student learning before, during (formative), and after instruction (summative). Pre-assessment: The teacher will pass out a KWL chart and ask students to write what they generally know about 2D shapes in the first text bow. After a few minutes a verbal discussion will take place on what students know about 2D shapes. Following the discussion, the teacher will ask the students to write what they want to know or discover in the next textbox. Then the teacher will ask the students to place the paper in their folder just for a little while because the teacher is going to read a book to the students. Formative: While reading the book “The Greedy Triangle” pause for a moment during the middle of the book, preferably around the pentagon or hexagon, to review how many sides each shape has concluding what type of shape it is. Ask questions such as “what were some of the things a triangle could be? Do you know any other objects a triangle can be? Can anyone tell me how many sides a triangle has? Can you point to the sides of the triangle on this picture? Continue this through several shapes. After the book has been read review the sides of the shapes you haven’t covered yet as well as give students a chance to ask questions on anything they are confused on. After questions have been answer this is when the students will return to their desk, retrieve their KWL chart and complete the last text box, which is the What I have learned box. After completing the KWL chart students will be instructed to do the activity listed above. During the activity the teacher monitors what the students are doing to make sure that the students understand what they are creating. Basically, the teacher makes sure the students are not confusing the shapes with other shapes. Summative: In order to see if the students have understood the lesson a quiz will be distributed and students must score an 80% or better. The quiz will consist of a word bank that has all the shapes discussed in the book, “The Greedy Triangle”, and the students must match the words in the word bank to the appropriate number of sides. Conclusion: Students will make real world connections of 2D shapes in everyday life. By understanding the concept of 2D shapes, students now have the foundation to acquire knowledge about 3D shapes. IV. Design for/Delivery of Instruction/Activities/Actions (of teacher and students) Part 1: (5-7 minutes) Teacher hands out KWL chart. Discussion on how we have used this chart before and today we are going to use it to learn some more shapes. Instruct students to write in the first text box about anything they know about shapes and sides of shapes. (To take this lesson into another level, write on the board “What I know”. Then you can ask students to raise their hand and discuss information pertaining to what they know about shapes and there sides. Or you could just have a verbal discussion) After a few minutes of discussion, inform the students that you are about to read a book to them containing shapes and how they are connect to objects in the real world. Then instruct your students to write in the next text box about what they want to know. Name: Anissa Gomez Part 2 (15-18 minutes) The teacher then will ask the students to put their KWL chart to the side of their desk or in a folder for a while and request them to go to the reading carpet in an orderly manner. Once the students are sitting quietly on the carpet, the teacher may begin by showing the book cover and tittle to the students. Begin reading the book. After about four or five shapes appeared in the story pause for a moment to discuss those shapes. Ask the students questions about the shapes. Based off this picture, do you know what kind of shapes a quadrilateral makes? What kinds of pictures can a pentagon make? How many sides does it have? How many sides does a triangle have? [Insert name], can you point to all the sides on the triangle? Finish reading the book. Now discuss the shapes that you haven’t covered yet. Explain how many sided each one has. Ask students similar questions. Also, ask students if they have any questions Instruct students to return to their seats. Pass out Ziploc baggies with the die-cut shapes inside of them Transition 1 (1-2minutes) Teacher, “Now students, I would like you guys to pull out the shapes in your Ziploc baggie and discuss with your neighbor what each shape is and how many sides it has”. Part 3 (30-40 minutes) Explain now that they will be making a book using these shapes. Pass out construction paper and inform the students that they will place each shape on each sheet of paper. (front and back) They tell them that with each shape they must identify what it is and how many sides it has. Once finished, ask for a paper clip to keep everything together, because you will bind their books together. Note: These books will be used again to discuss the shapes edges and vertices, which will then lead to the 3demensional shape lesson. Part 4 (10 minutes) Now ask your students to clear their desk, throw away trash, and pull out their KWL chart once again. Give the student a few minutes to write about what they have learned in the last text box. Now ask a handful of students to elaborate on what they have learned and write it on the board. Extended Practice: (30 minutes) If the children’s desks are in groups then place a few magazines in each group. If the desks are individual, then place the magazines in a center or in a back table. If you have enough magazines for each child then continue the extended practice by giving each child a magazine Explain to the students that you would like them to look through the magazine provided and find at least one shape in the magazine that represents a shape discussed in their book. If the shape is not provided in the magazine (for example, it might be difficult to find a decagon shape) allow students computer access to Google shapes that are decagons or use Microsoft Word clip art to find shapes that are decagon and so forth. Conclusion: By learning about 2-D shapes and their sides students will be able to make real world connections of 2D shapes in everyday life. This provides them a foundation for the next step, which is learning sides and vertices followed by learning 3-D shapes. In concluding this activity ask the students questions like, What did you like about today’s lesson? What was something you didn’t like about today’s lesson? What part did you find easy? What part did you find hard? Name: Anissa Gomez V. Design for/Delivery of Differentiated Instruction Identify the level at which individual students are working in this subject of geometry in order to provide differentiated instruction. You can use the test scored from the summative quiz to help guide you as a teacher. In the advance group and struggling group I would partner up two students based on the summative grade and ask them to each write or type a paragraph explaining how each shape has a certain number of sides and come up with at least two examples of these shapes in the real world. The advanced and struggling groups can have a center based on placing the shapes in the right categories. As the teacher observes the points at which the children are struggling, he or she will them be able to guide them with more specific practice on those weak areas. Give students the choice of doing a project. For example, instead of writing out a paragraph about everyday shapes, students can also draw the objects that shapes appear as and explain to you why they chose those objects. The classroom should feel very warm and inviting. Reflection and Self-Evaluation Reflect on your lesson and establish at least two clear and explicit connections to course content*related to these possible areas: Part I The most complex, complicated aspect of delivering the content in this lesson plan might be explaining how to distinguish between the bigger shapes such as an octagon, nonagon, and decagon. The plan to differentiate instruction by. By giving students Visual, Auditory, and Kinesthetic learning styles. Hearing the book was the auditory style as well as explaining each shape. The visual approach was showing the pictures in the book as well as the examining the shapes in the baggies. The kinesthetic approach was having them create a small book with each shape. - My lesson address the following components: *exploration>guided practice>direct instruction Part II Course content on learning processes, memory, cognition, motivation, etc Course content on lesson planning (kizlik, wagner, kohn, etc) The following lesson plan reflects the recommendations made by Kohn (2010) in his article “Obvious Truths That we Shouldn’t be Ignoring. In Feel-Bad Education: And other Contrarian Essays on children and Schooling” I used this article by paying attention to his first and second obvious truth, which is :most of the material that students are required to memorize is soon forgotten” and “just knowing a lot of facts does not make one smart”. In this lesson I tried to incorporate real world connections in their explanations on the subject of shapes in order to help them know and understand this lesson, rather than just memorize the number of sides on each shape. Kohn states that “Even students who do manage to remember some of the factual materials that they were taught are not necessarily able to make sense of those bits of knowledge, to understand connections among them, or to apply them in inventive and persuasive ways to real life problems”. Having read this, I tried to make the lesson apply to the real world and allow students to make the connections. The following lesson plans reflects Tomlinson and Strickland’s , “A Brief Primer on Differentiation. In Name: Anissa Gomez Differentiation in Practice: A Resource Guide for Differentiating Curriculum”. This lesson focused on the readiness of students because it is not their ability that matters rather it is a reflection of what students “know, understand, and can do today in the light of what the teacher is planning to teach”. I tried to adapt the strategies for readiness which includes usin small group instruction to retach students having difficulty. This was when the students briefly explain to each other the shapes and also the reasoning behind their KWL charts. I also used the strategy of “demonstrating ideas or skills in addition to talking about them”. This was all the discussions while reading the book, after reading the book, discussing the KWL charts, and the discussion after the lesson.
