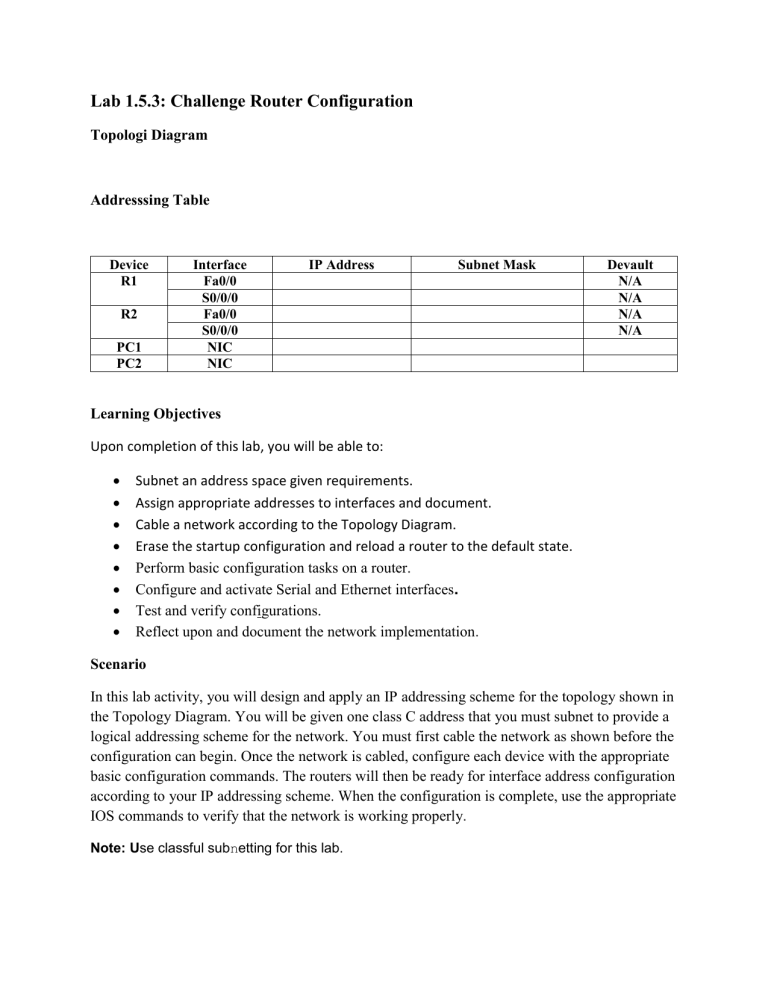
Lab 1.5.3: Challenge Router Configuration Topologi Diagram Addresssing Table Device R1 R2 PC1 PC2 Interface Fa0/0 S0/0/0 Fa0/0 S0/0/0 NIC NIC IP Address Subnet Mask Devault N/A N/A N/A N/A Learning Objectives Upon completion of this lab, you will be able to: Subnet an address space given requirements. Assign appropriate addresses to interfaces and document. Cable a network according to the Topology Diagram. Erase the startup configuration and reload a router to the default state. Perform basic configuration tasks on a router. Configure and activate Serial and Ethernet interfaces. Test and verify configurations. Reflect upon and document the network implementation. Scenario In this lab activity, you will design and apply an IP addressing scheme for the topology shown in the Topology Diagram. You will be given one class C address that you must subnet to provide a logical addressing scheme for the network. You must first cable the network as shown before the configuration can begin. Once the network is cabled, configure each device with the appropriate basic configuration commands. The routers will then be ready for interface address configuration according to your IP addressing scheme. When the configuration is complete, use the appropriate IOS commands to verify that the network is working properly. Note: Use classful subnetting for this lab. Task 1: Subnet the Address Space. Step 1: Examine the network requirements. You have been given the 192.168.1.0/24 address space to use in your network design. The network consists of the following segments: The network connected to router R1 will require enough IP addresses to support 20 hosts. The network connected to router R2 will require enough IP addresses to support 20 hosts. The link between router R1 and router R2 will require IP addresses at each end of the link. (Note: Remember that the interfaces of network devices are also host IP addresses and are included in the above addressing scheme.) Step 2: Consider the following questions when creating your network design. How many subnets are needed for this network? ……………….. What is the subnet mask for this network in dotted decimal format? …………. What is the subnet mask for the network in slash format? ………… How many usable hosts are there per subnet? ……………. Step 3: Assign subnetwork addresses to the Topology Diagram. 1. Assign the first subnet (lowest subnet) to the network attached to R1. 2. Assign the second subnet to the link between R1 and R2. 3. Assign the third subnet to the network attached to R2. Task 2: Determine Interface Addresses. Step 1: Assign appropriate addresses to the device interfaces. 1. 2. 3. 4. 5. 6. Assign the first valid host address in first subnet to the LAN interface on R1. Assign the last valid host address in first subnet to PC1. Assign the first valid host address in second subnet to the WAN interface on R1. Assign the last valid host address in second subnet to the WAN interface on R2. Assign the first valid host address in third subnet to the LAN interface of R2. Assign the last valid host address in third subnet to PC2. Note: The fourth (highest) subnet is not required in this lab. Step 2: Document the addresses to be used in the table provided under the Topology Diagram. Task 3: Prepare the Network Step 1: Cable a network that is similar to the one in the Topology Diagram. You can use any current router in your lab as long as it has the required interfaces as shown in the topology. Step 2: Clear any existing configurations on the routers. Task 4: Perform Basic Router Configurations. Perform basic configuration of the R1 and R2 routers according to the following guidelines: 1. Configure the router hostname. 2. Disable DNS lookup. 3. Configure an EXEC mode password. 4. Configure a message-of-the-day banner. 5. Configure a password for console connections. 6. Configure a password for VTY connections. Task 5: Configure and Activate Serial and Ethernet Addresses. Step 1: Configure the router interfaces. Configure the interfaces on the R1 and R2 routers with the IP addresses from your network design. When you have finished, be sure to save the running configuration to the NVRAM of the router. Step 2: Configure the PC interfaces. Configure the Ethernet interfaces of PC1 and PC2 with the IP addresses and default gateways from your network design. Task 6: Verify the Configurations. Answer the following questions to verify that the network is operating as expected. From the host attached to R1, is it possible to ping the default gateway? From the host attached to R2, is it possible to ping the default gateway? From the router R1, is it possible to ping the Serial 0/0/0 interface of R2?. From the router R2, is it possible to ping the Serial 0/0/0 interface of R1? The answer to the above questions should be yes. If any of the above pings failed, check your physical connections and configurations. If necessary, refer to Lab 1.5.2, "Basic Router Configuration." What is the status of the FastEthernet 0/0 interface of R1? What is the status of the Serial 0/0/0 interface of R1?_ What is the status of the FastEthernet 0/0 interface of R2? What is the status of the Serial 0/0/0 interface of R2?................. What routes are present in the routing table of R1? What routes are present in the routing table of R2? Task 7: Reflection Are there any devices on the network that cannot ping each other? What is missing from the network that is preventing communication between these devices? Task 8: Document the Router Configurations. On each router, capture the following command output to a text (.txt) file and save for future reference. Running configuration Routing table Summary of status information for each interface
